❗ Note: The Intents feature works only with chat assistants.
⚡ Auto Intents
- Understand and Use Auto Intents
-
CAREER:
Tagged when someone asks about job openings or the application process. Sent to the HR team. -
SALES:
Tagged for questions about product pricing, availability, or features. Routed to the sales team. -
LEAD:
Triggered when a user asks about pricing and shares contact details (like email or phone). Sent to the right person for follow-up. -
SUPPORT:
Used when someone reports a problem or asks for technical help. Directed to the support team.
🎯 Advanced Intents
- Explore Advanced Intents and How to Create Your Own
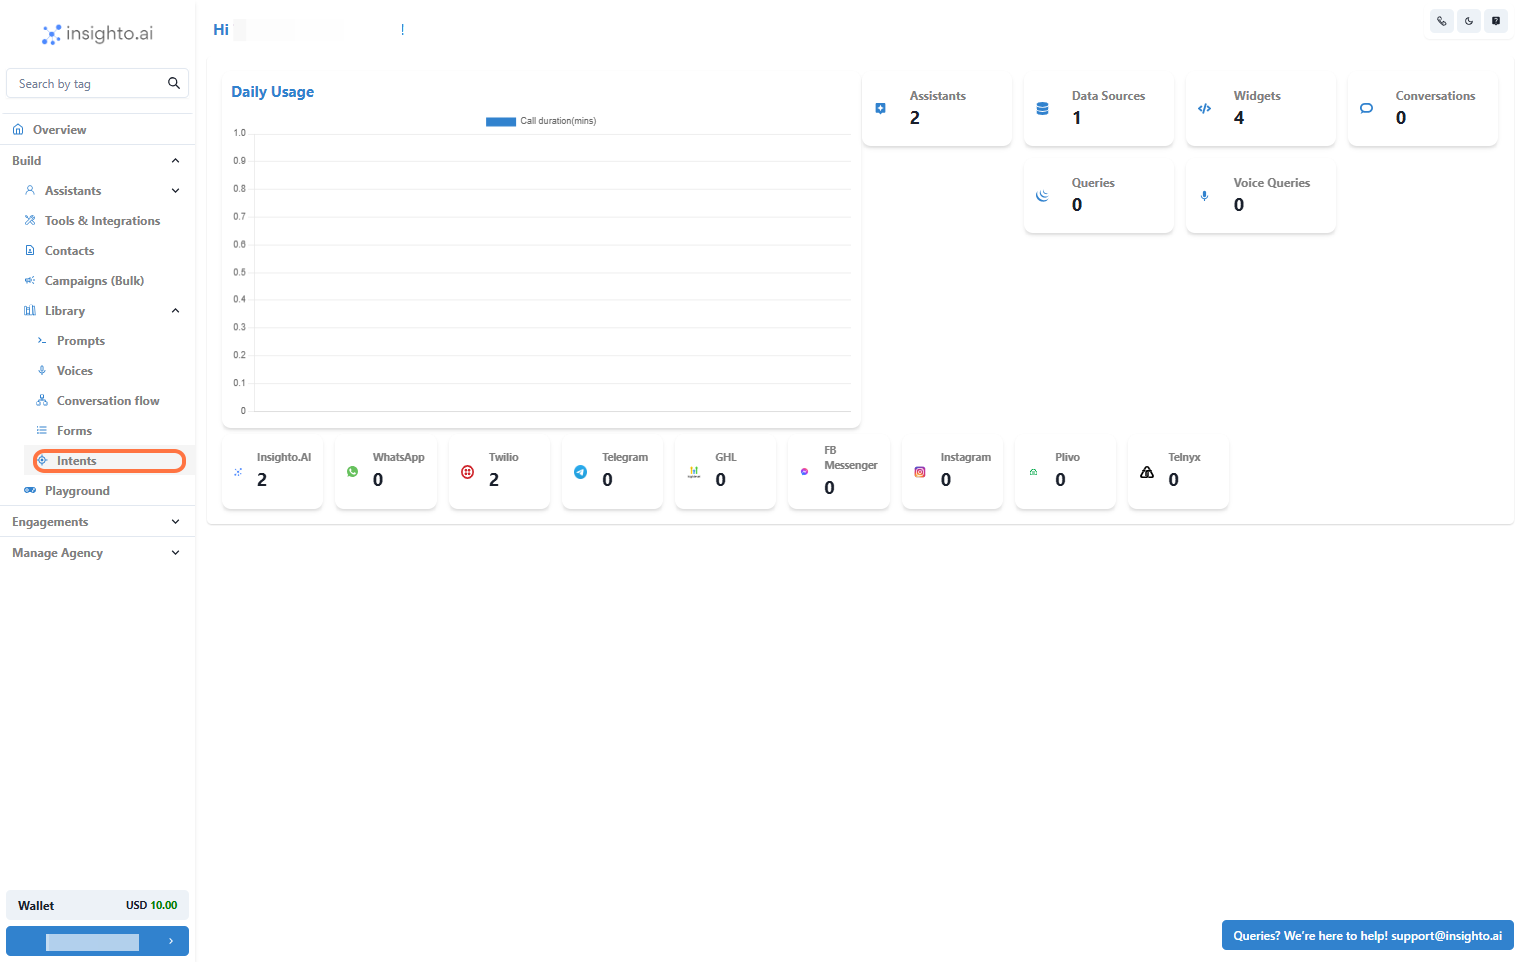
- Go to the Library section in Insighto.
- Click on Intents to open the Intent management area.
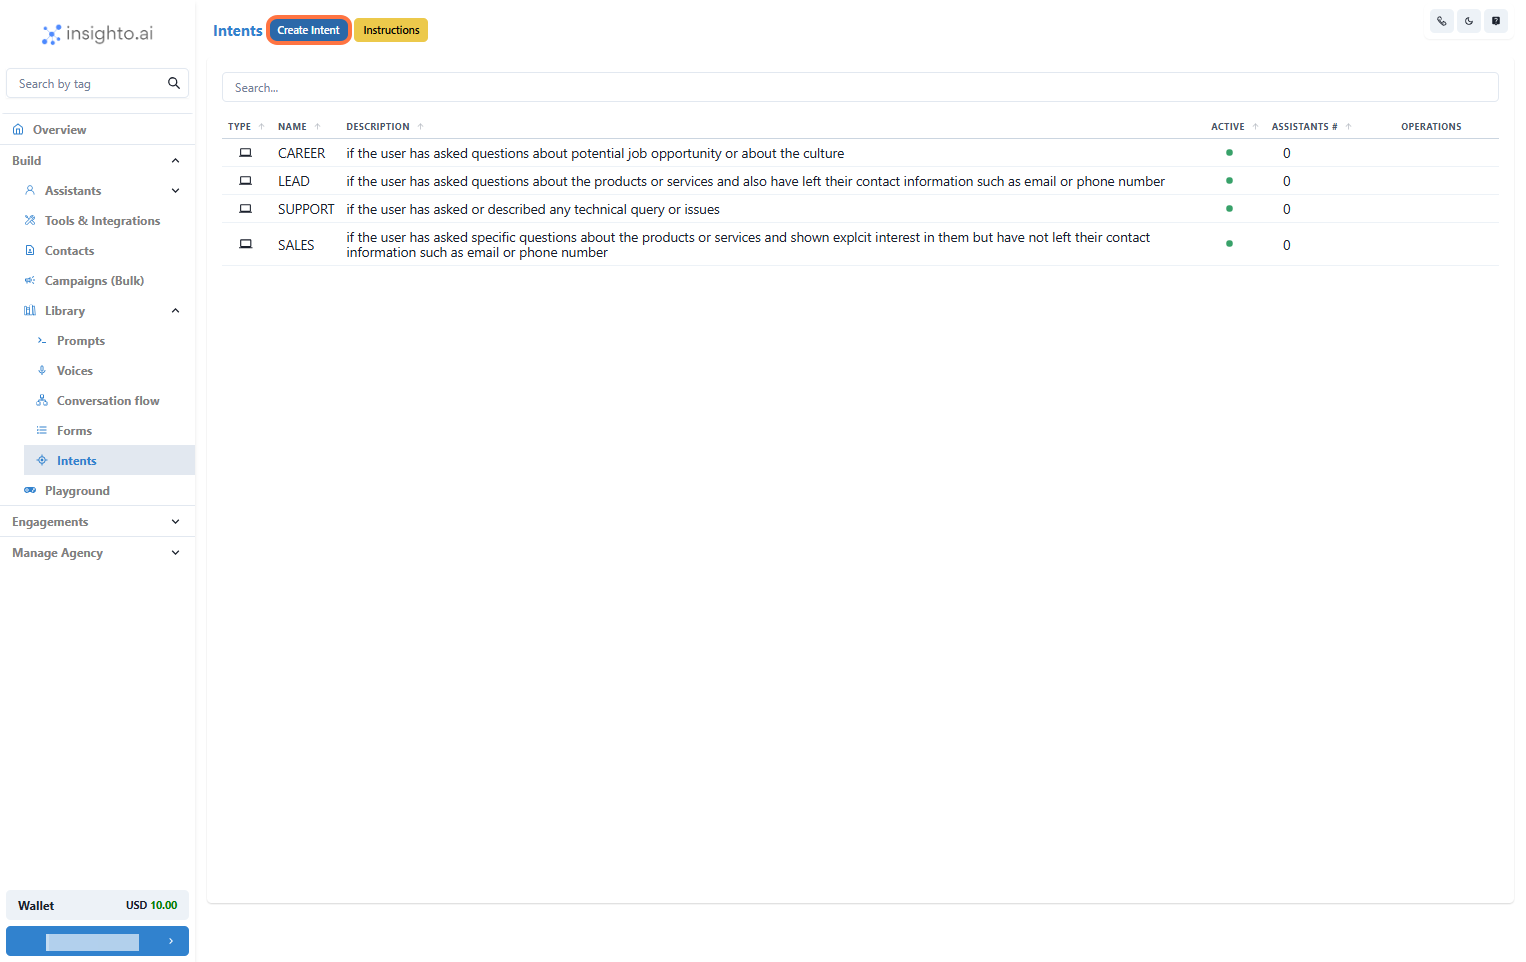
- Click on “Create Intent”
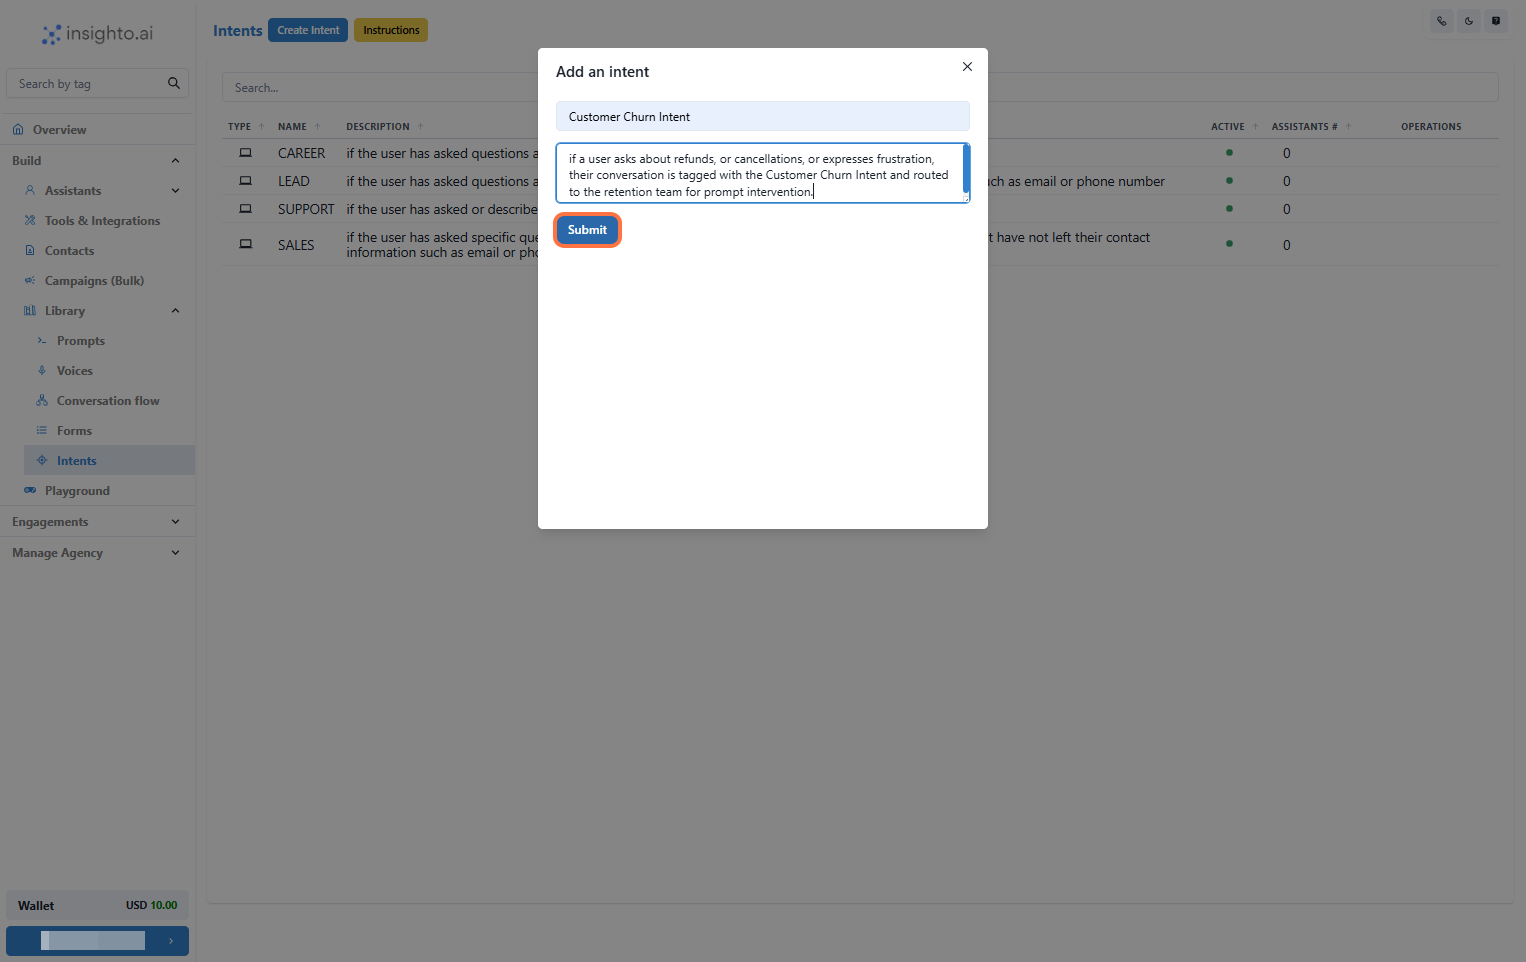
- Name and Describe Your Intent
Add a description explaining when this Intent should be used (just like Auto Intents).
This helps keep everything organized and easy to manage.
- Edit the Chat Assistant
Click Edit to modify its settings.
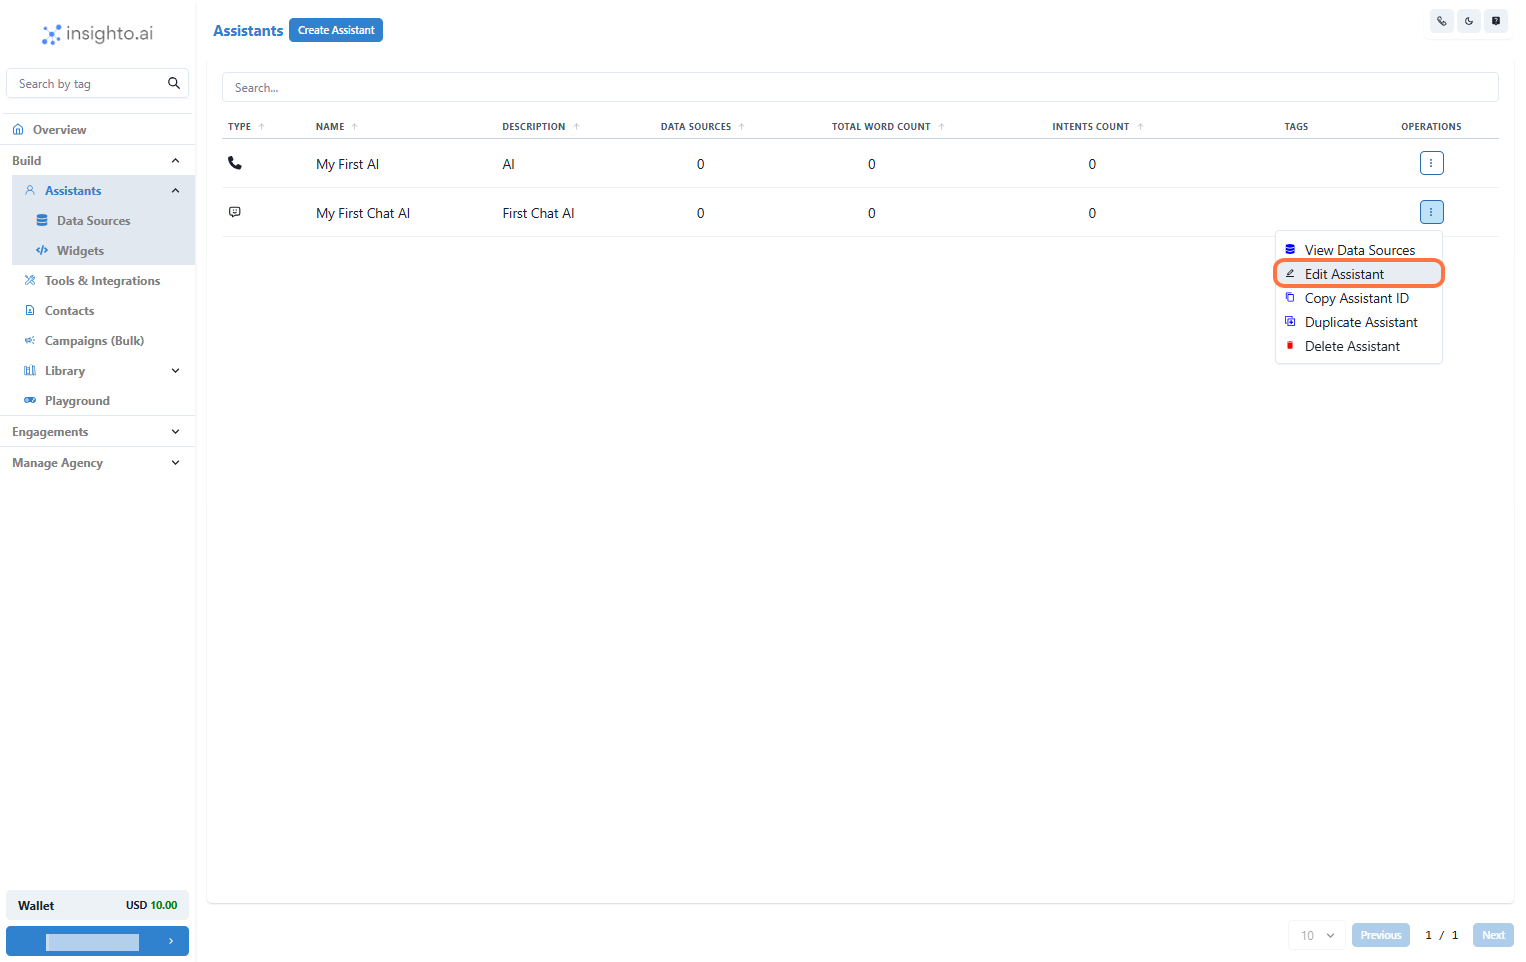
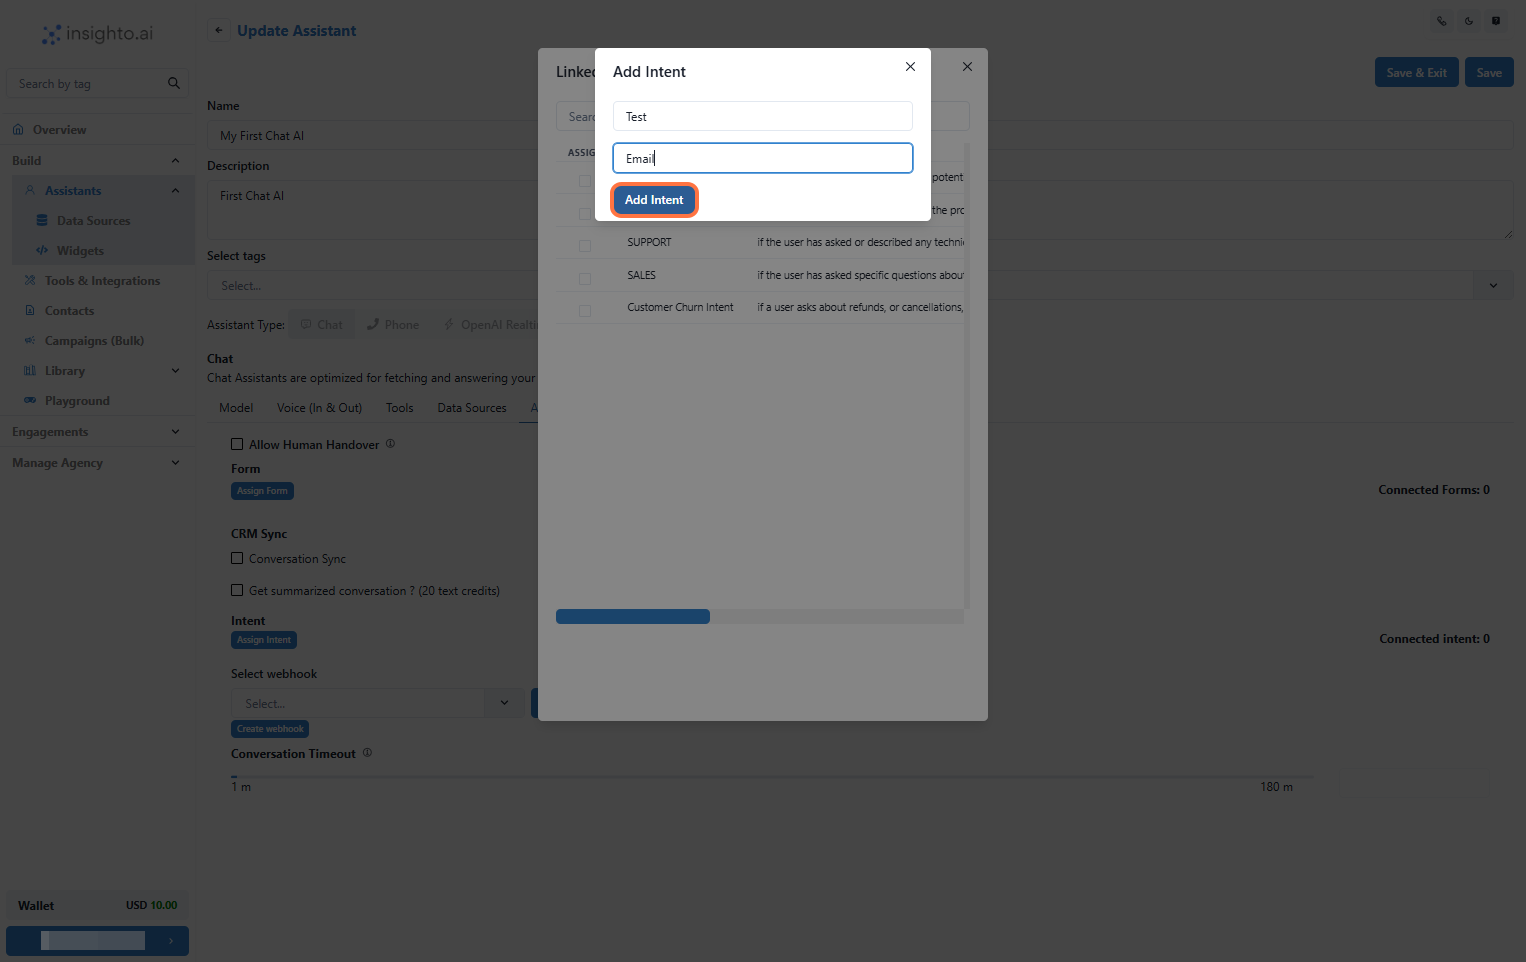
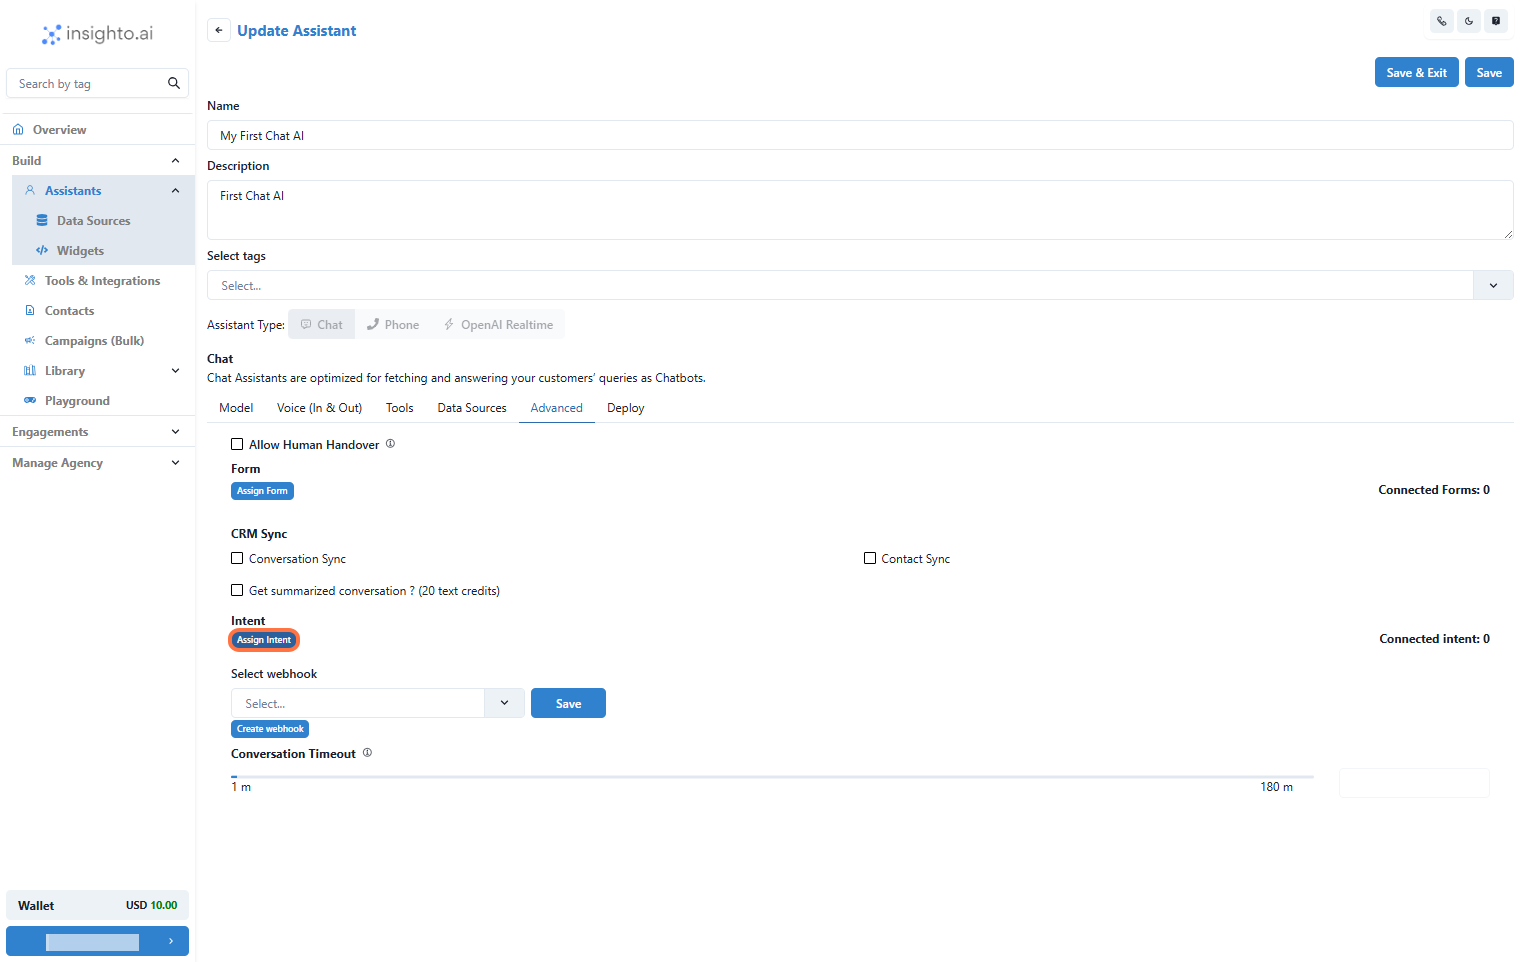
- Access the Advanced Tab and Select “Assign Intent”
- Navigate to the Advanced tab.
- Click Assign Intent to manage your Intent connections.
- Select Your Intent and Set Notification Details
- Enter a unique name for the Intent connection.
- Provide the email address where notifications should be sent.
