No knowledge base or tools for now — just a quick way to get started.
- Log in to your Insighto.ai account.
Start with Creating Assistant
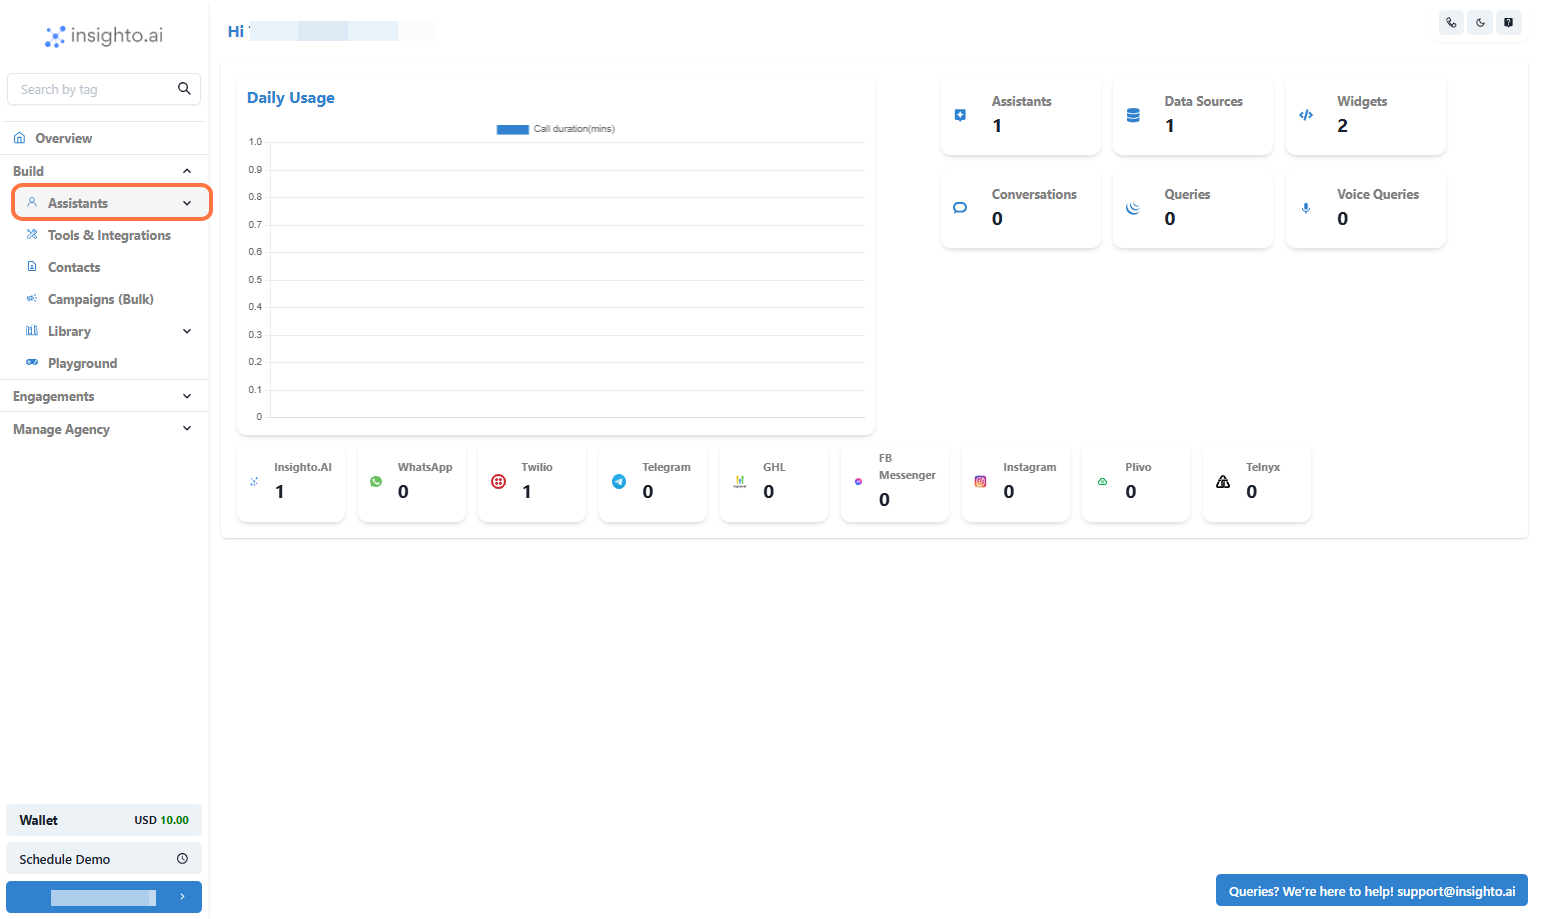
- From the left panel, click on Assistants.
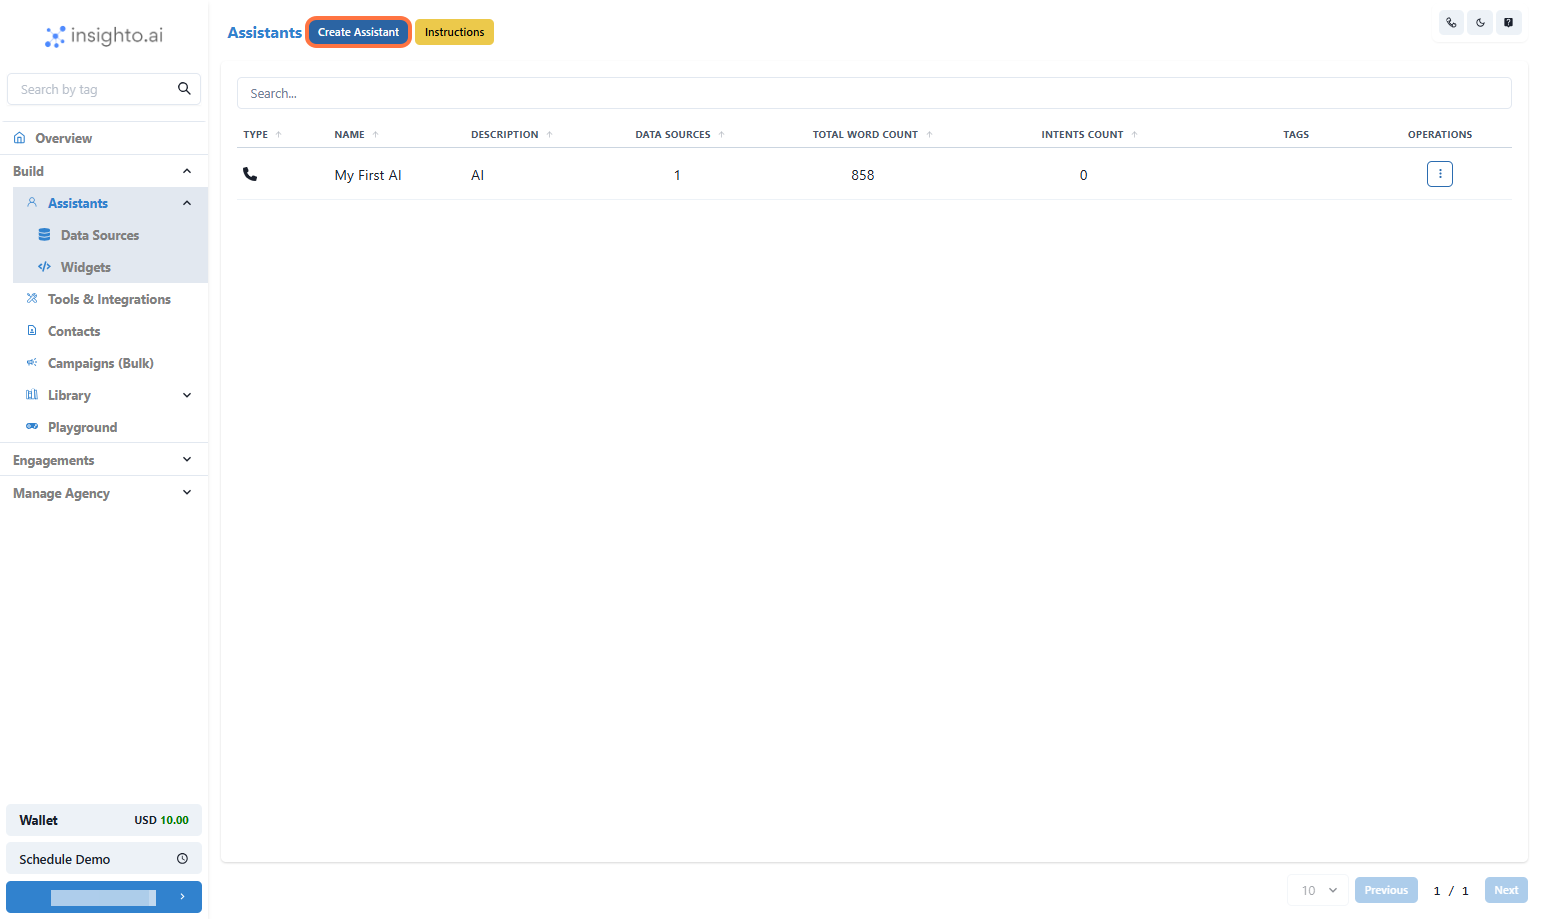
- Click the “Create Assistant” button
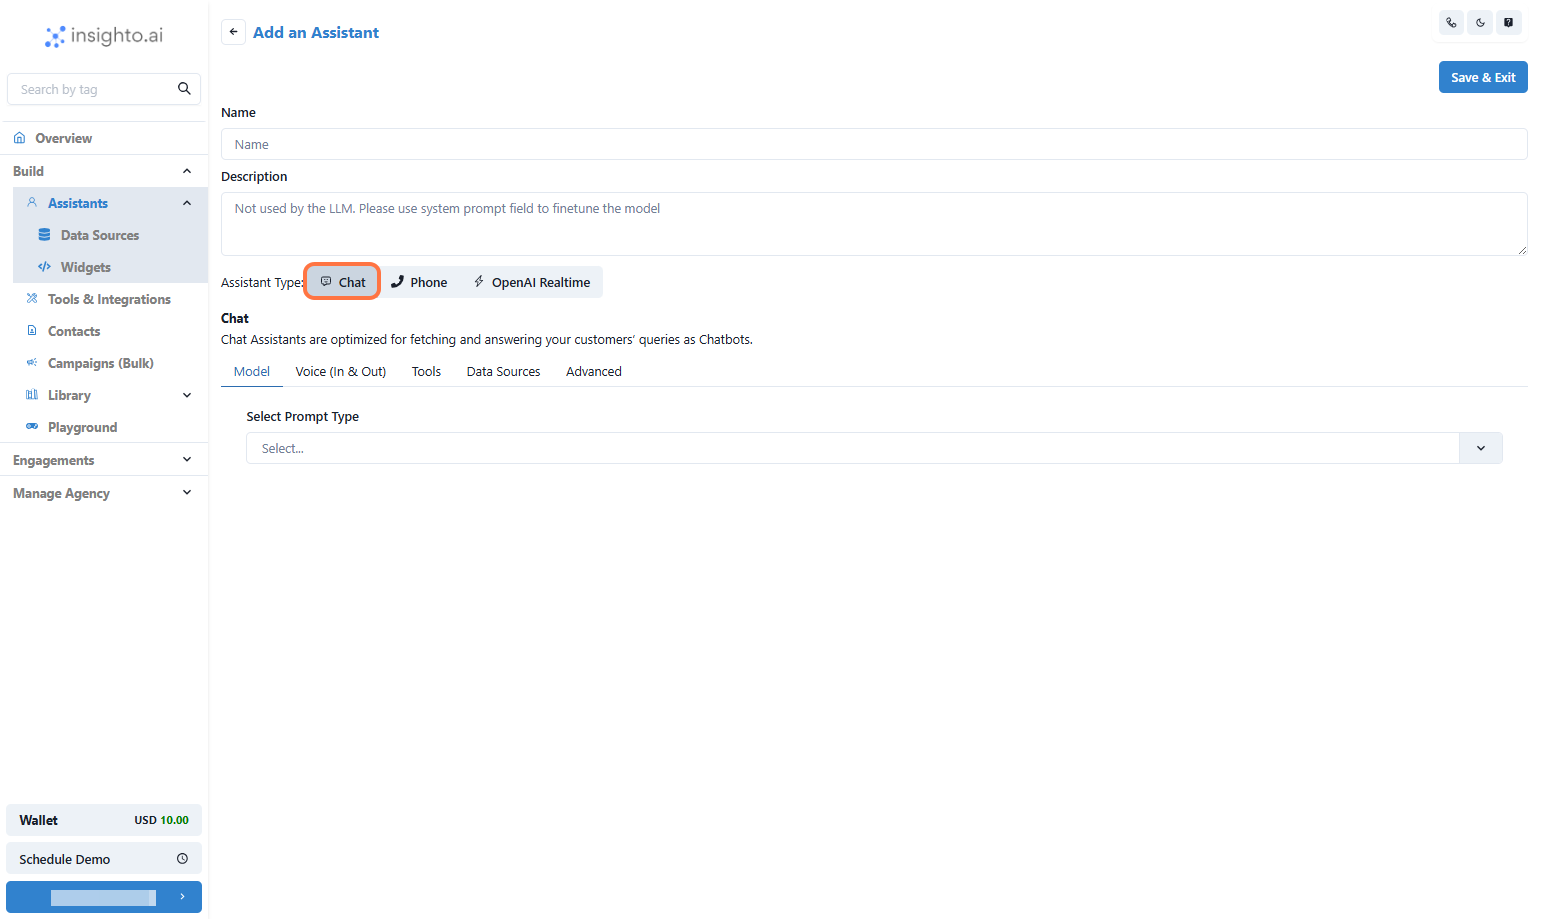
- Enter a name & Description for your assistant.
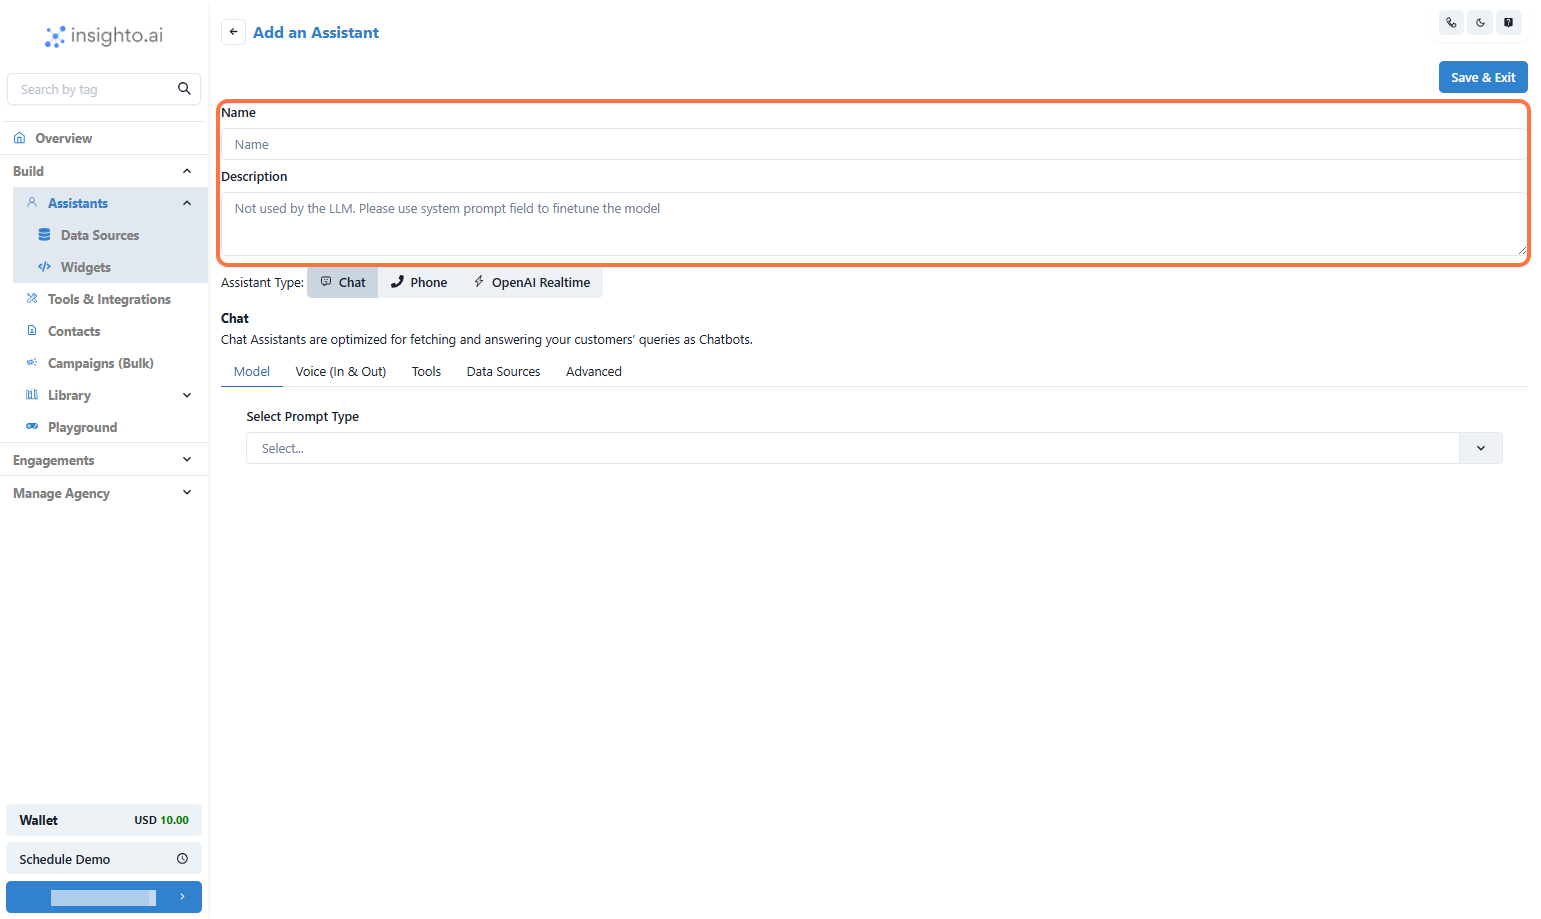
- Set the Assistant Type to Chat
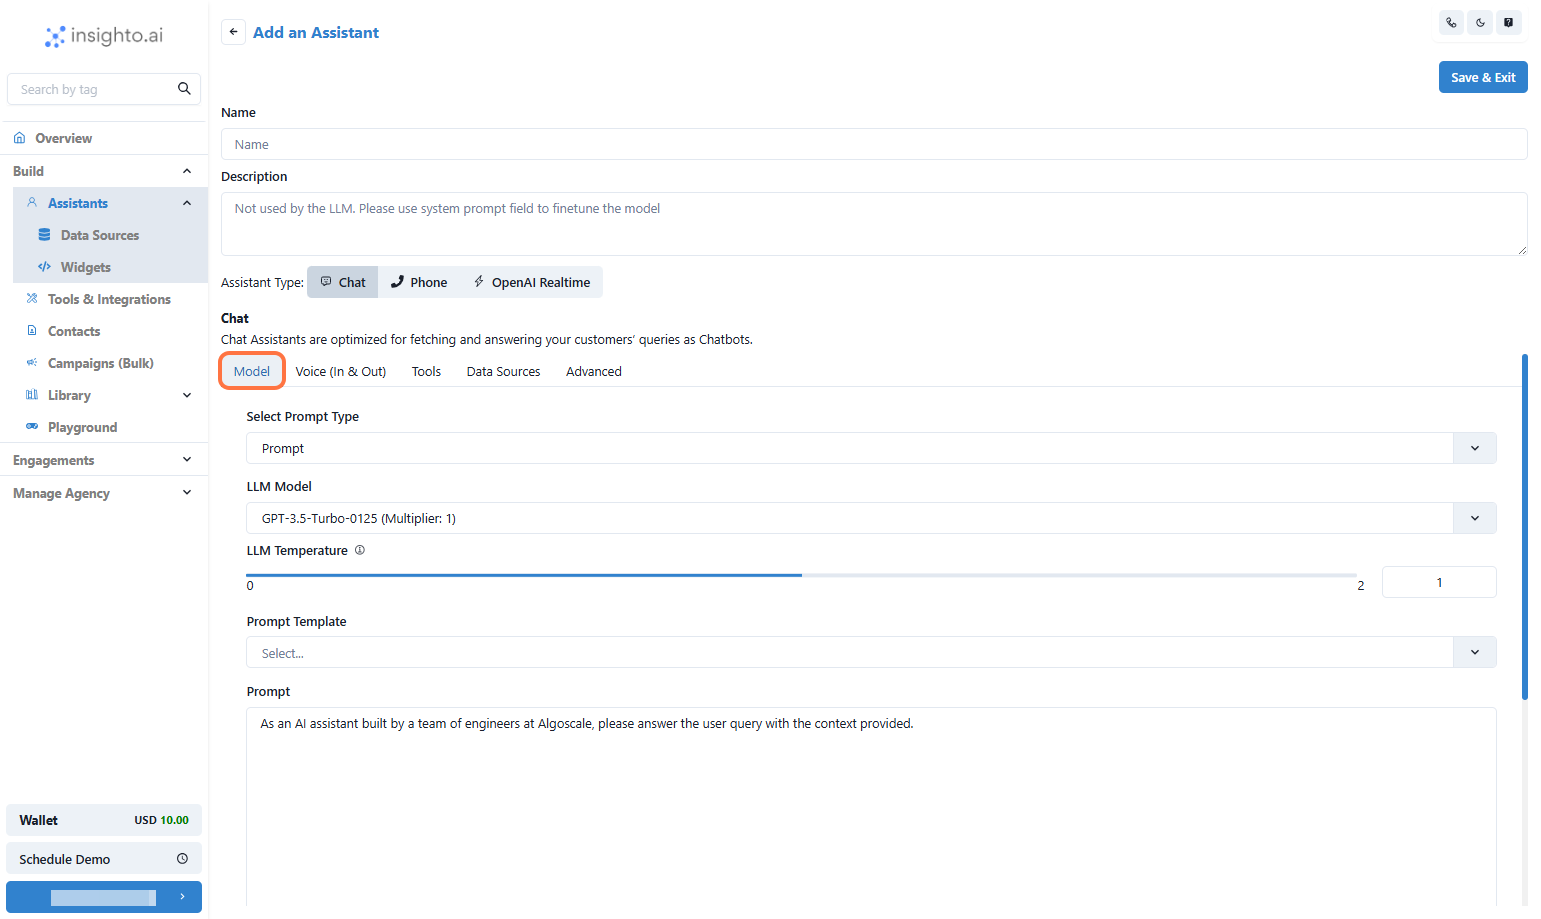
- Go to Model Tab
“Greet the user and ask how you can assist them today.” or Add your prompt according to use-case.💡 You can update this prompt anytime based on your assistant’s role.
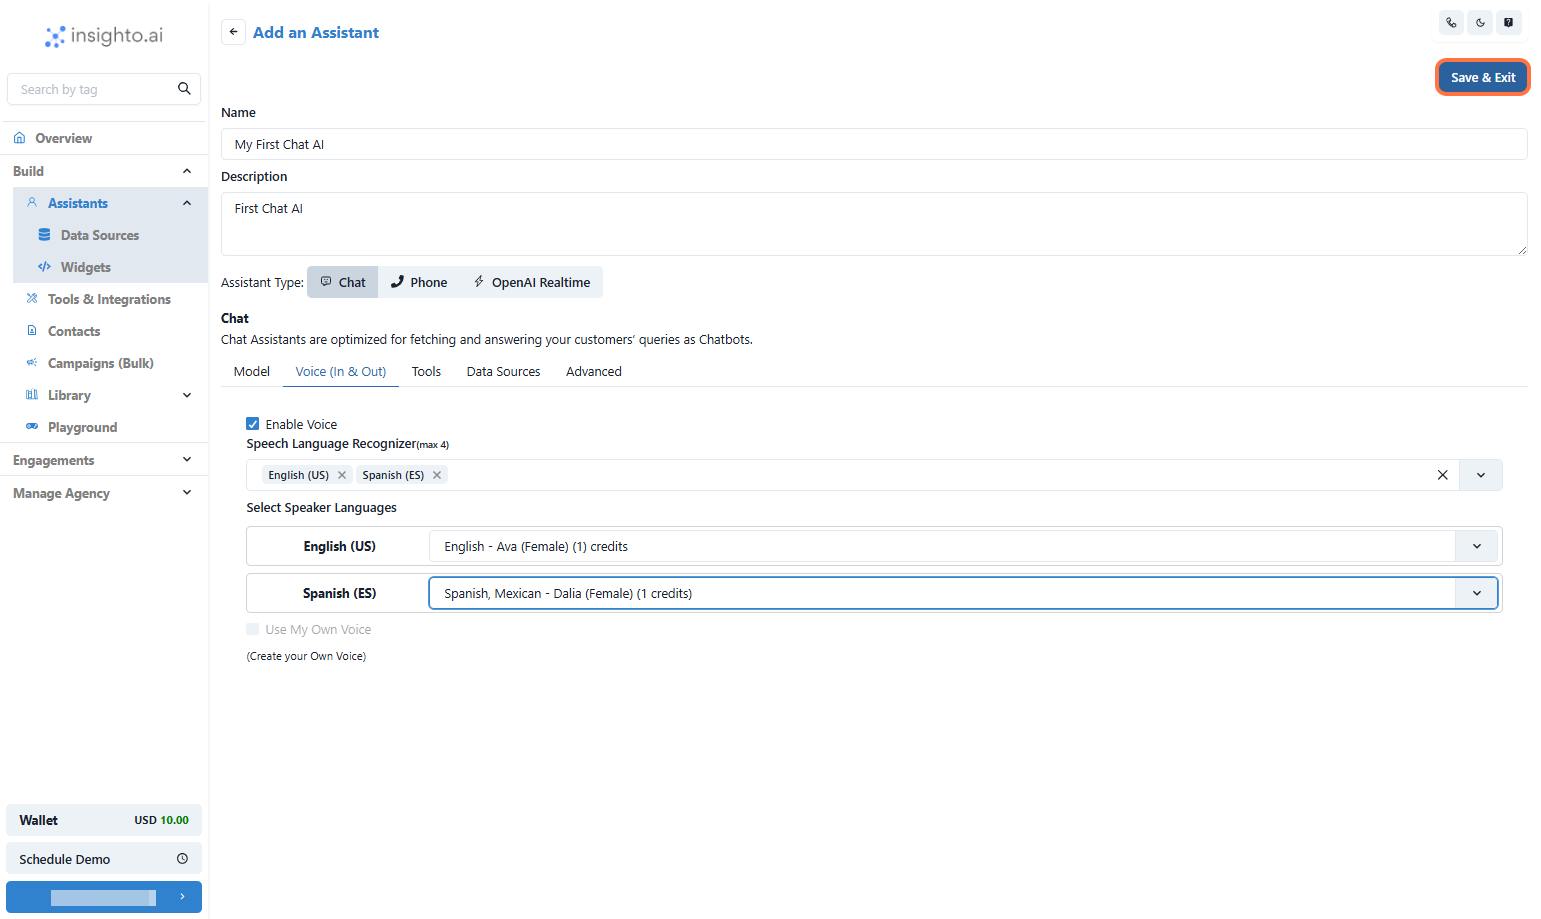
- Click on Voice Tab
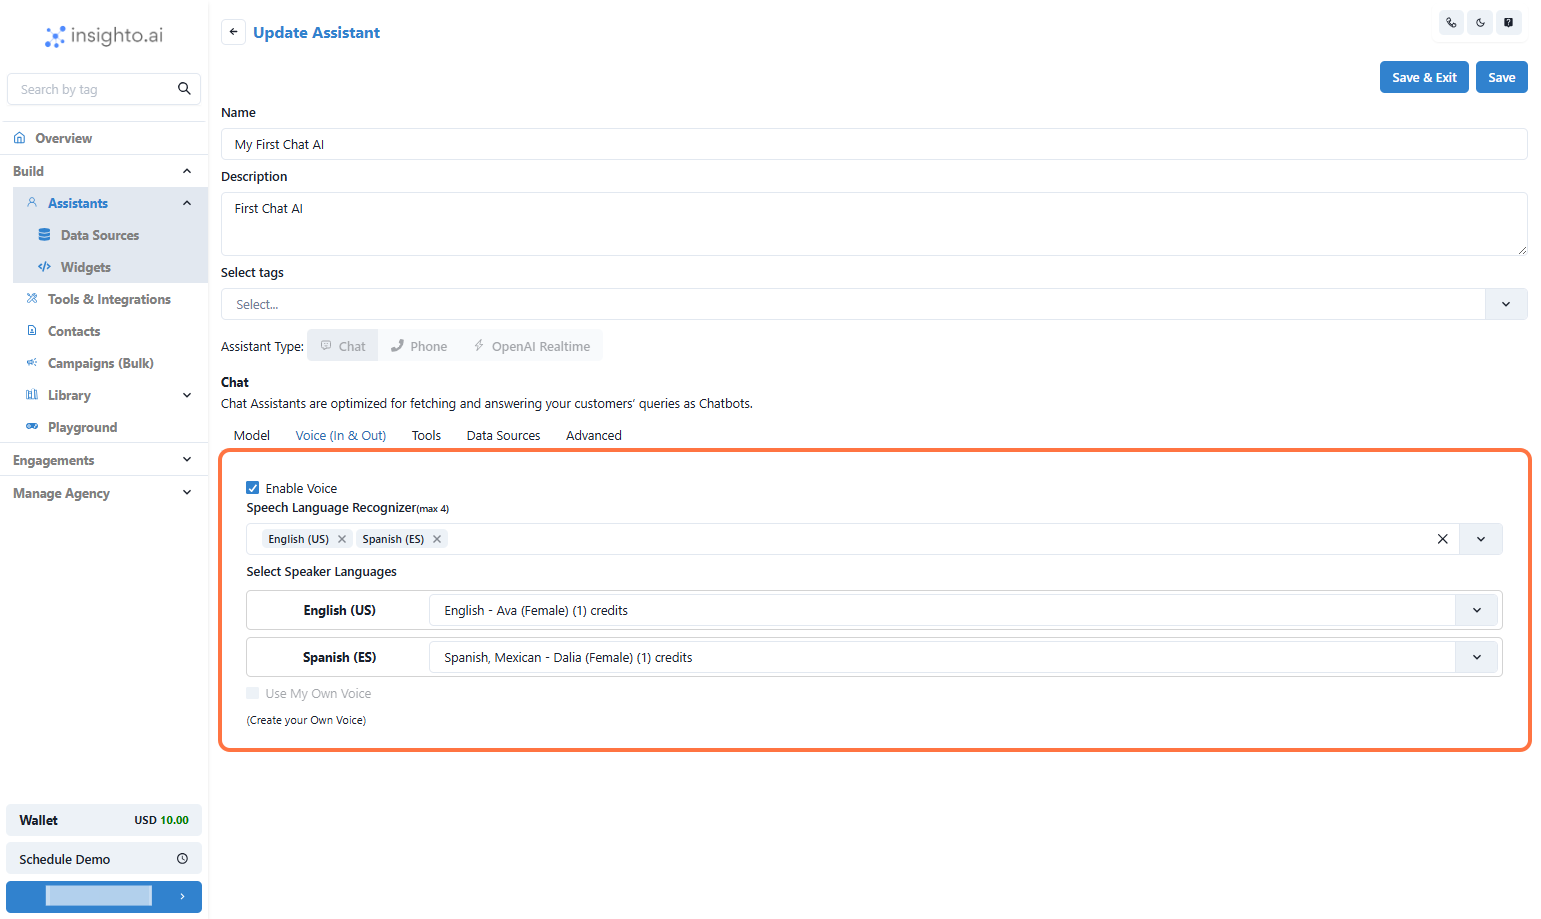
- Enable Voice for Your Chatbot
Select Supported Languages (Max 4)
From the dropdown menu, choose up to 4 languages that your chatbot will support for both speech recognition (input) and voice response (output). Choose AI Voices for Each Language
For each selected language, pick the AI voice profile your bot will use when speaking responses. These voices are pre-trained for natural tone and clarity, ensuring a smooth user experience. 🛠 Example:
If you select Arabic, English, Hindi, and French, your bot will:
- Understand queries spoken in any of these languages.
- Reply in the same language using the chosen AI voice.
- Click on Save & Exit
- 🎉 Congratulations!
Your first AI Chat assistant is now configured
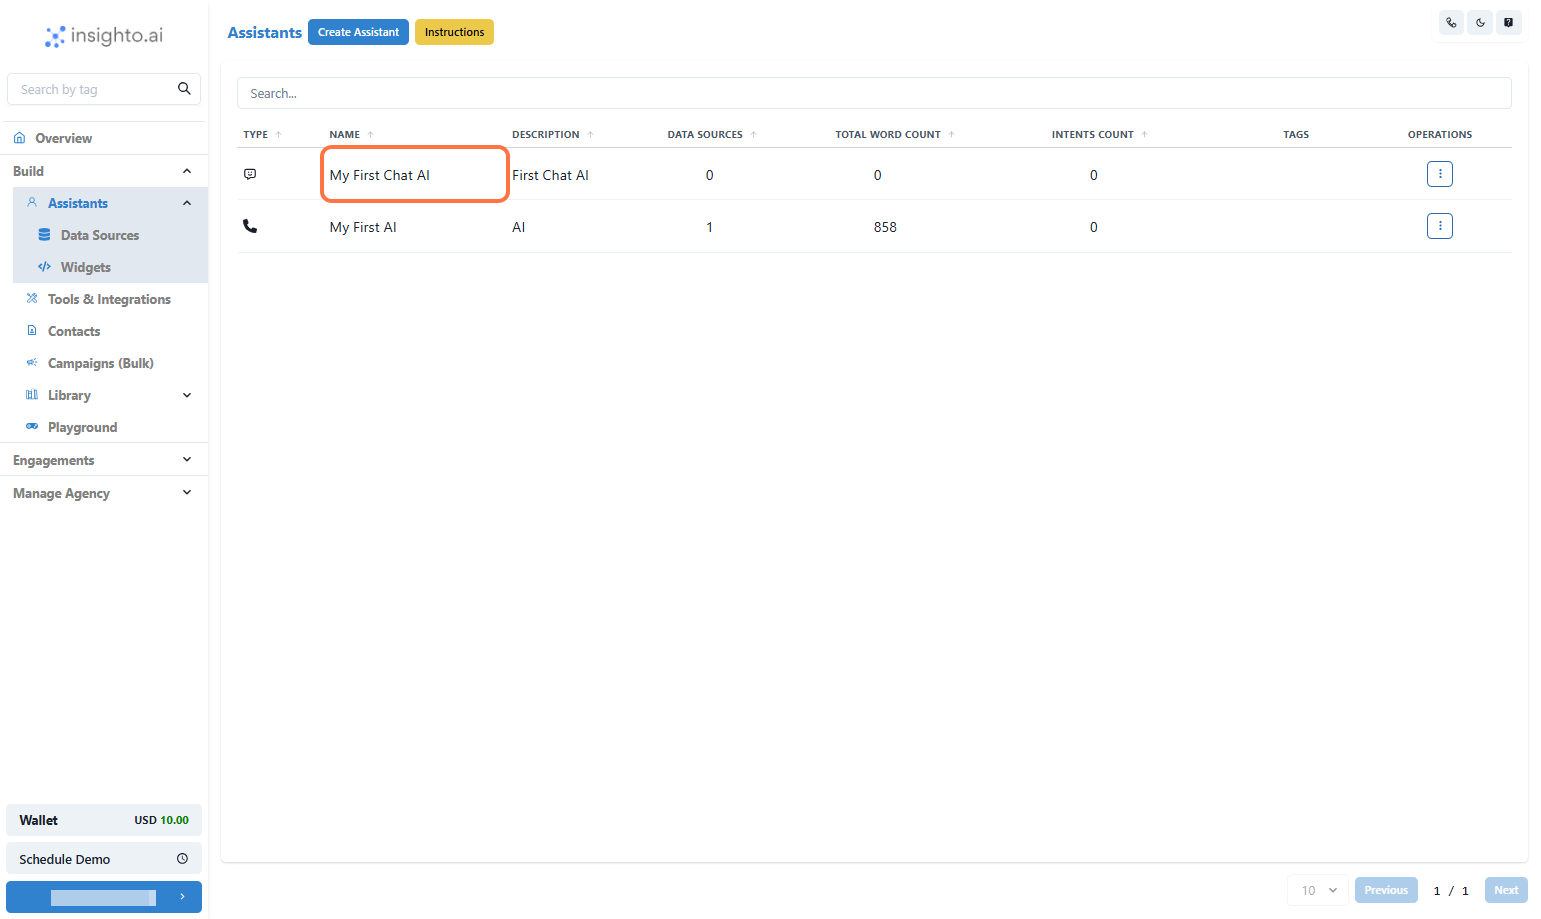
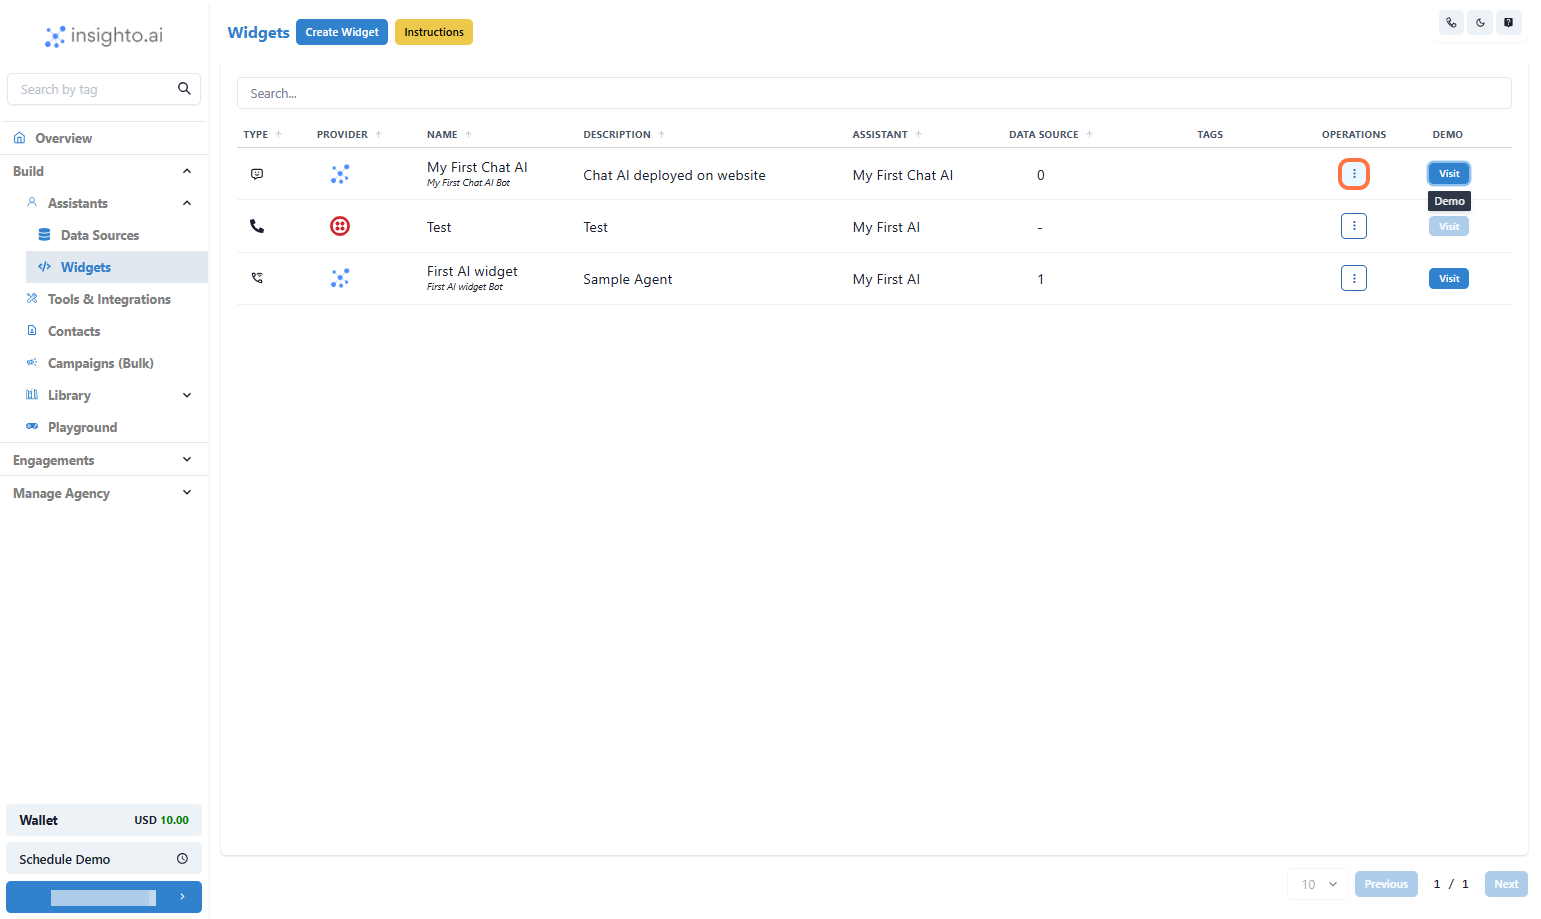
Creating a Widget
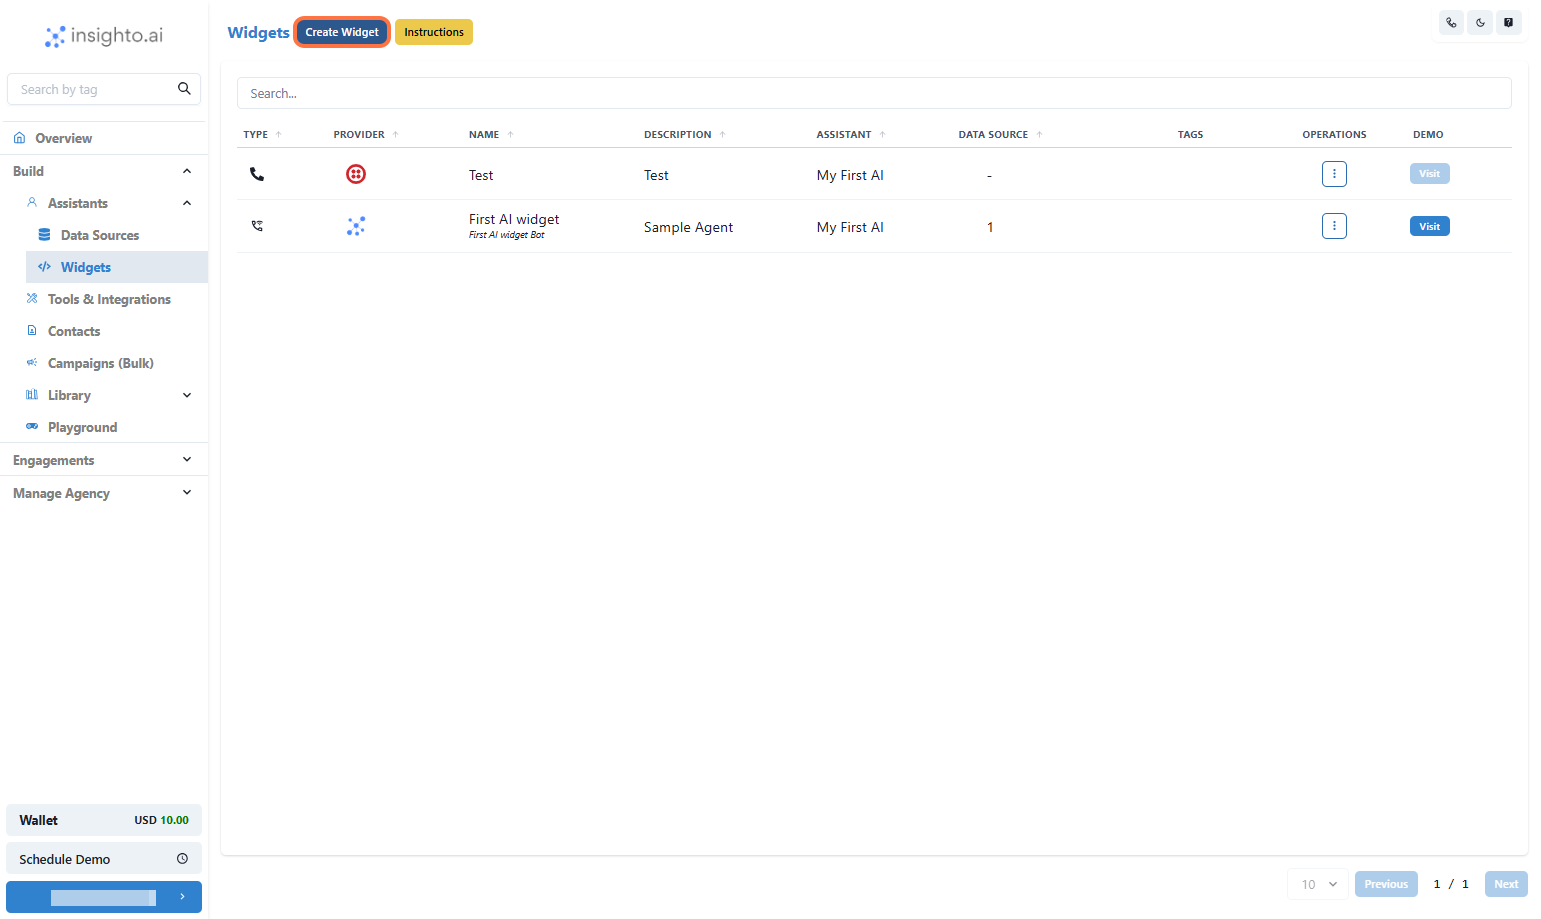
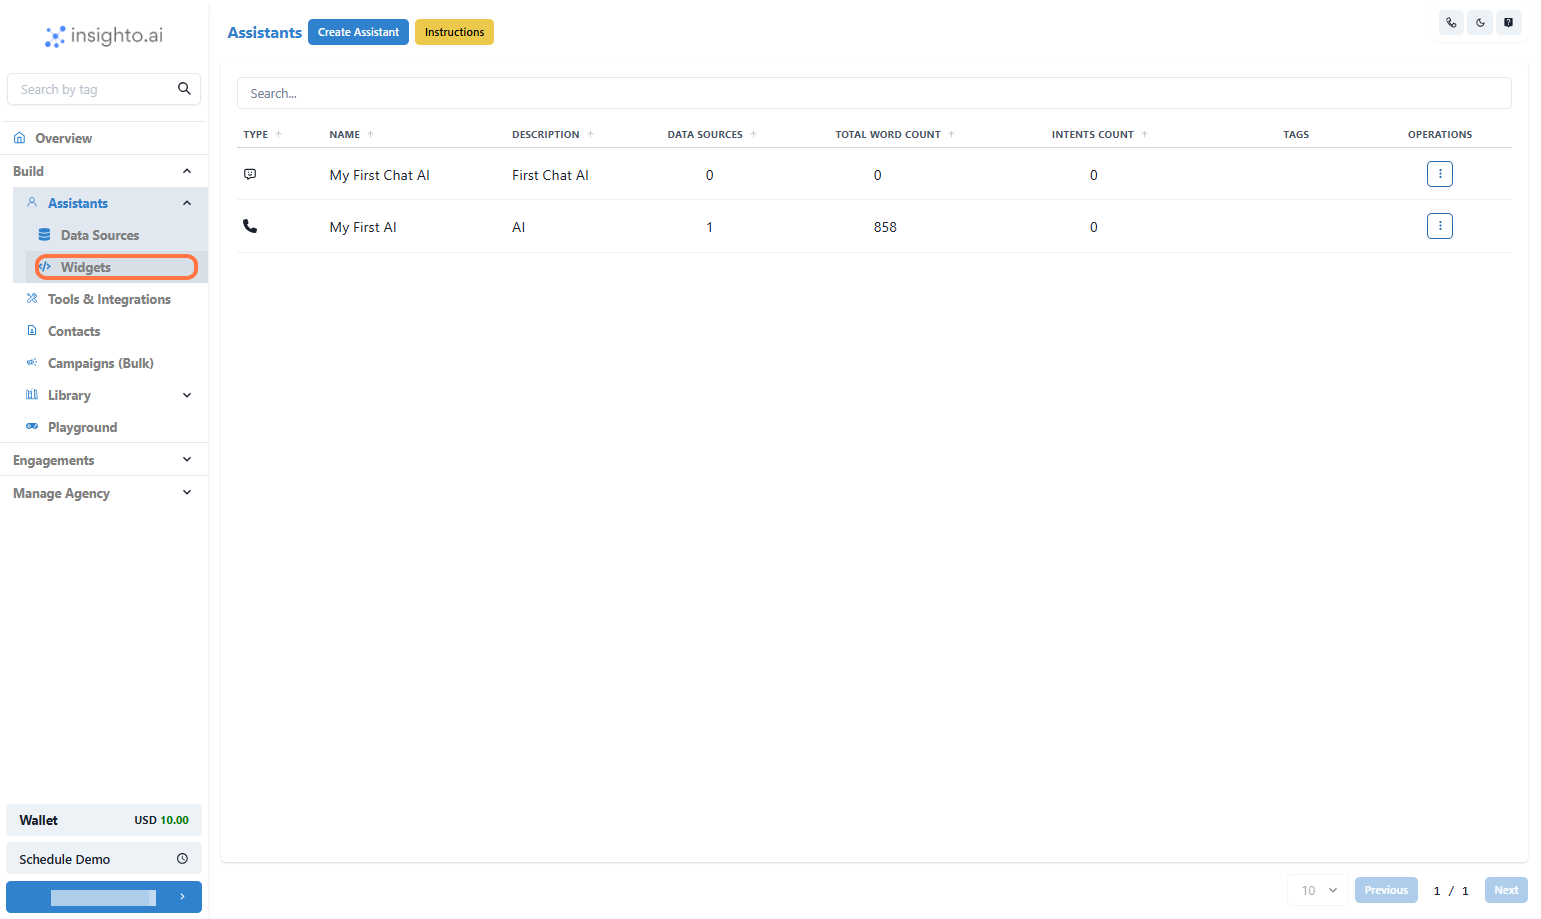
- Click on Widgets
- Click on Create Widget
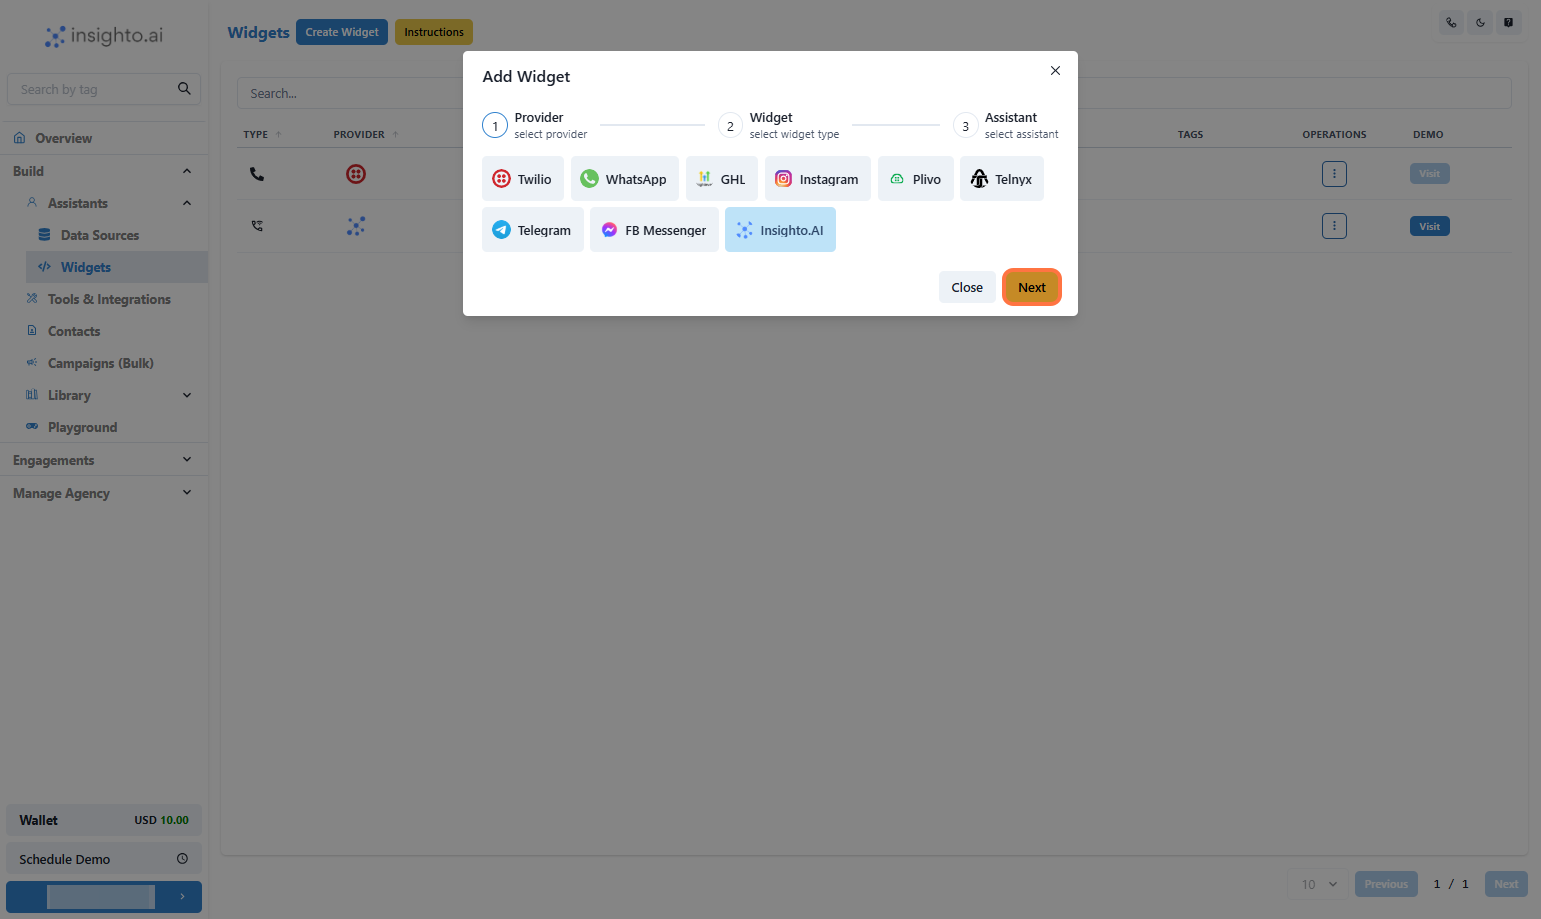
- Select Insighto.ai
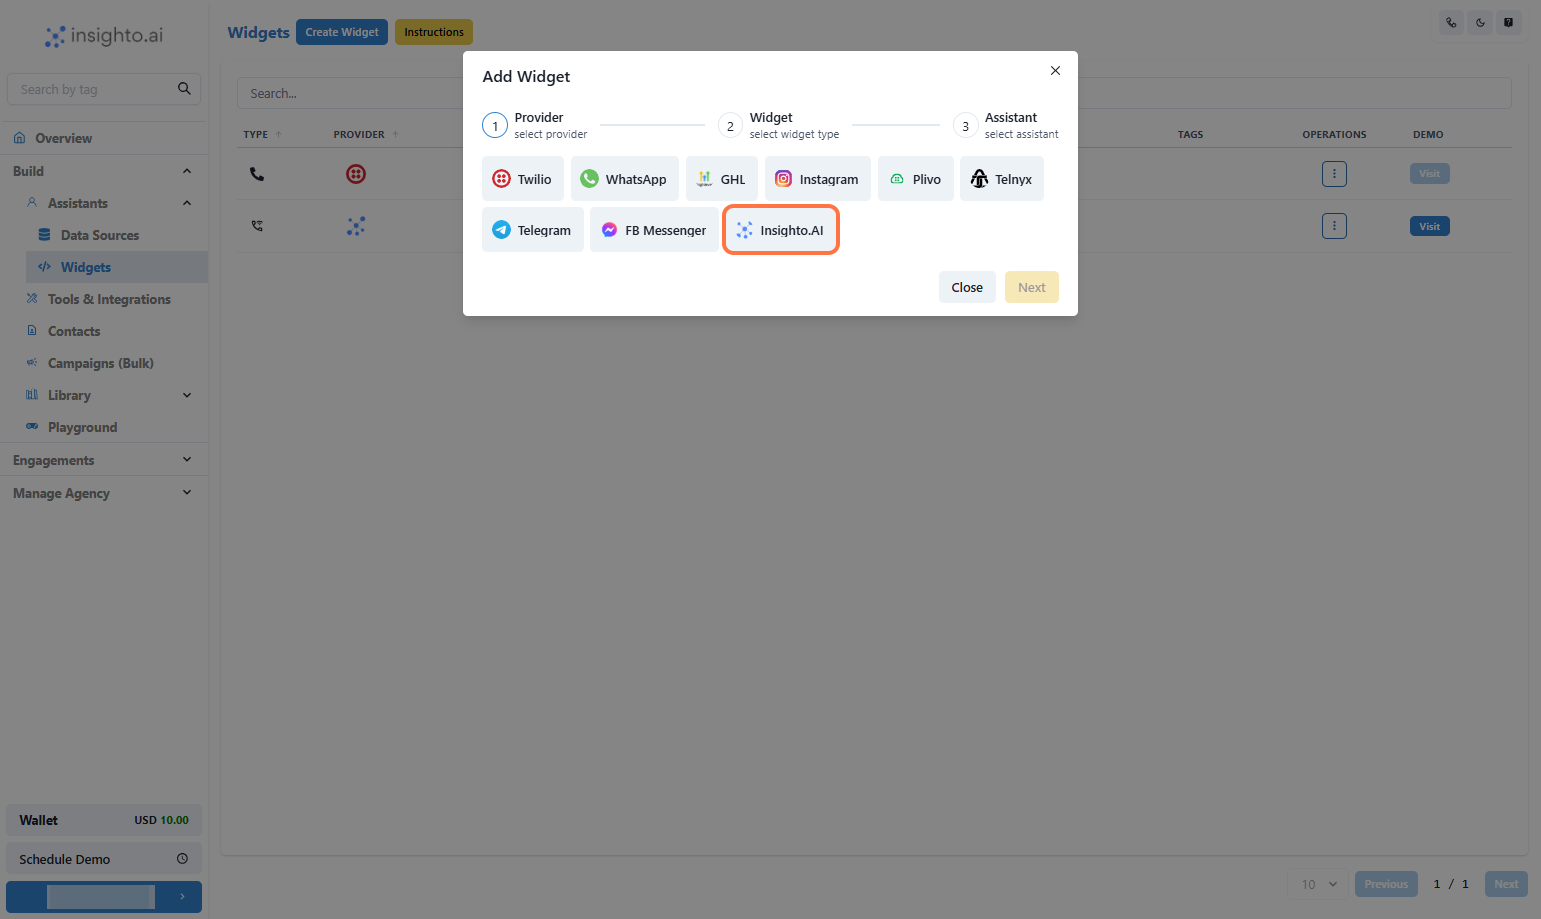
- Click on Next
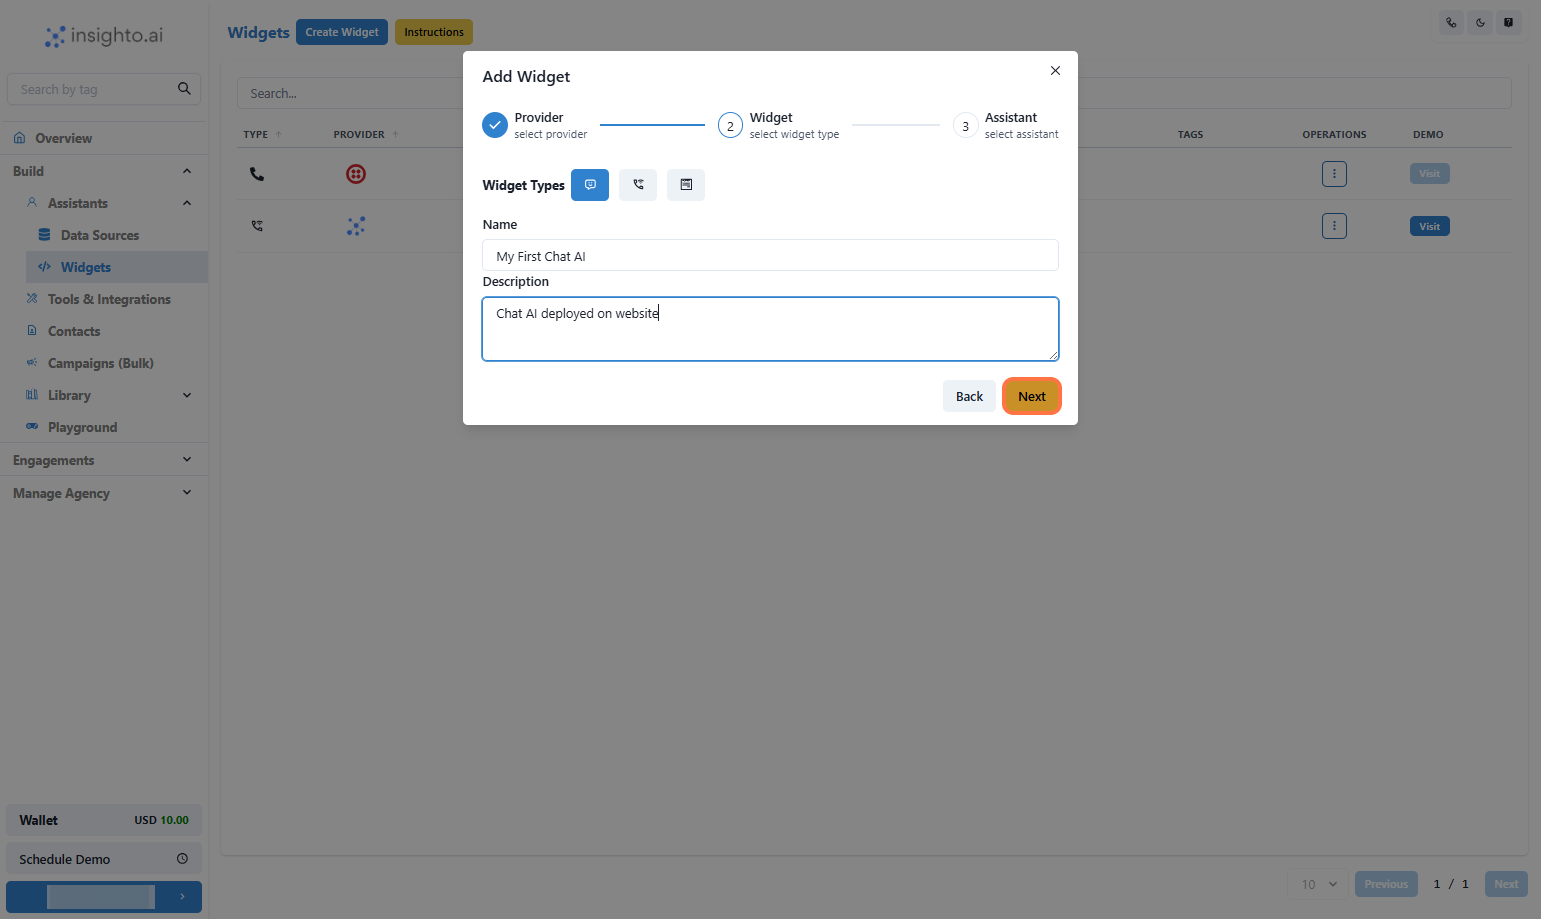
- Click on Embed AI Agent Chat as shown below
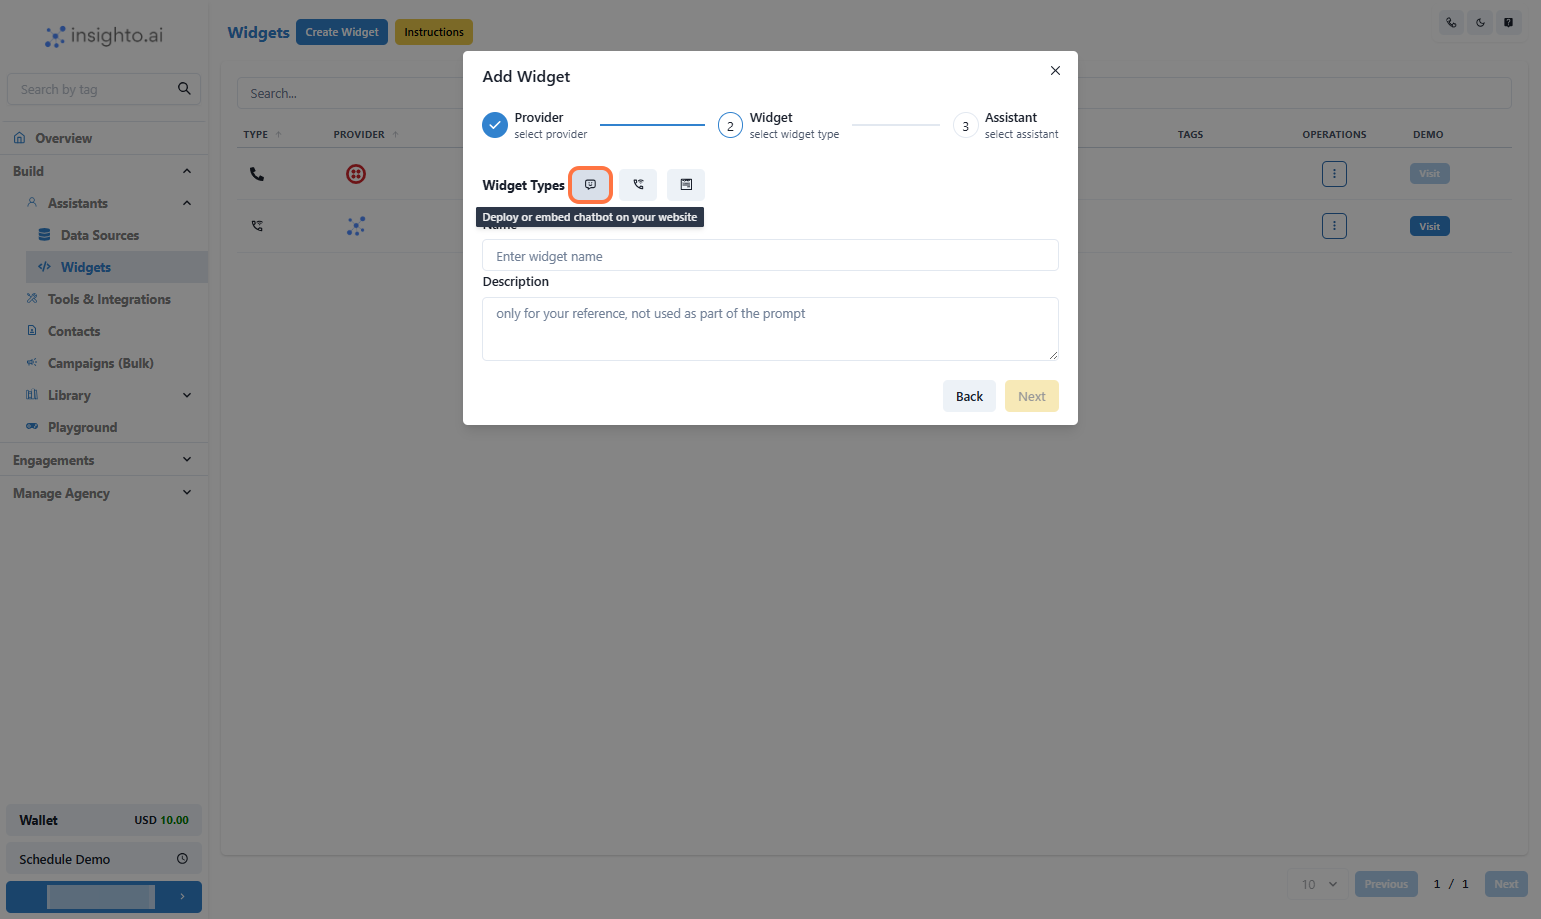
- Click on Next
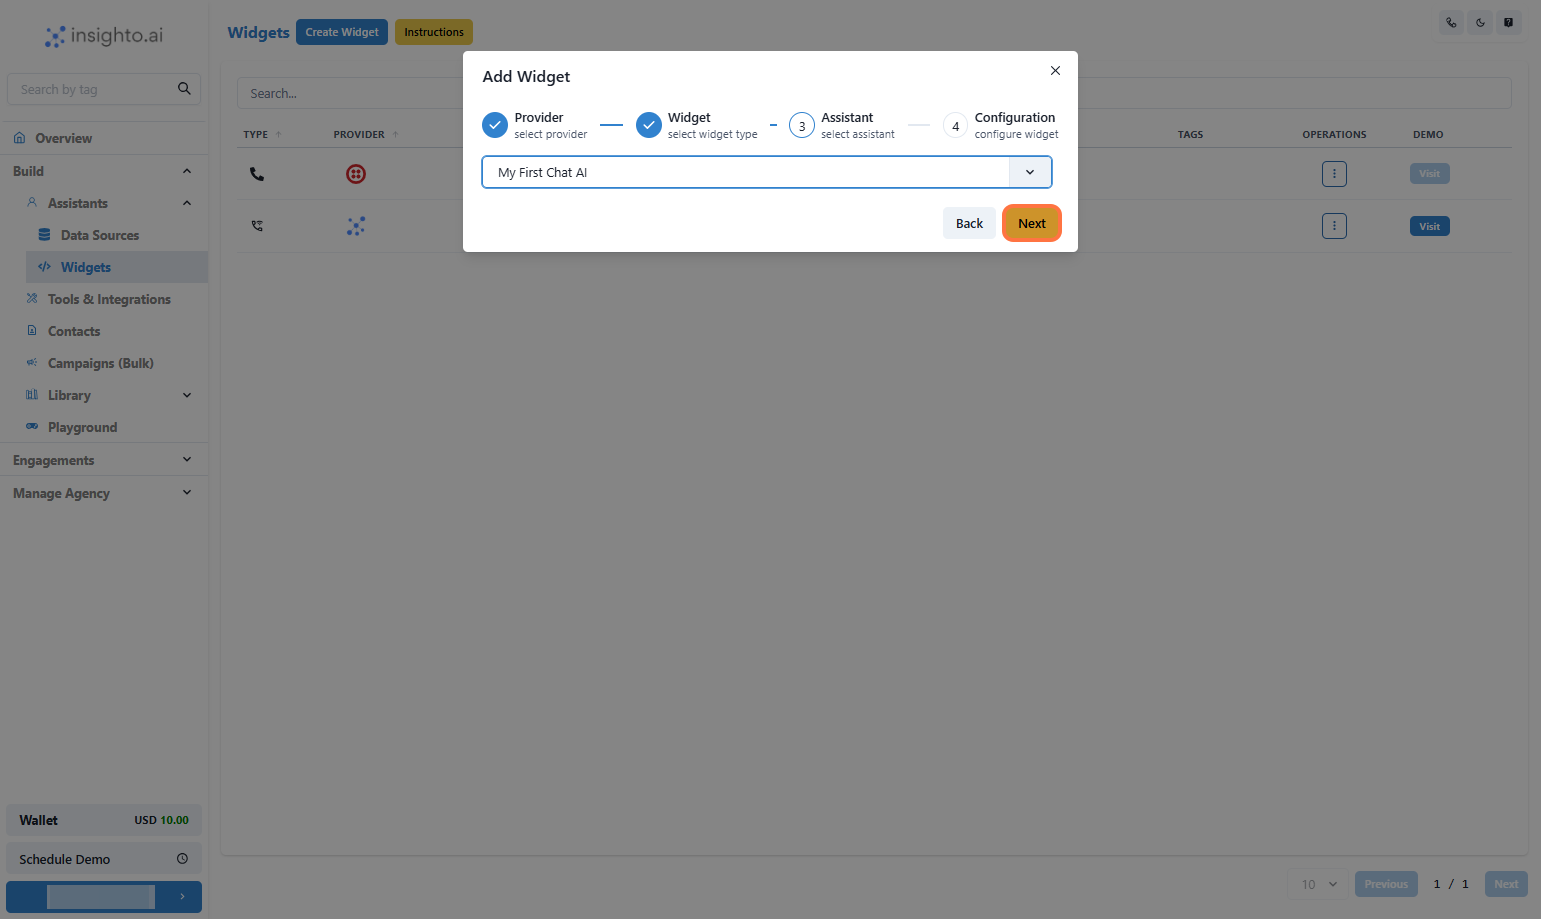
- Select the Assistant and click Next
- Final Step: Widget Setup Complete!
At this point, you’ll see an option to “Initial Form”. This feature lets you connect a form to your chatbot—but don’t worry about it for now. ℹ We’ll cover forms and how to use them effectively in an upcoming guide. 👉 What You Need to Do:
Simply skip the form selection and click Finish to complete your widget setup.

- 🎉 Congratulations! Your Widget is created
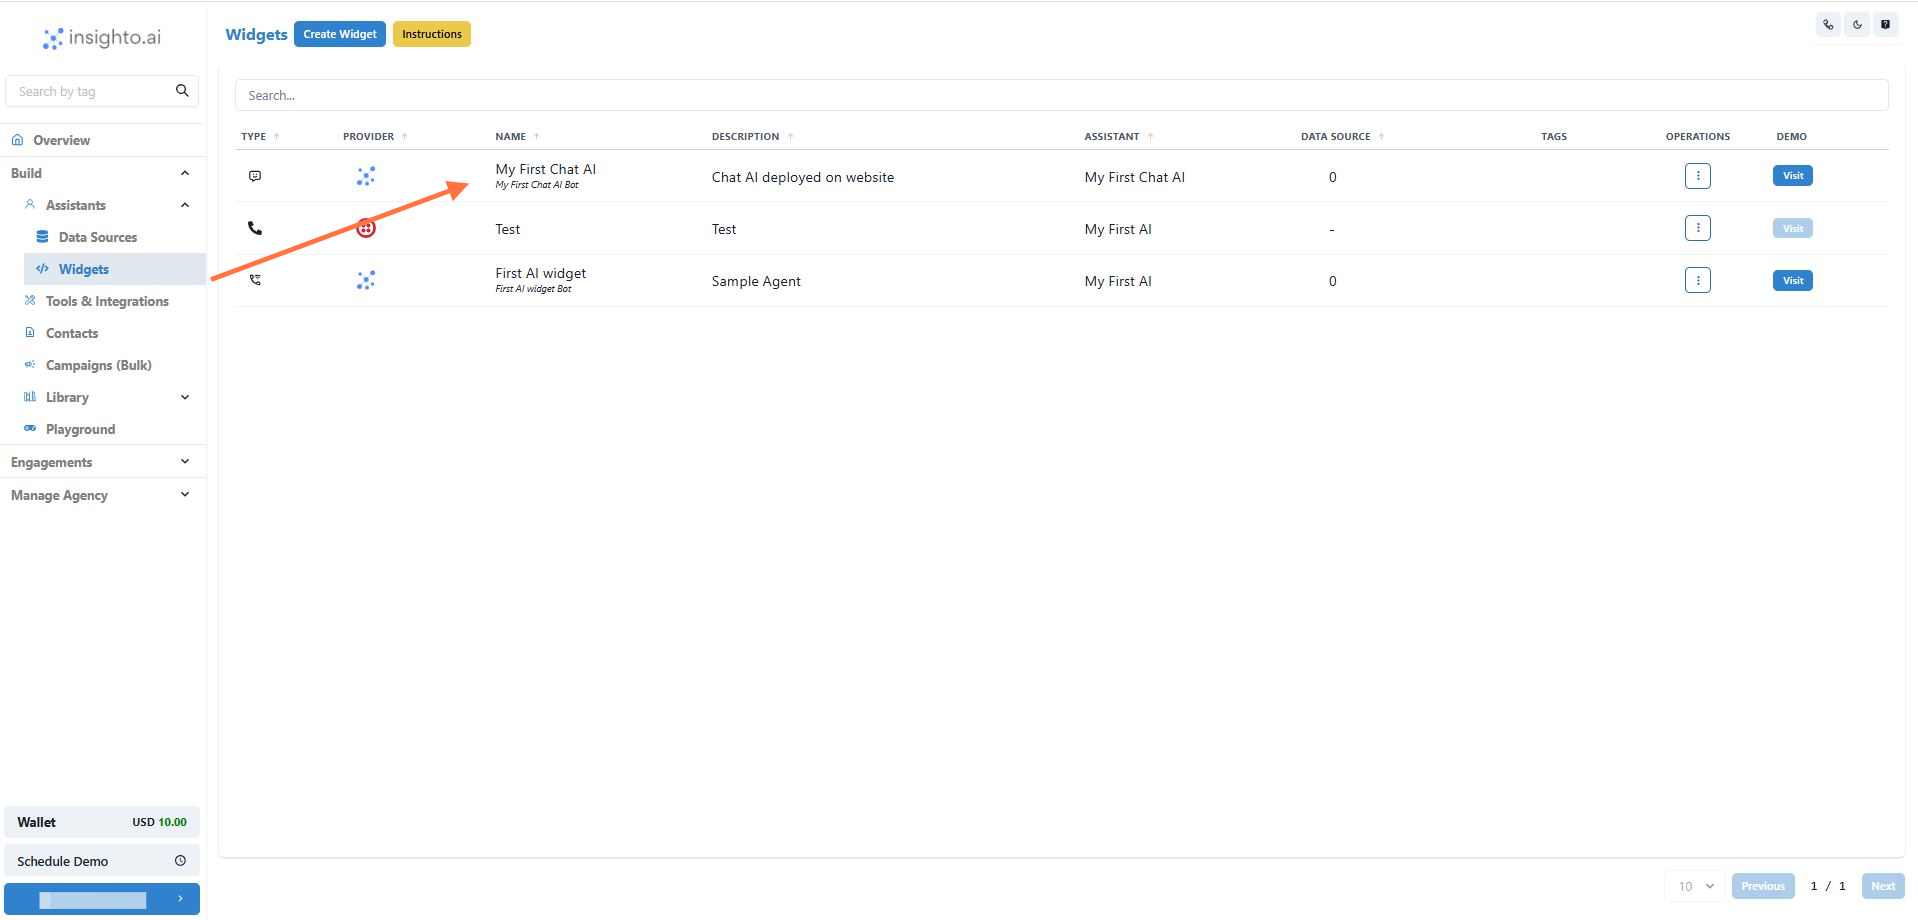
- Click on Visit
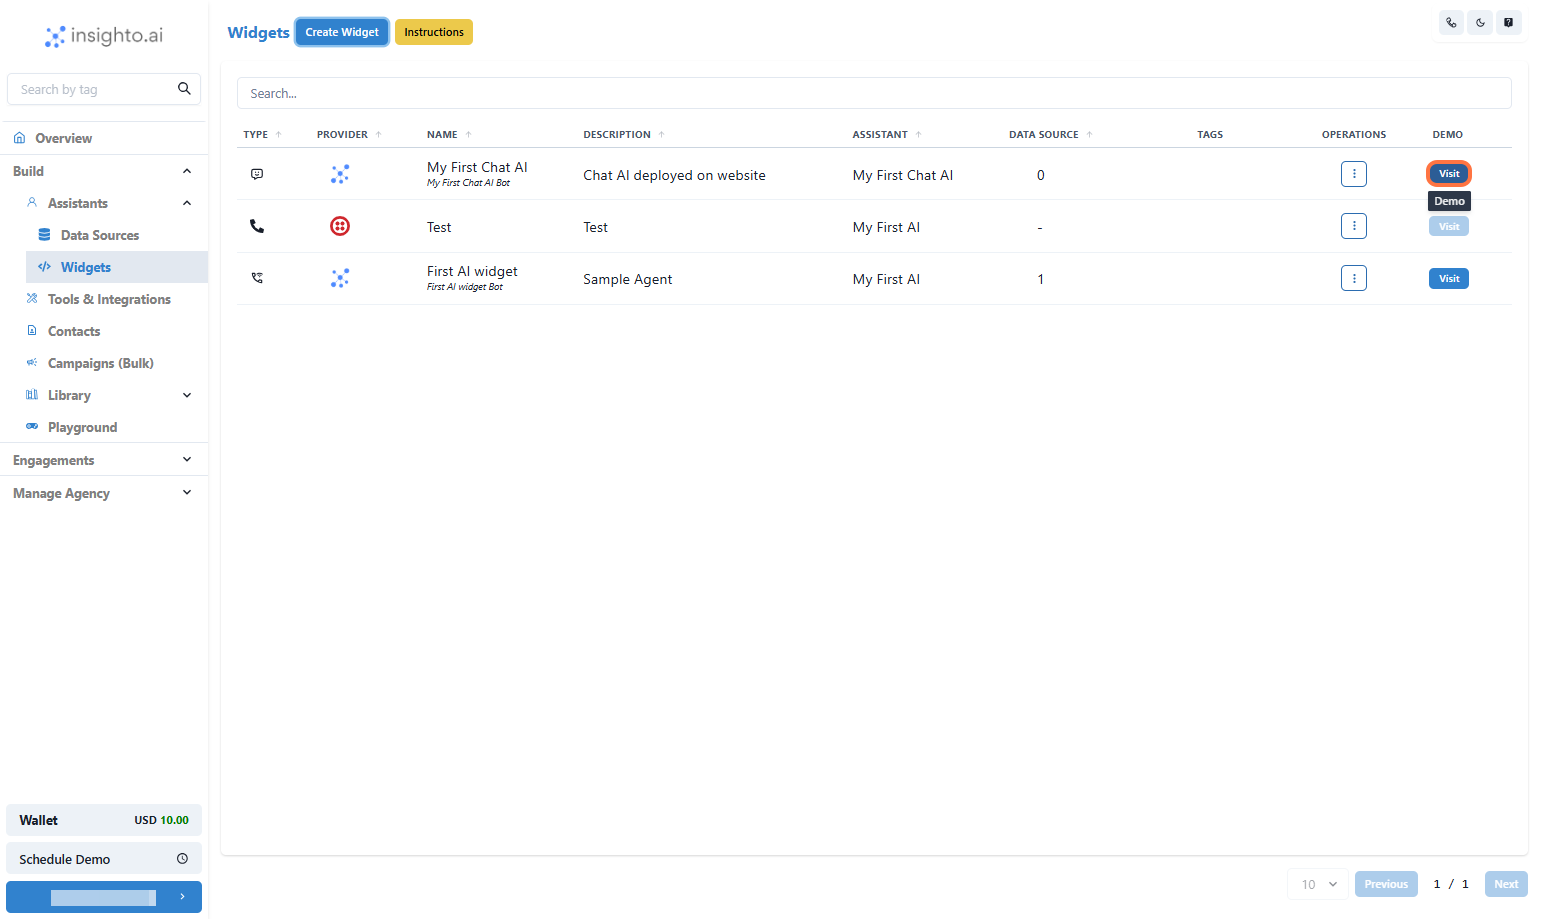
- Chatbot Demo Window in New tab
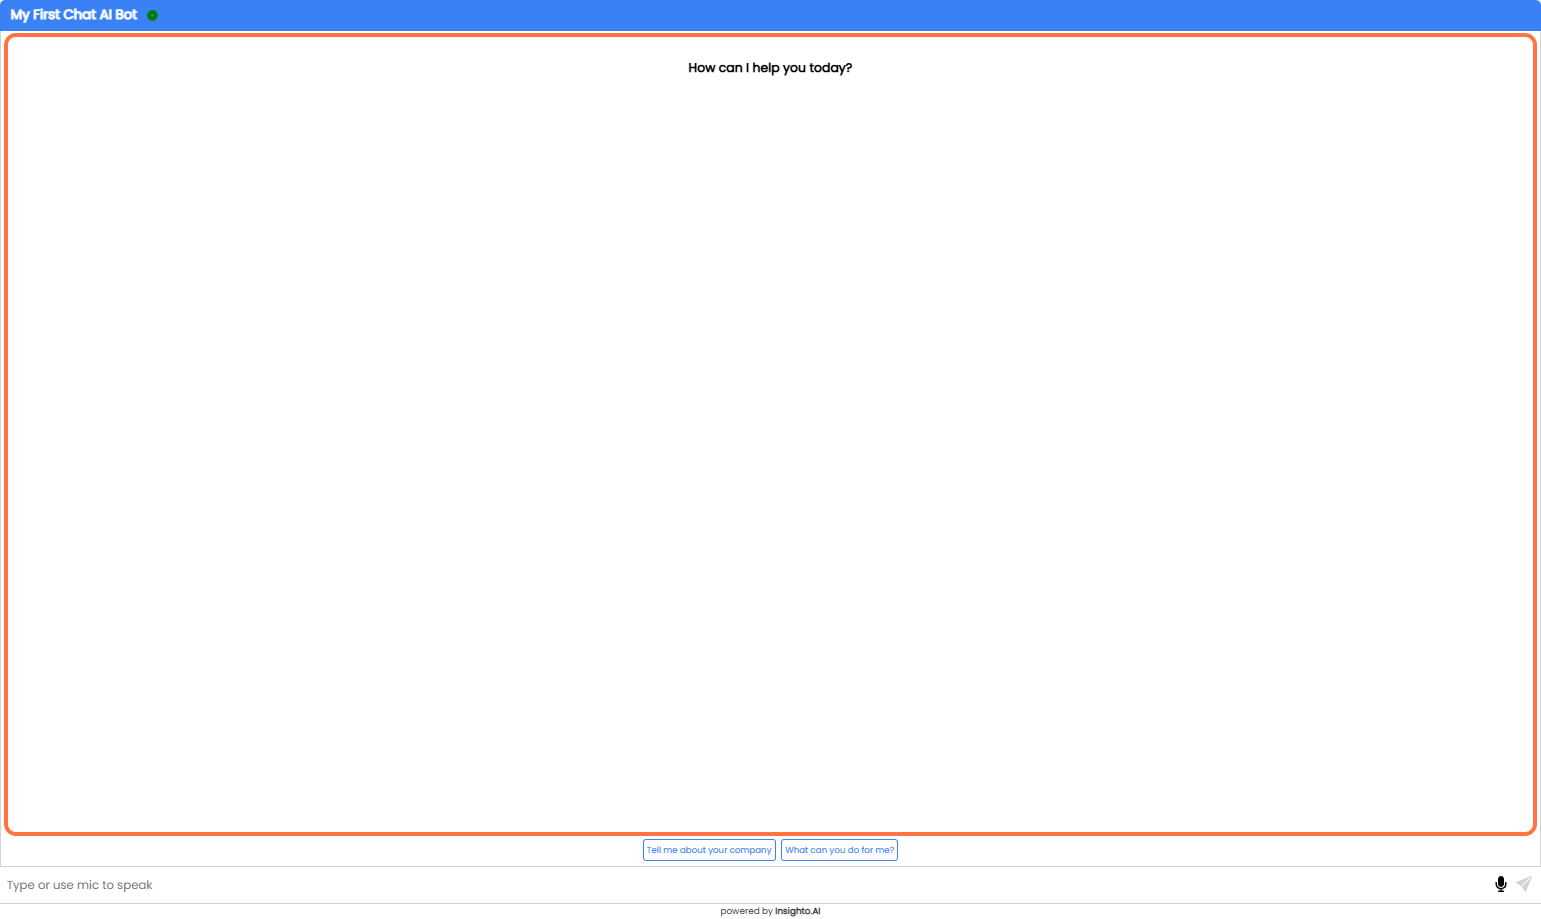
Deploy it on your website now!
- Click on Options
- Click on Get Code & QR
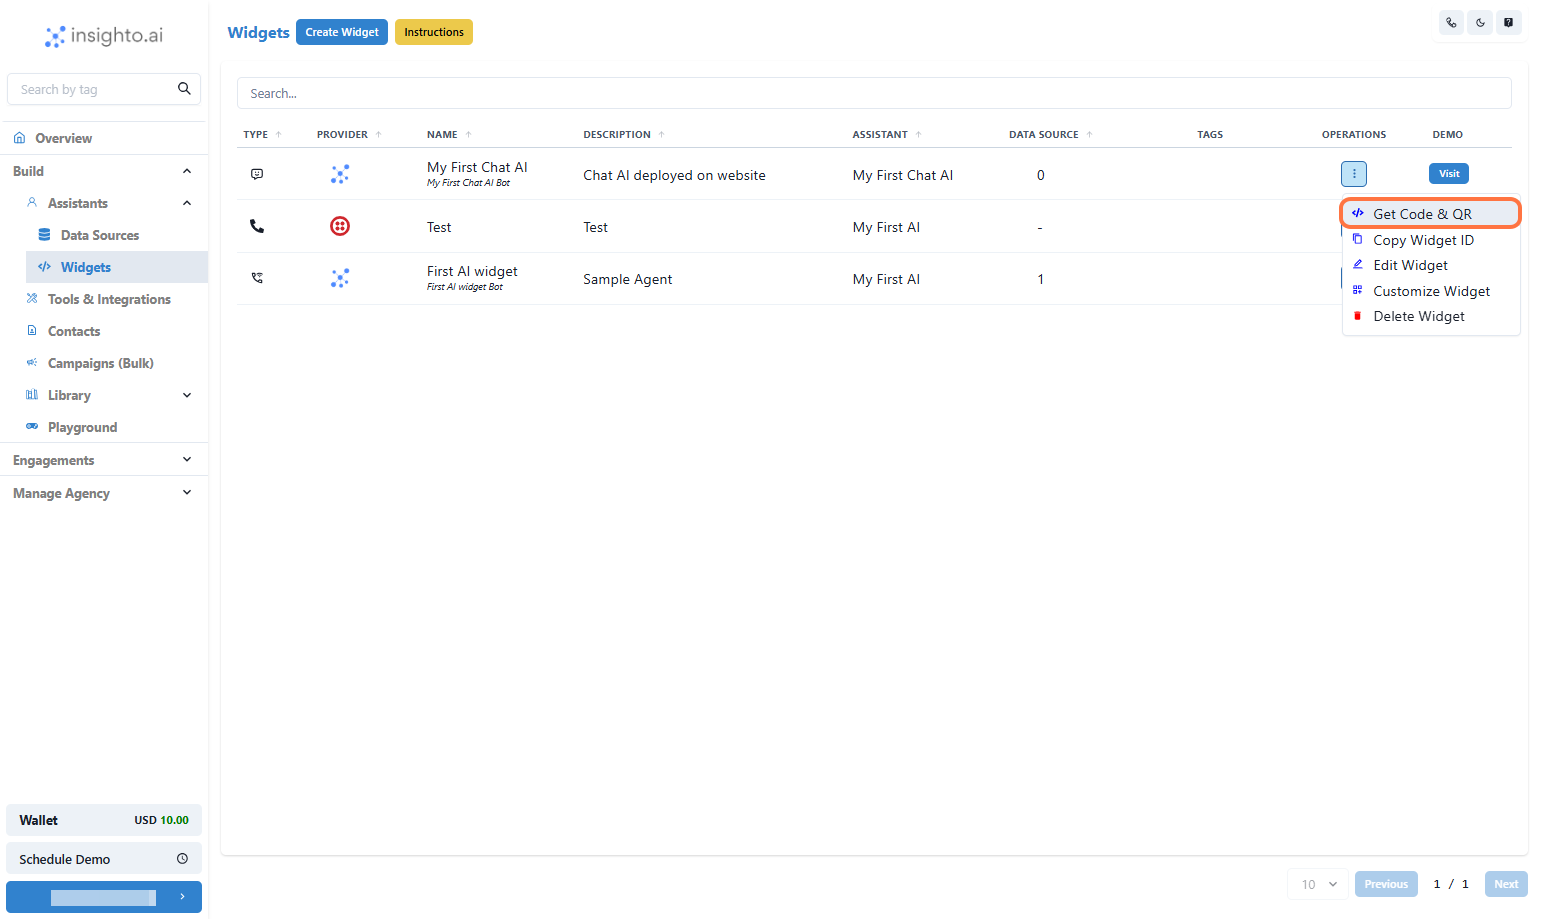
- Choose Widget Version & Deployment Type
Select from:
- Modern (Recommended) – Latest design and features
- Legacy – For older setups
- HTML iFrame – Embed in a fixed section of your site
- Chat Widget – Floating bubble on your webpage
