Deploy Your AI Chat Assistant on Facebook Messenger
Learn how to seamlessly integrate your custom AI chat agent with Facebook Messenger. This guide walks you through connecting your Facebook Page and deploying your assistant to automatically handle user messages in real-time.🔧 First Step: Set Up the Tool and Connect Insighto with Facebook
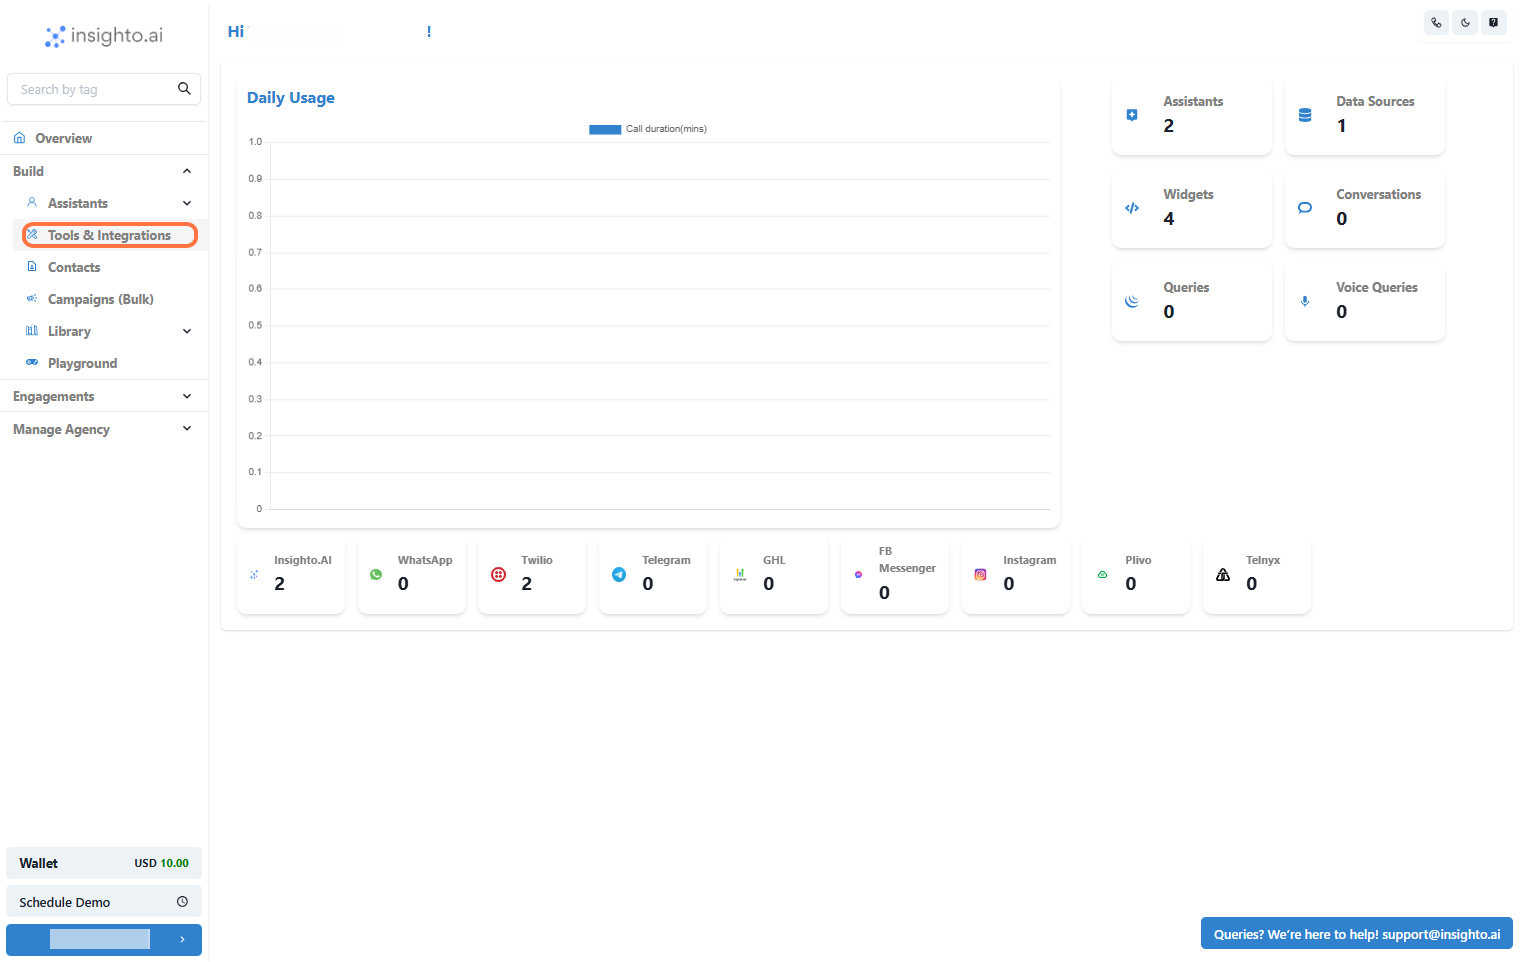
We’ll start by integrating Insighto with Facebook Messenger.- Select Tools & Integration from the Sidebar
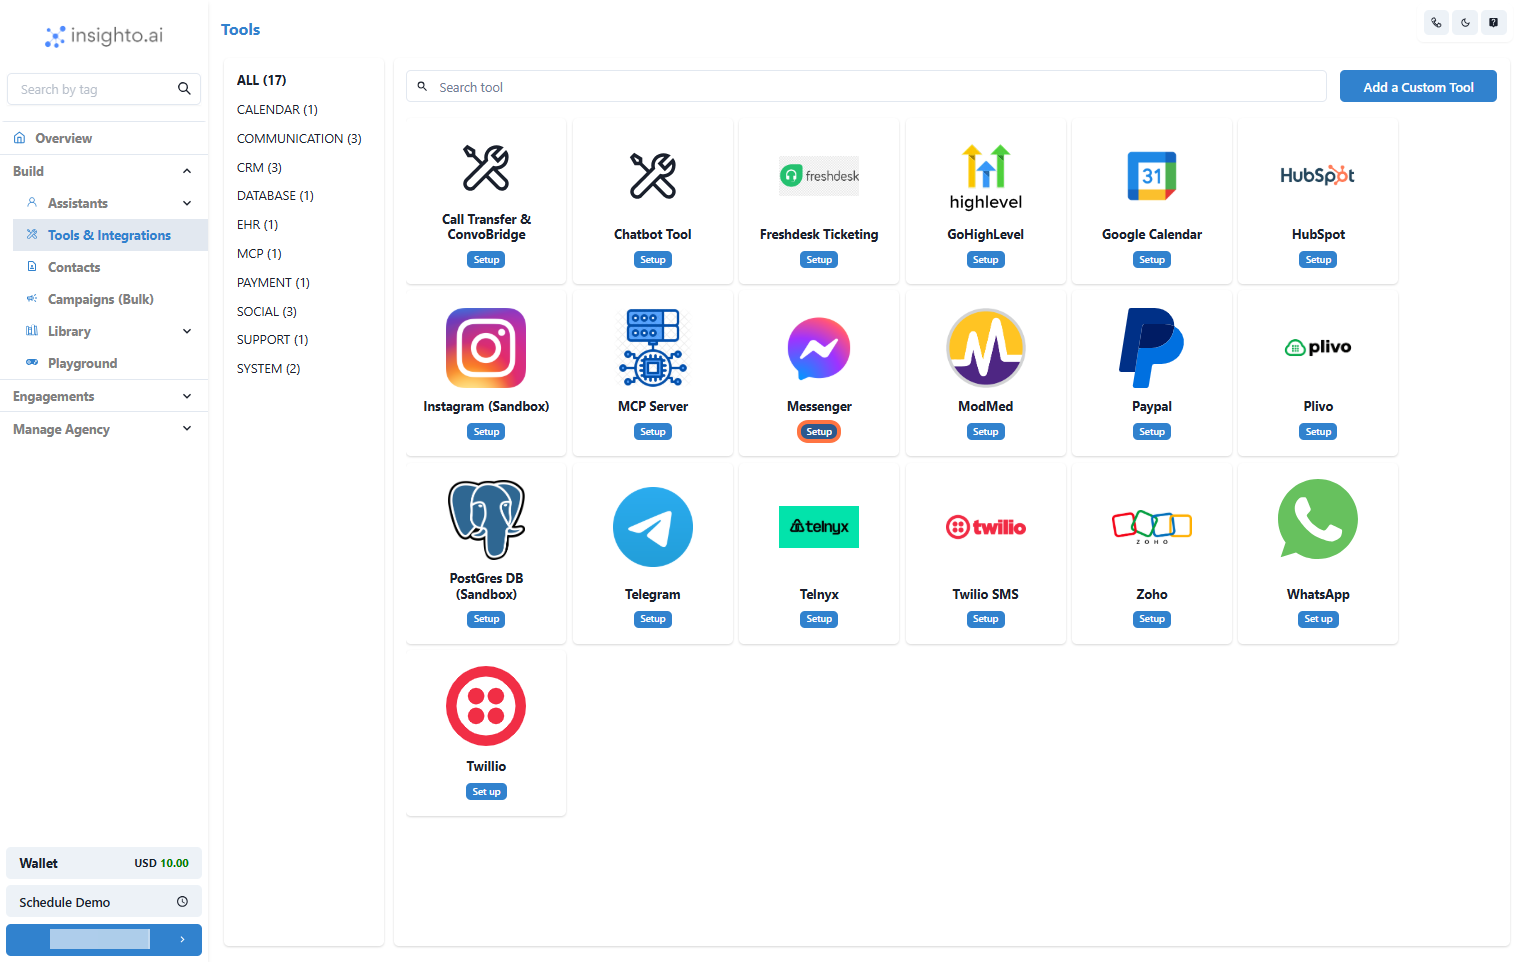
- Click Set Up Next to the Messenger Tool
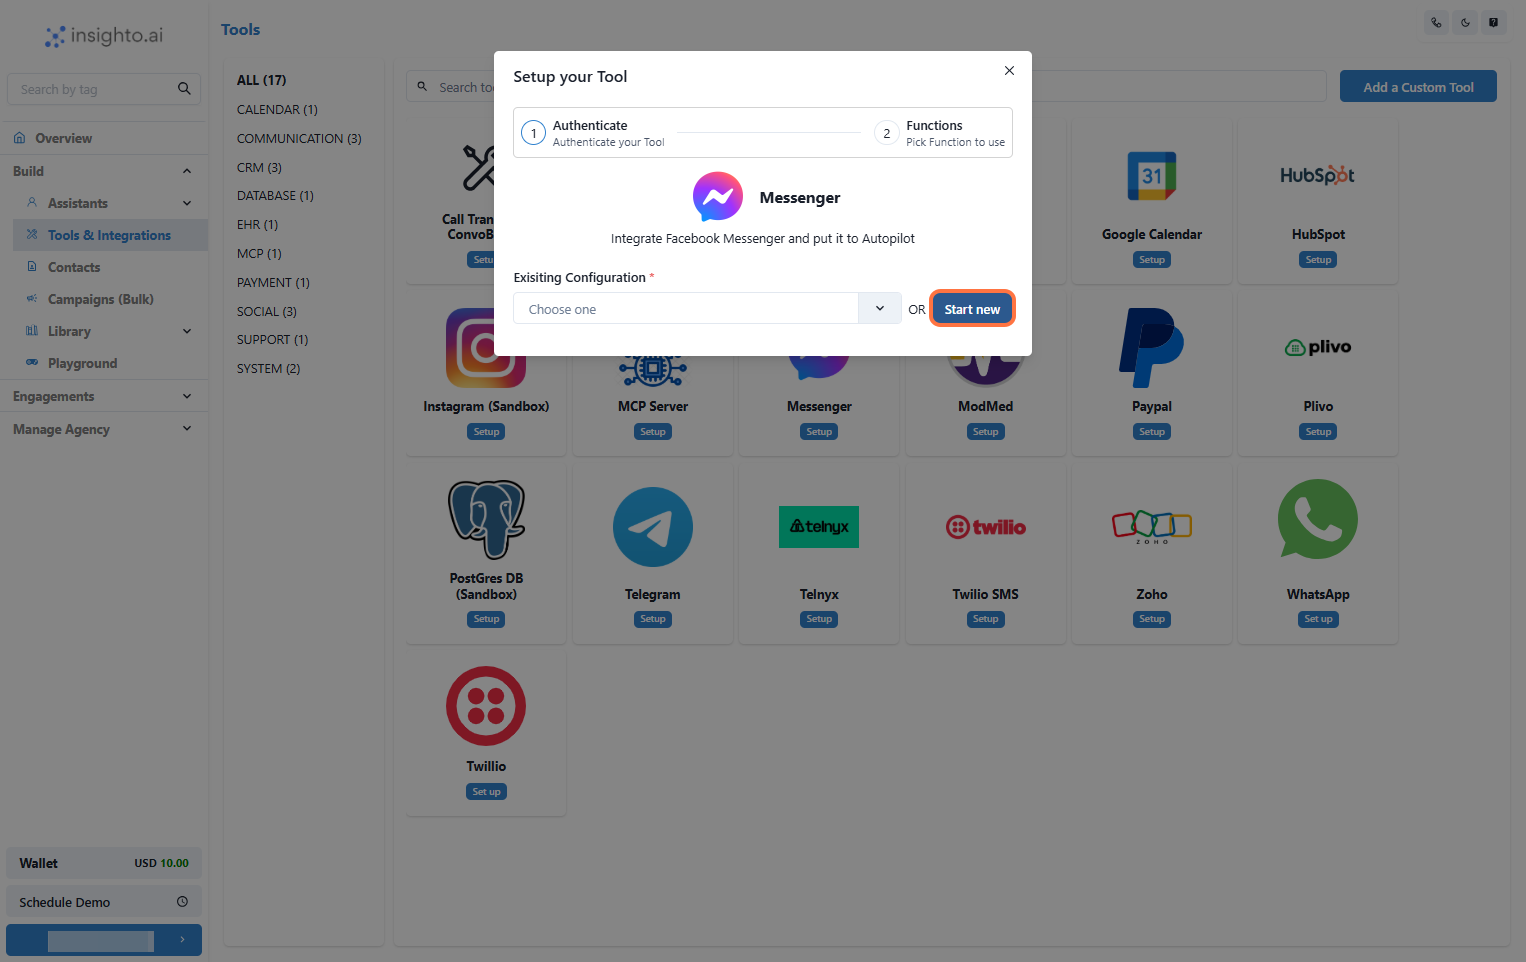
- Click Start New and Log In to Your Facebook Account
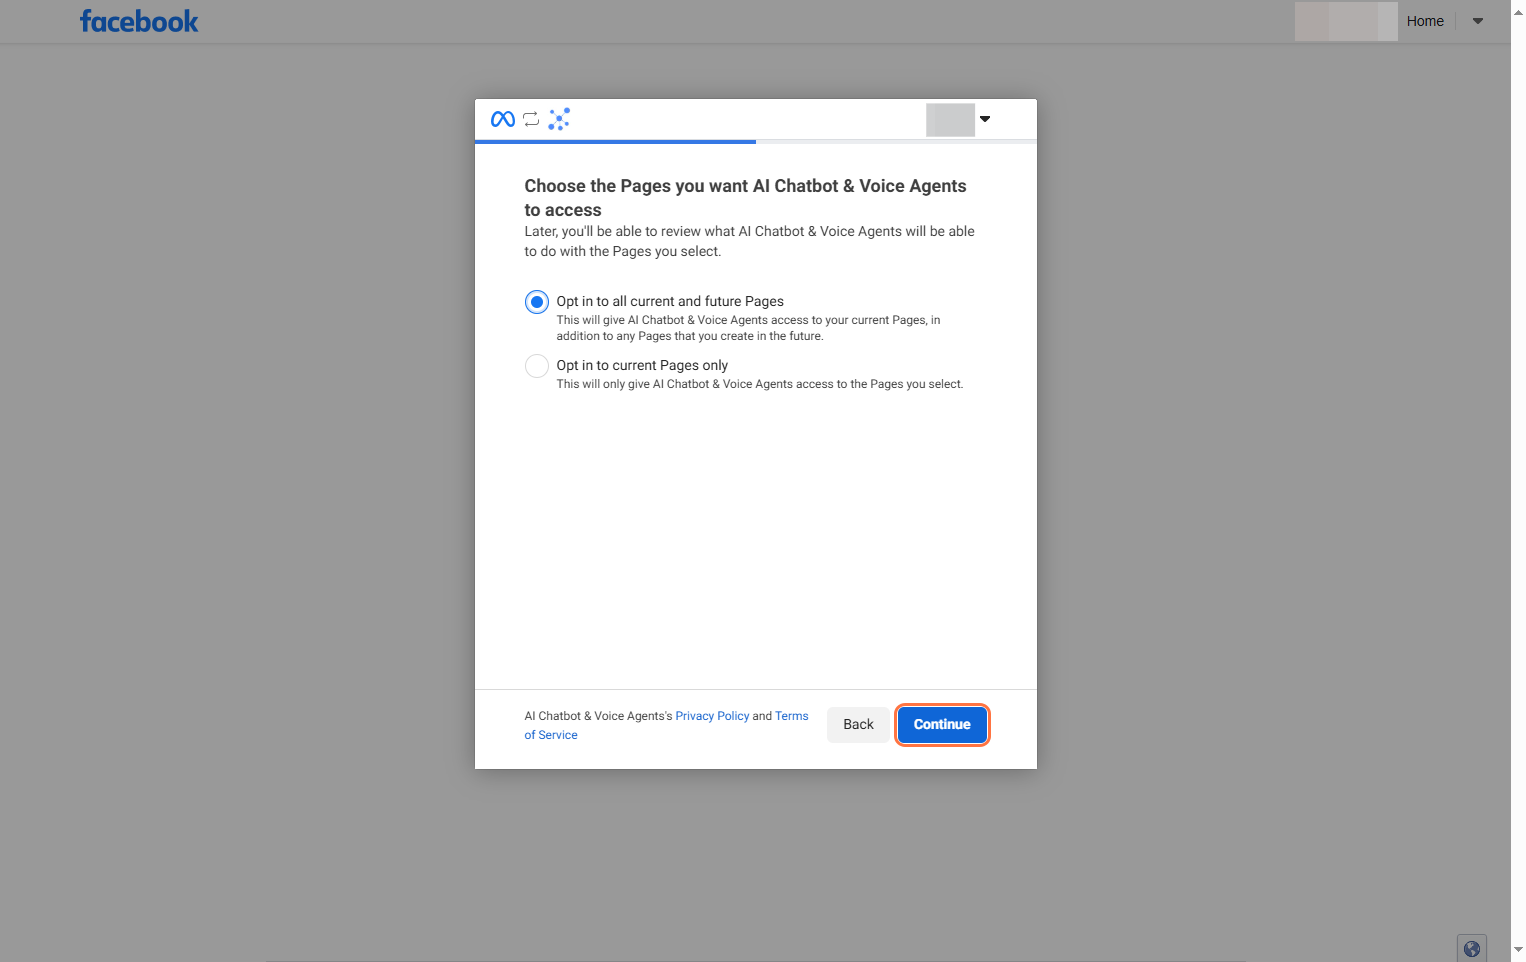
- Choose Which Facebook Pages to Connect
-
Opt in to all current and future Pages
This allows your AI assistant to be deployed on all Pages you currently manage, as well as any new ones you add in the future. -
Opt in to current Pages only
This lets you manually select which Pages you want to connect now. Choose this if you prefer more control over which Pages should show up while deploying the AI assistant.
- Confirm Integration and Return to the Platform
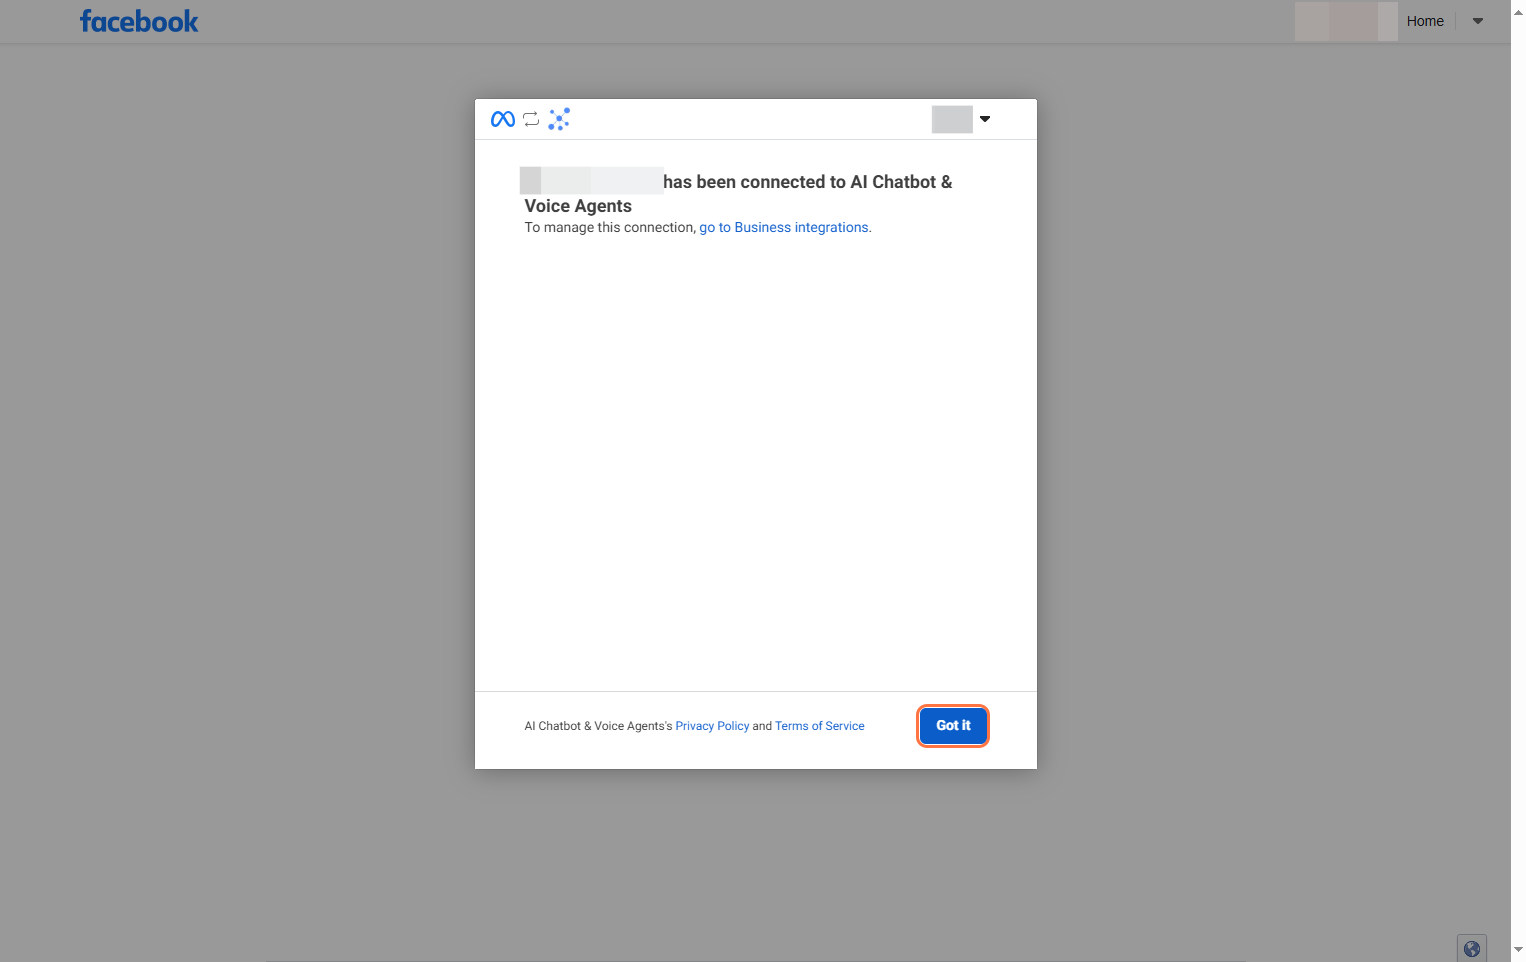
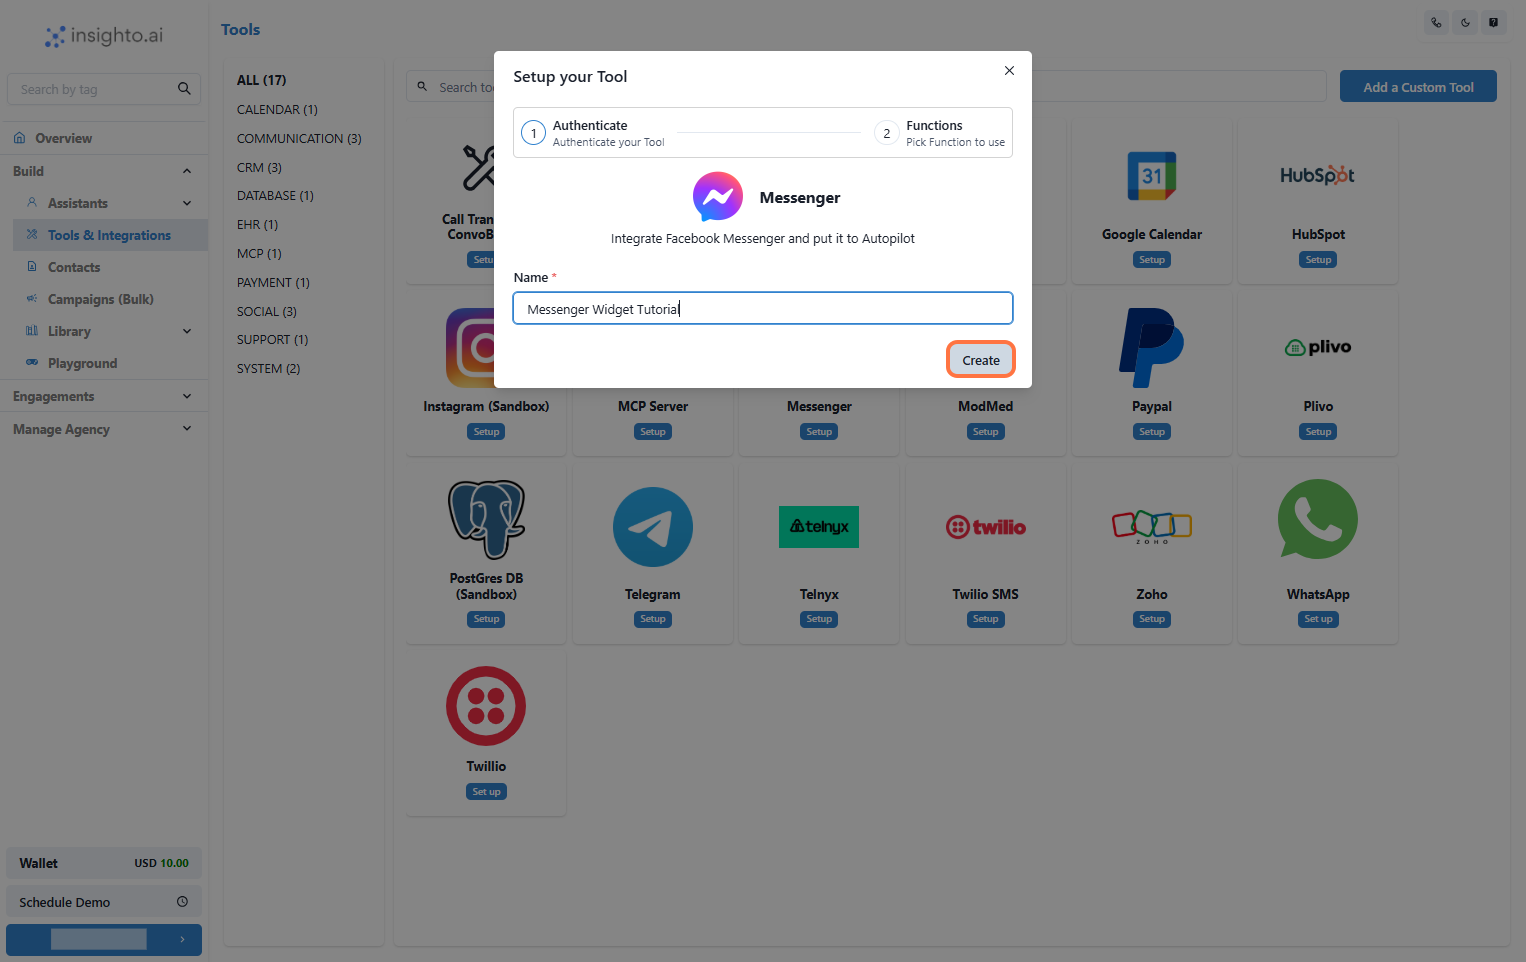
- Name Your Integration and Complete Setup
📝 Best Practice:
Use a clear and descriptive name likeSupport Bot – Brand Pageto quickly recognize your integrations later.
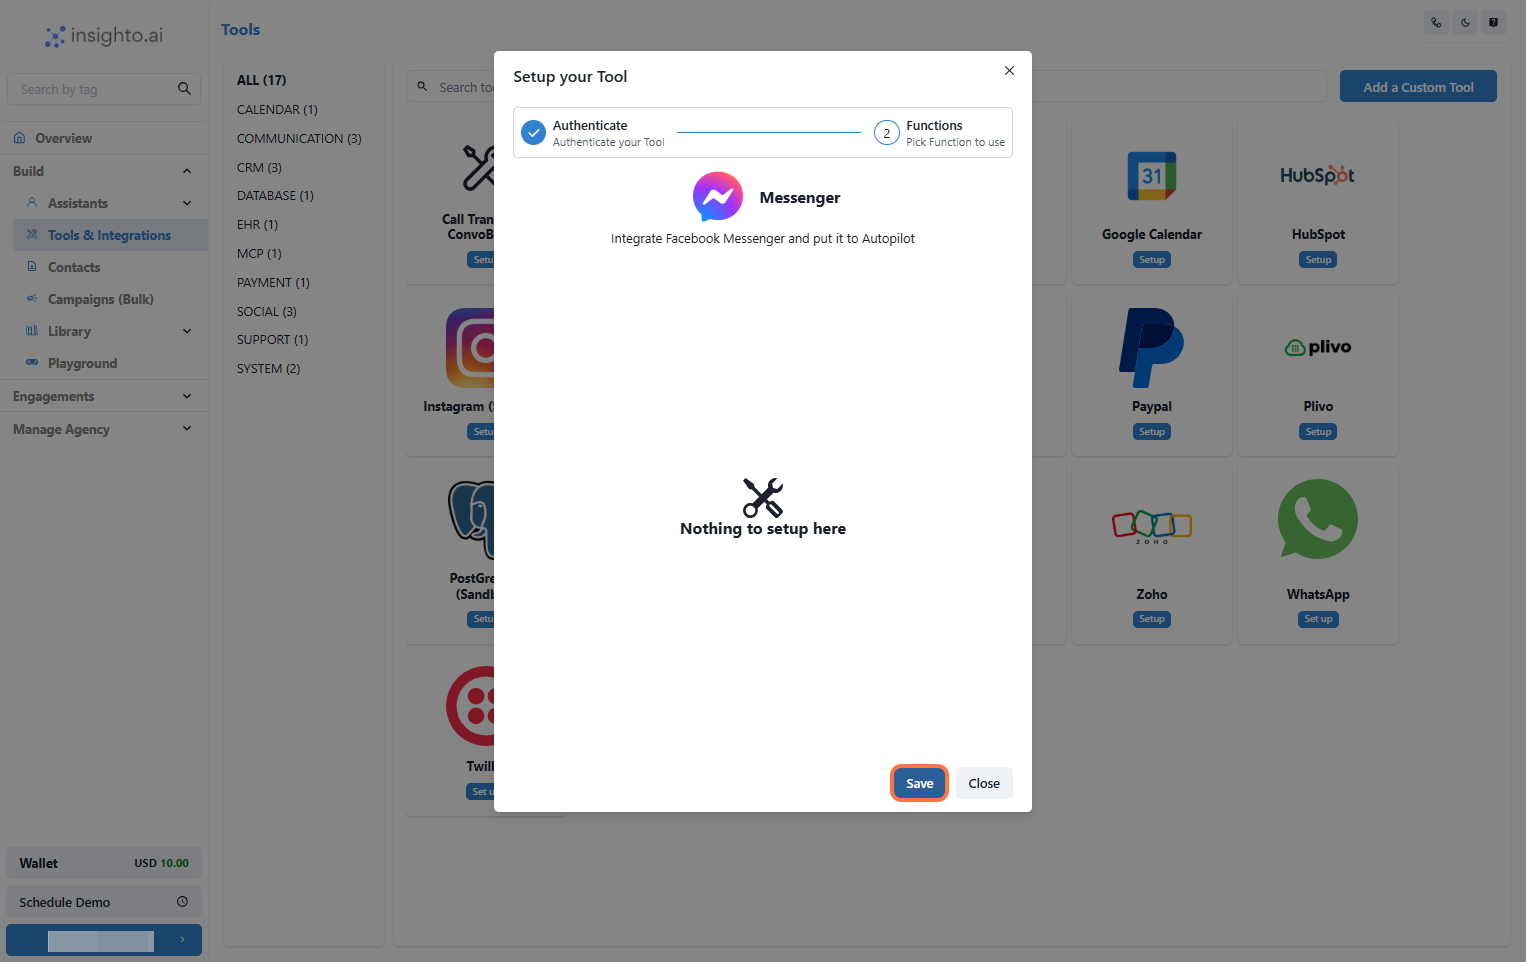
- Finalize Setup by Clicking Save
💡 Why This Happens:To complete the integration, simply click Save.
Messenger is used solely to link your Facebook Page. The actual deployment of your AI chat assistant will be handled separately via a Messenger Widget during the agent setup process.
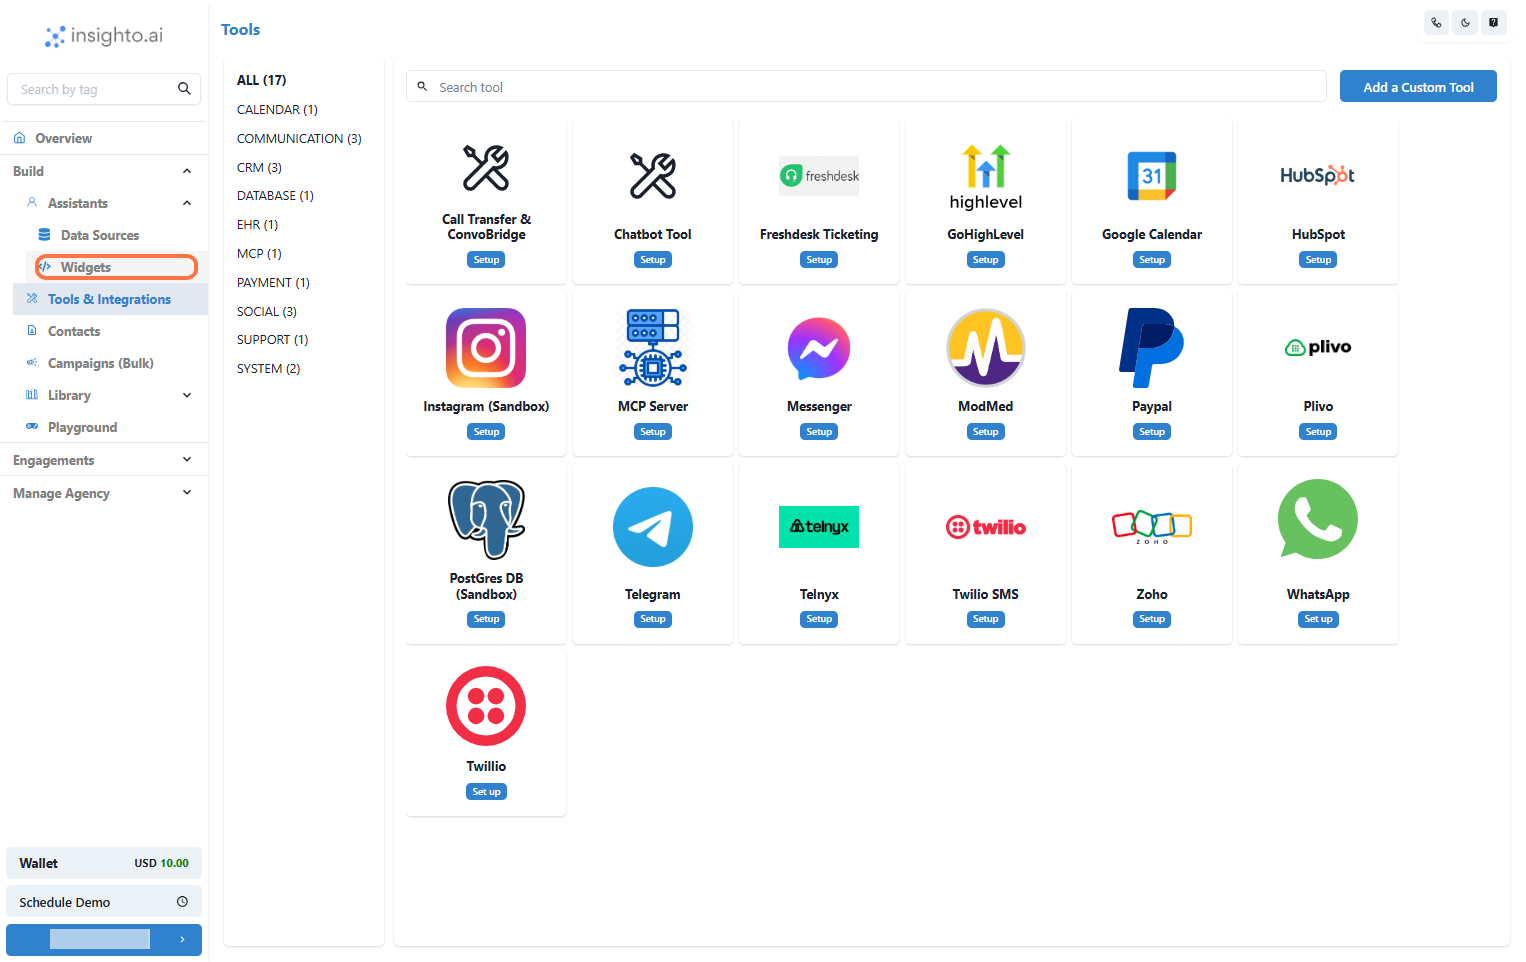
Next Step: Create a Messenger Widget to Deploy Your AI Chat Assistant
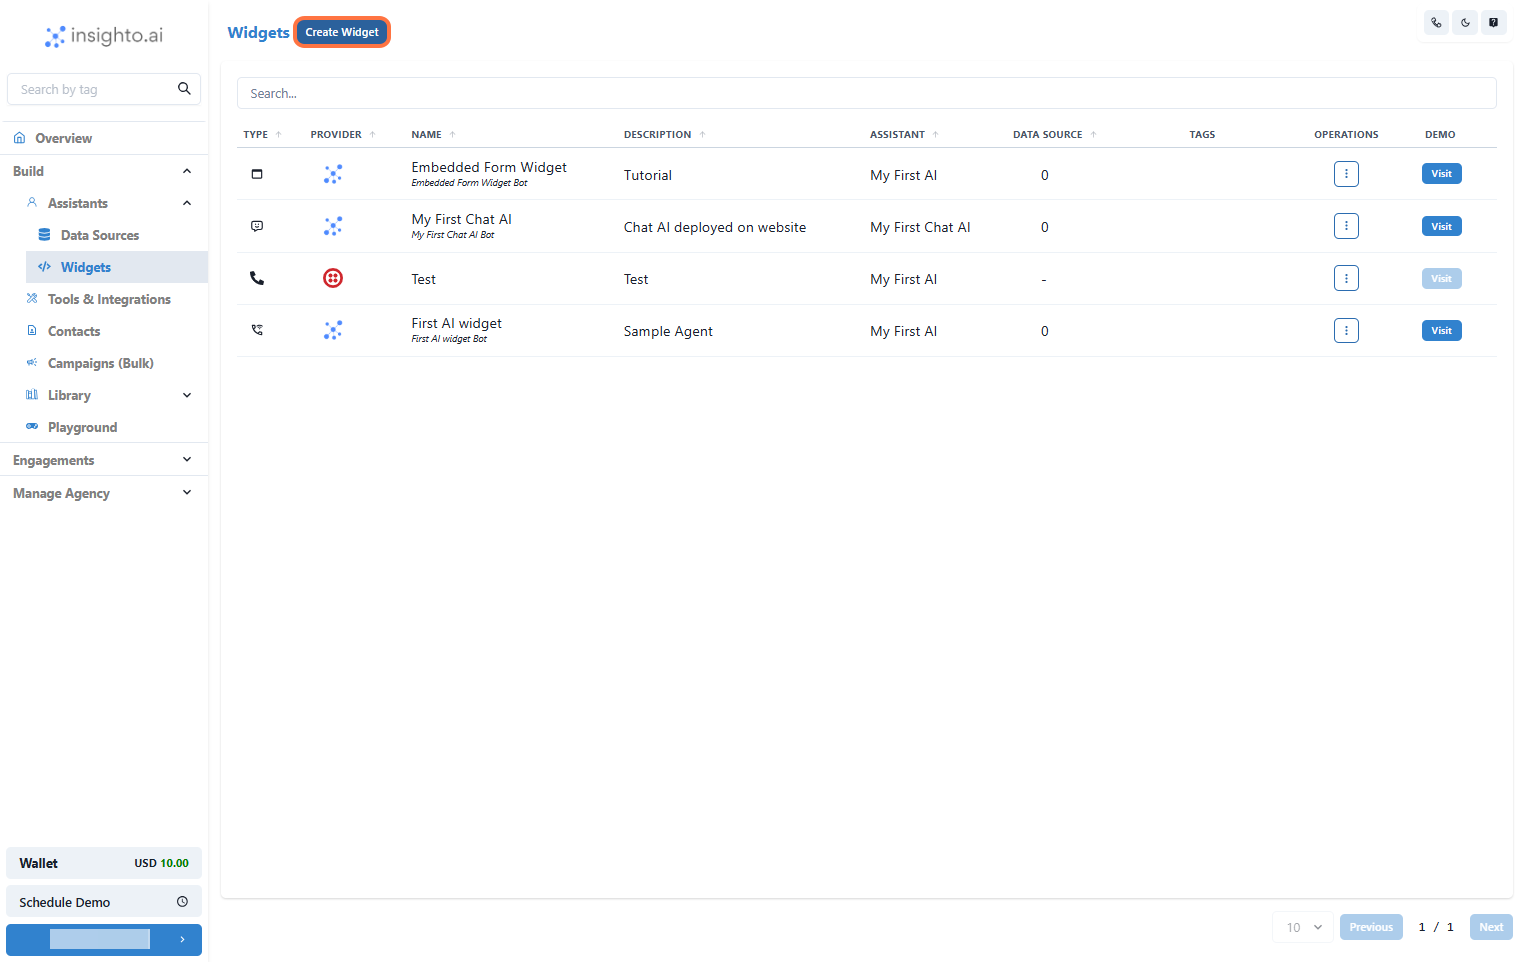
Now that the integration is complete, it’s time to deploy your AI chat assistant on Messenger. To do this, you need to create a Messenger Widget that will link your AI agent to your connected Facebook Page and handle incoming messages from users.- Click on Widgets from the Left Panel
🔔 Note:
Ensure you have already created an AI chat assistant before proceeding. If you haven’t, please follow the previous guides to create and configure your assistant first.
- Create a New Widget
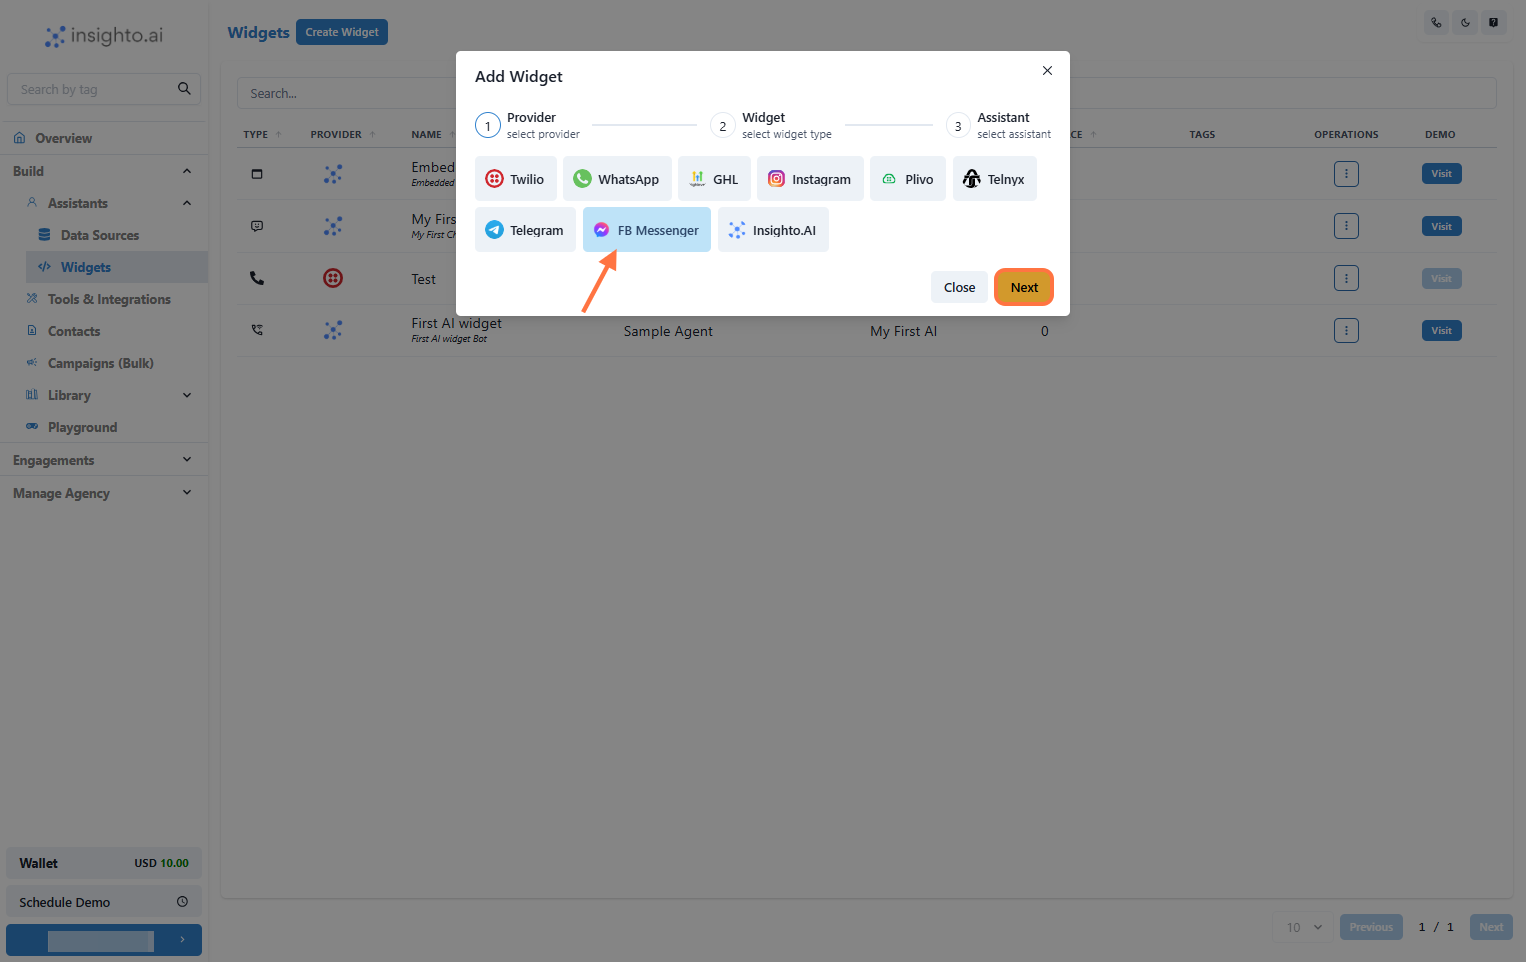
- Select Messenger as the Provider Type and Click Next
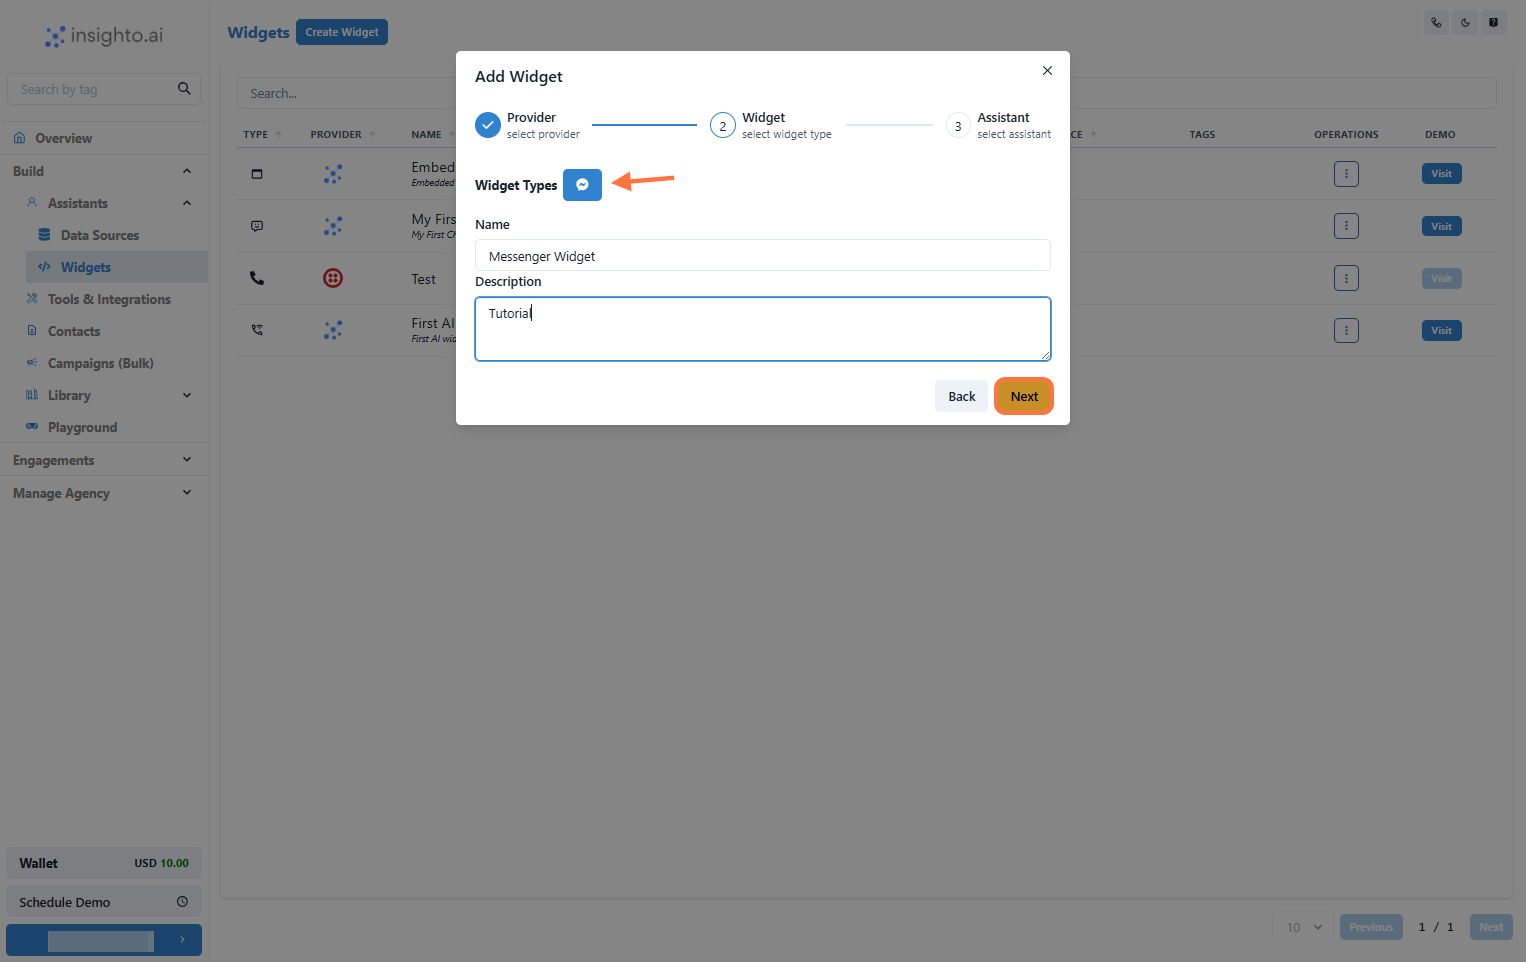
- Select Widget Type, Name, and Describe Your Widget
- Widget Type: Choose the appropriate type.
- Name: Choose a descriptive name for easy identification (e.g.,
Customer Support Chat). - Description: Provide a brief description of the widget’s purpose (e.g.,
Handles customer support inquiries via Messenger).
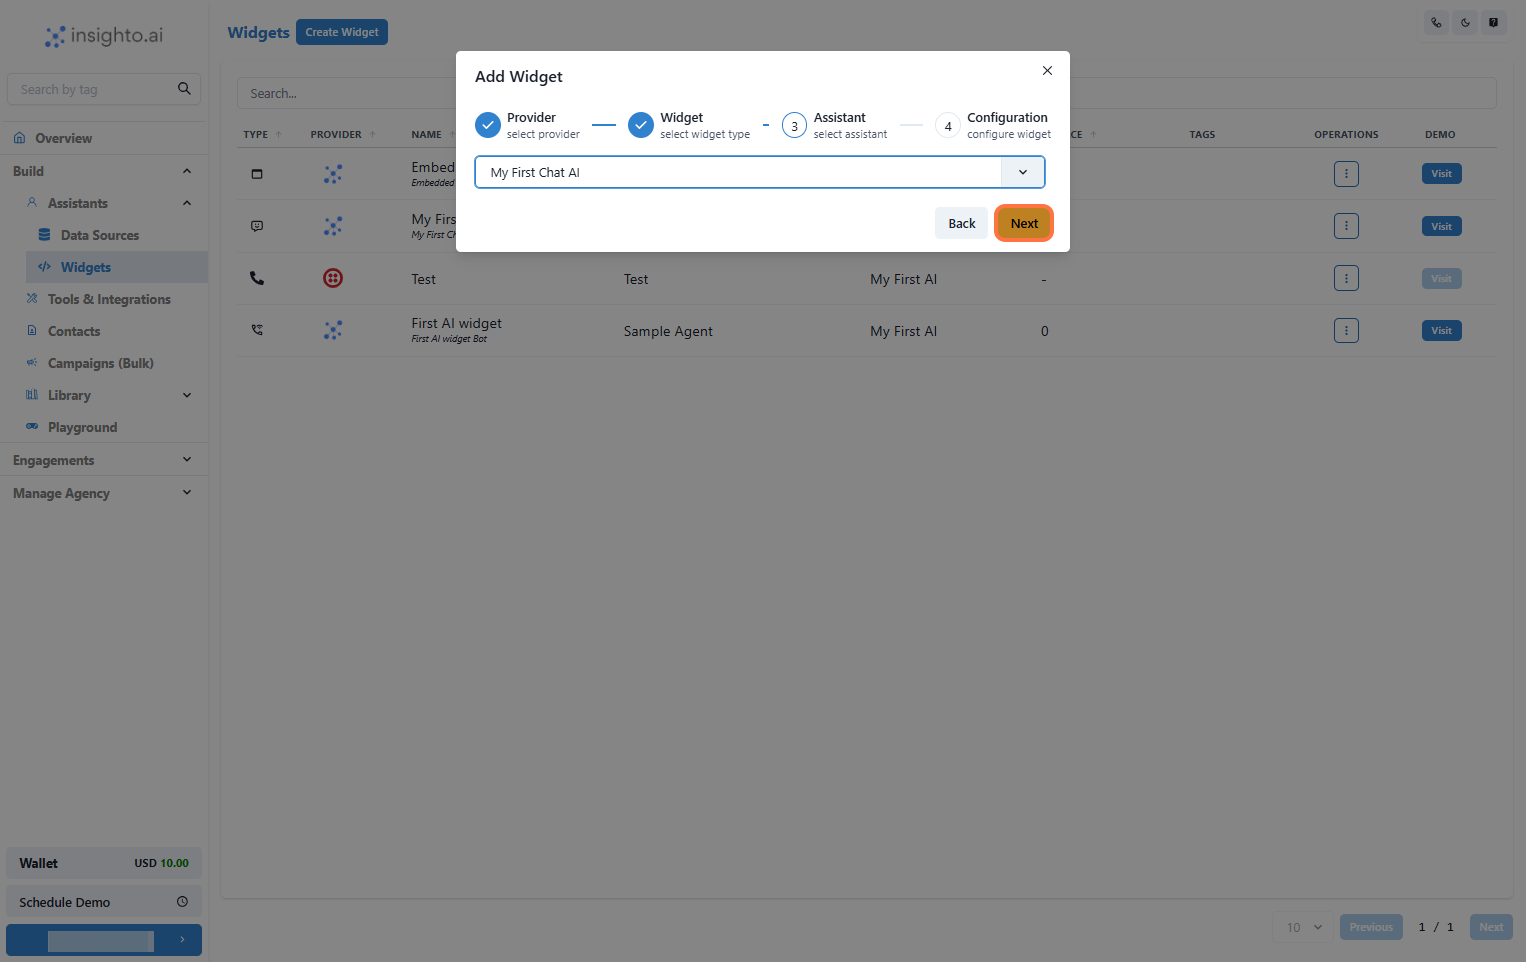
- Select Your Chat Assistant from the Dropdown
- Select the Messenger Tool and Choose the Page for Deployment
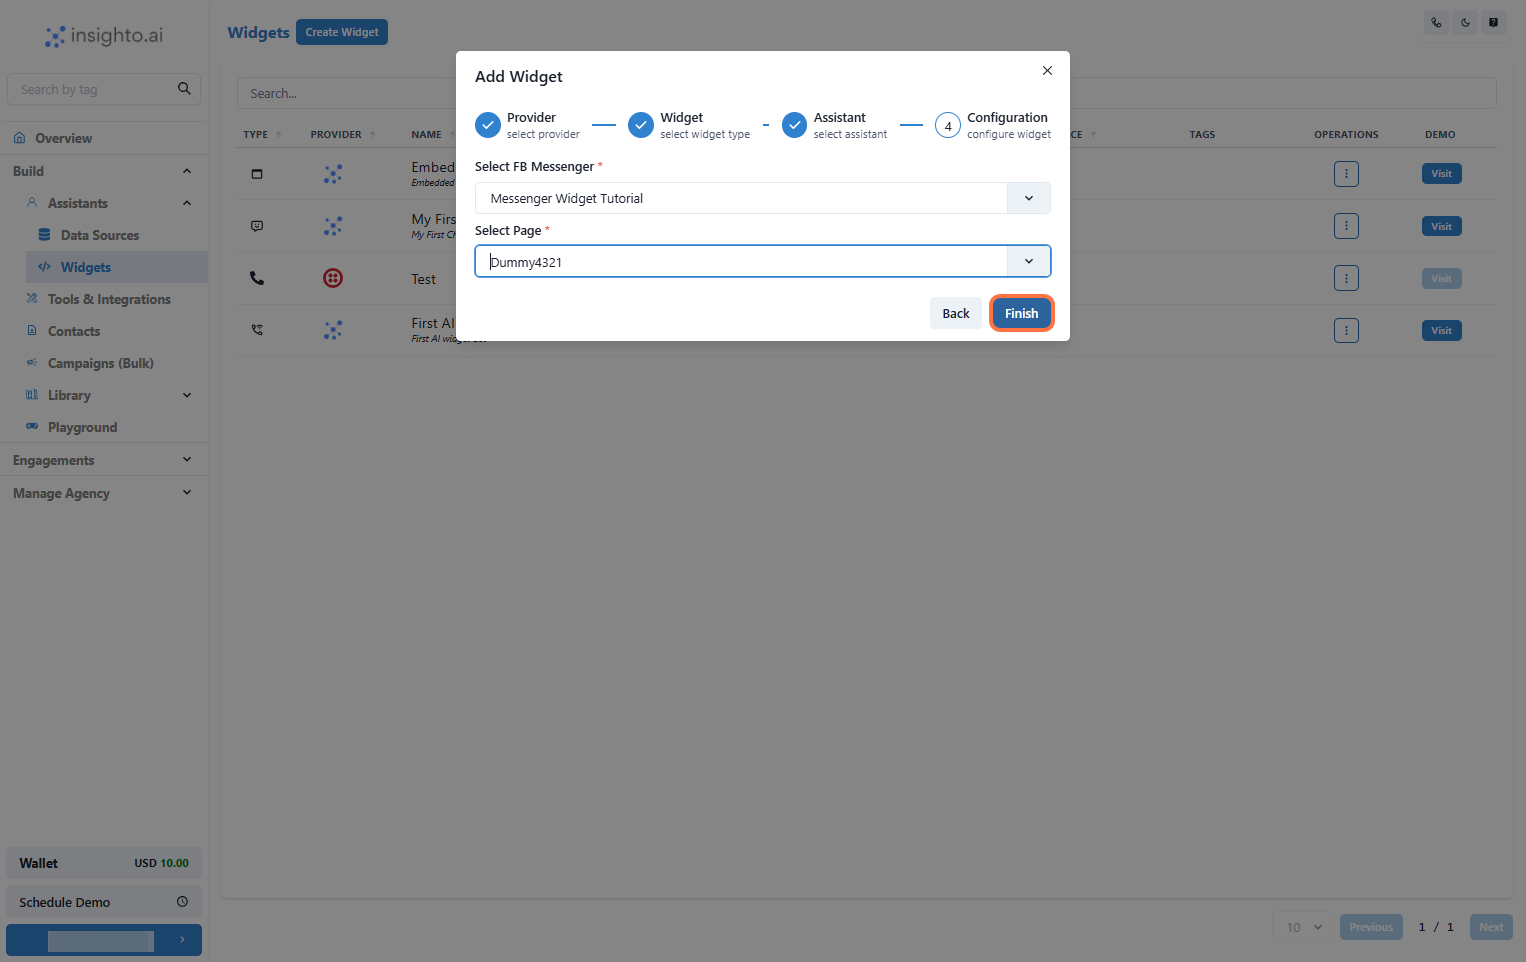
🎉 Success!
Your AI chat assistant is now active on your Facebook Page and ready to handle user messages via Messenger.
- 🧪 Test Your Widget
- Click the Visit button next to your widget to open it in a new window and interact with the assistant directly.
- Visit the Facebook Page as a user, send a message, and see how the AI assistant responds.