Creating Forms and Connect them with Assistants
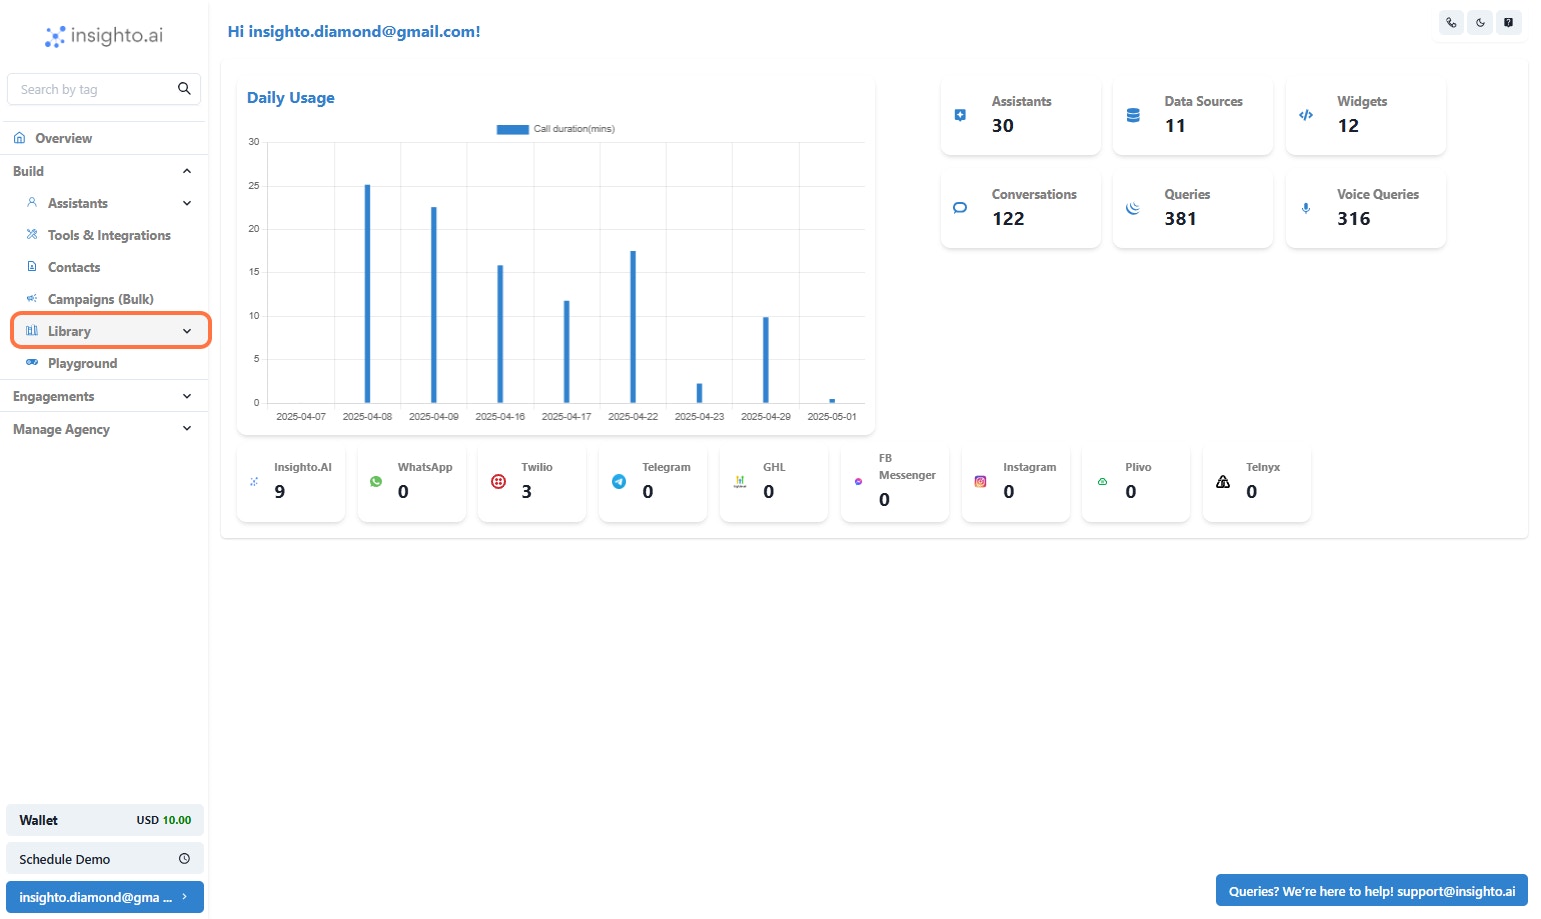
- Navigate to the Library
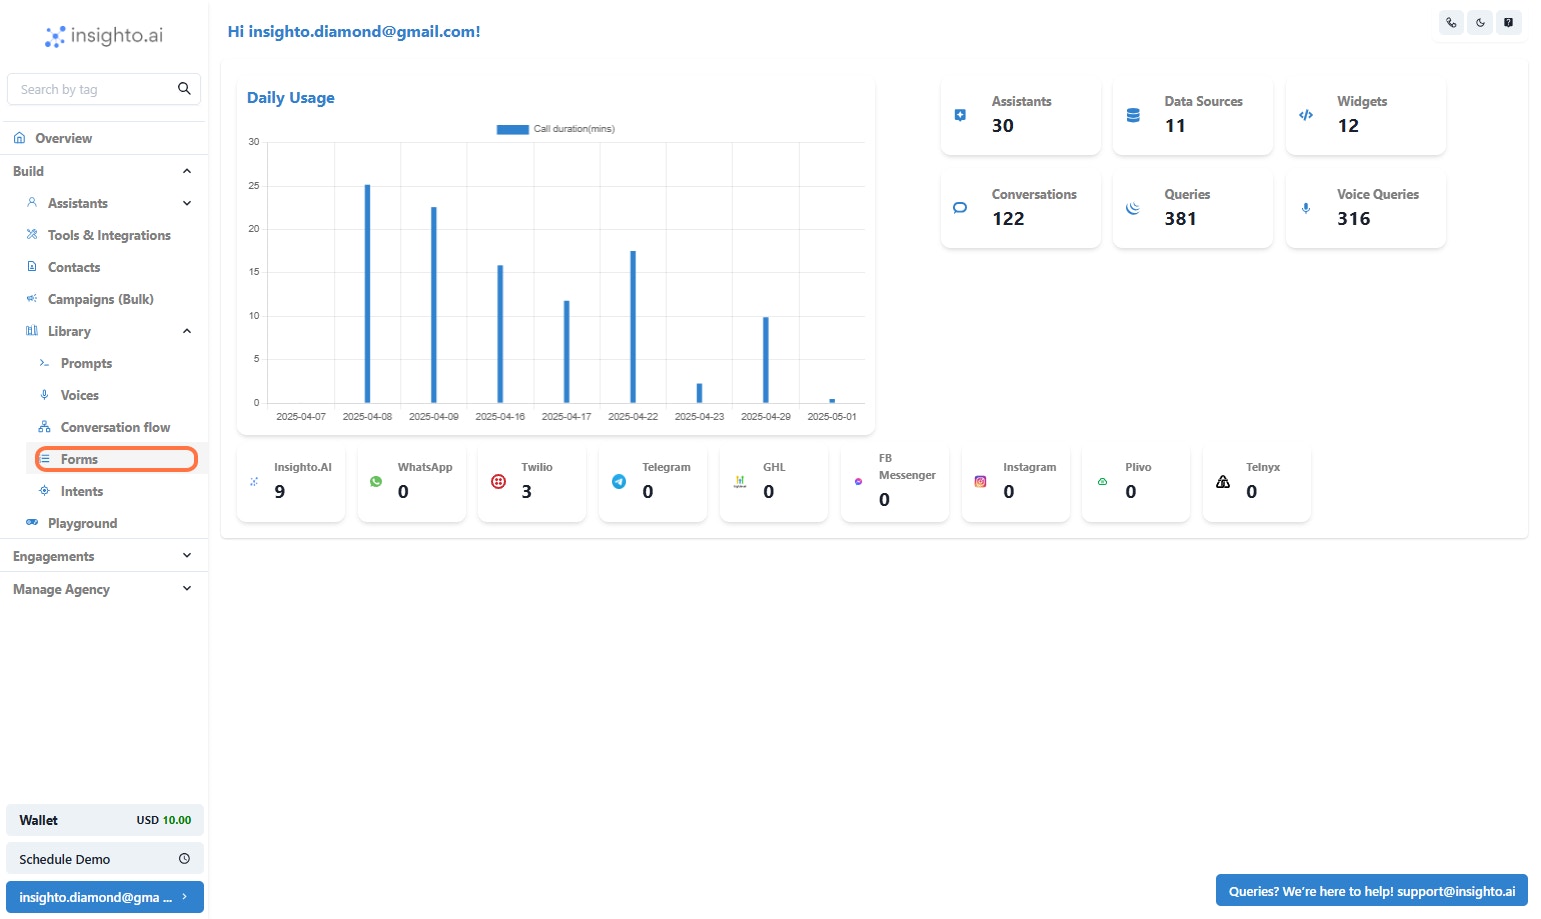
- Click on Forms
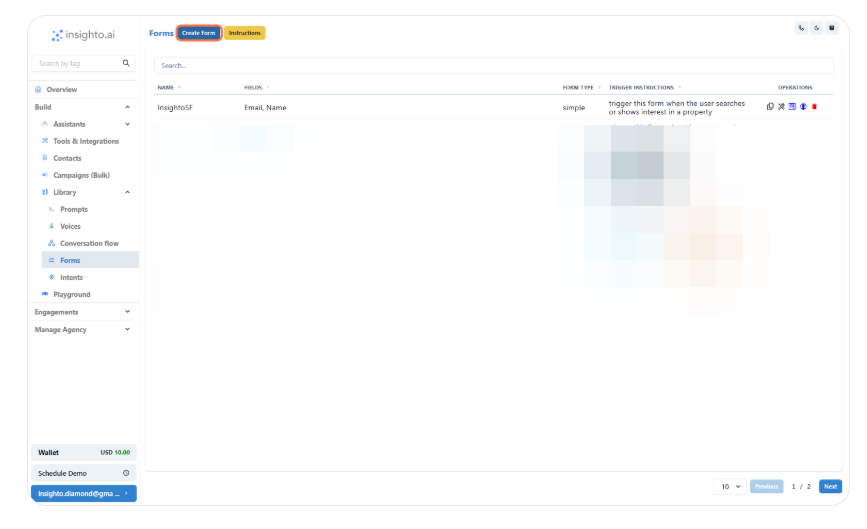
- Click on Create Form
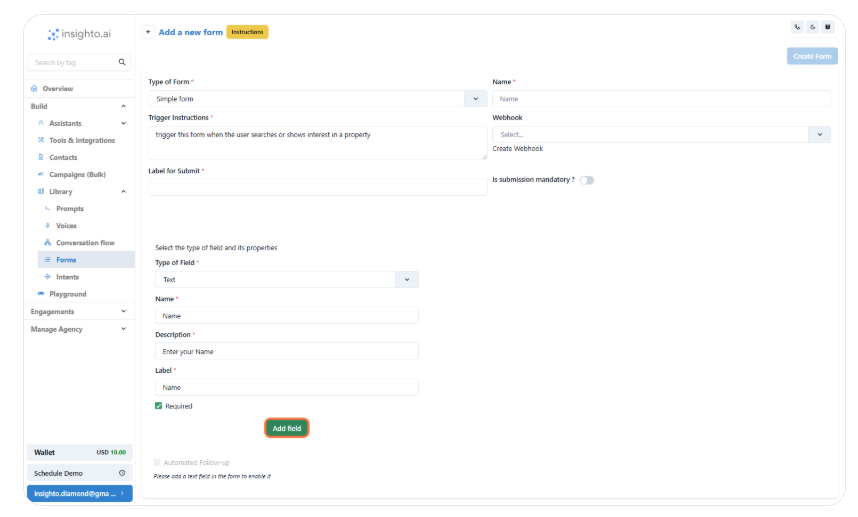
- Define Basic Form Details

- Add a Text Field to Capture User Name
- Name: Used internally to identify the field. Avoid spaces. Use formats like
FullNameorfull_name. - Description: A short helper text to guide the user on what to enter in this field.
- Label: This is the visible field name on the form. You can use spaces here, like Full Name, for better readability.
- Required: Enable this checkbox if you want to make this field mandatory for form submission.
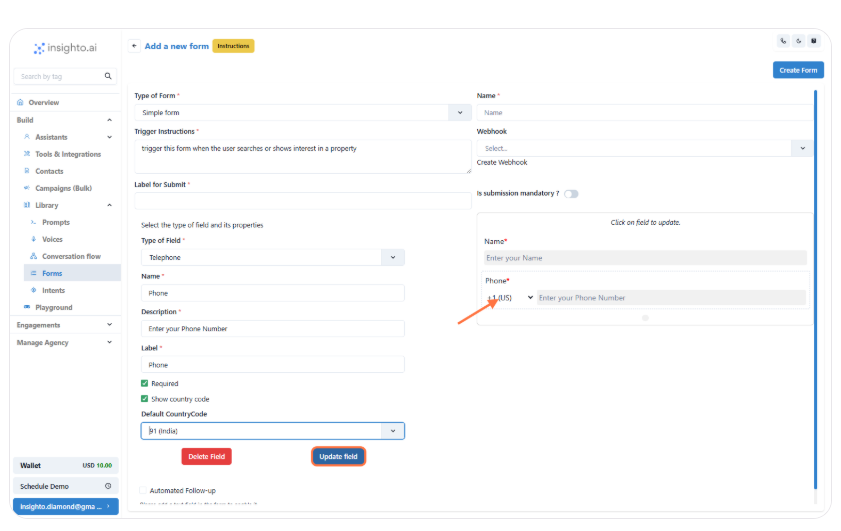
- Add a Phone Number Field
- Name: Internal reference for the field (e.g.,
PhoneNumber). Avoid using spaces. - Description: Text to guide the user (e.g., “Enter your phone number including area code”).
- Label: The visible field name shown to users (e.g., Phone Number).
- Required: Check this box if the phone number must be provided before form submission.
- Show Country Code: Enable this checkbox to allow users to select their country code.
- Default Country Code: Set a default country code to prefill the field (e.g.,
+1for the US).

- Edit or Delete a Form Field
- Hover over the field and click on it.
- In the left panel, choose Update to edit or Delete to remove the field.
- Make necessary changes and save, or confirm deletion.
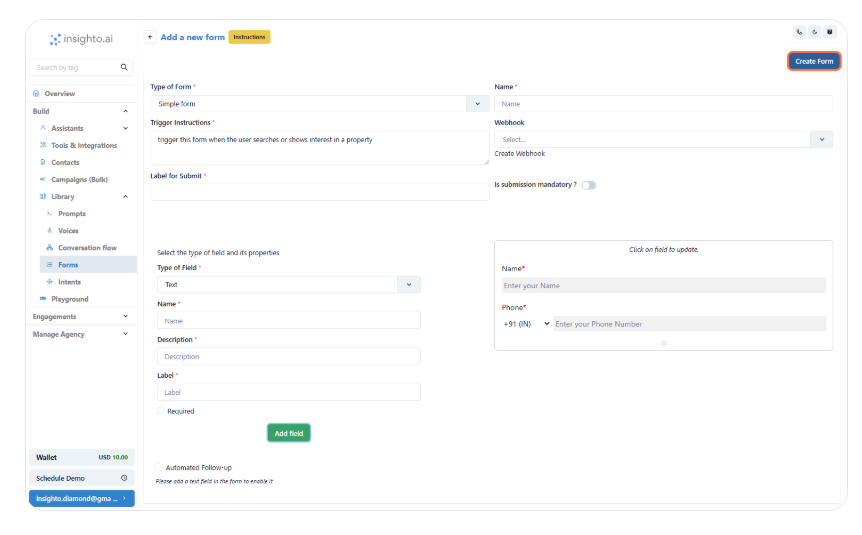
- Click on Create Form
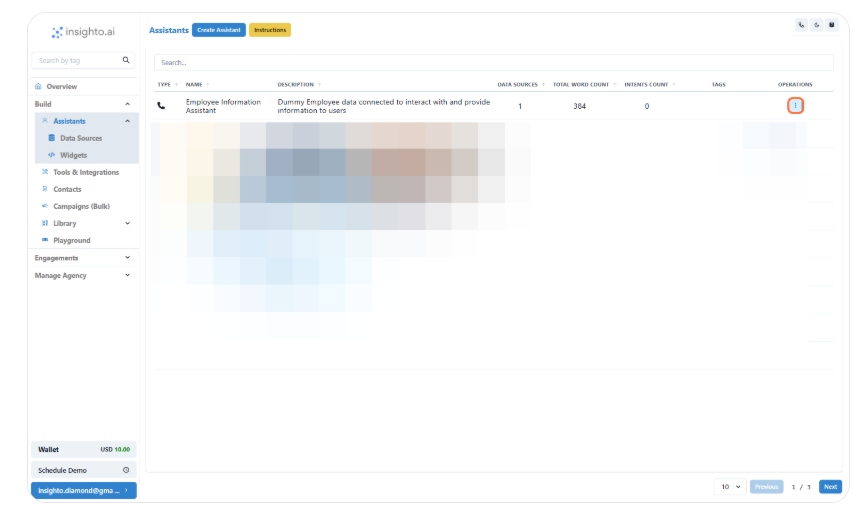
- Go to Assistants
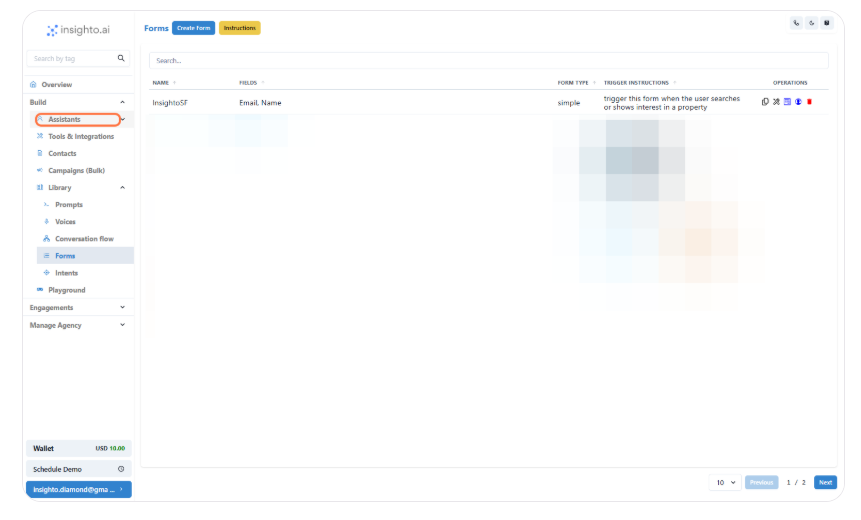
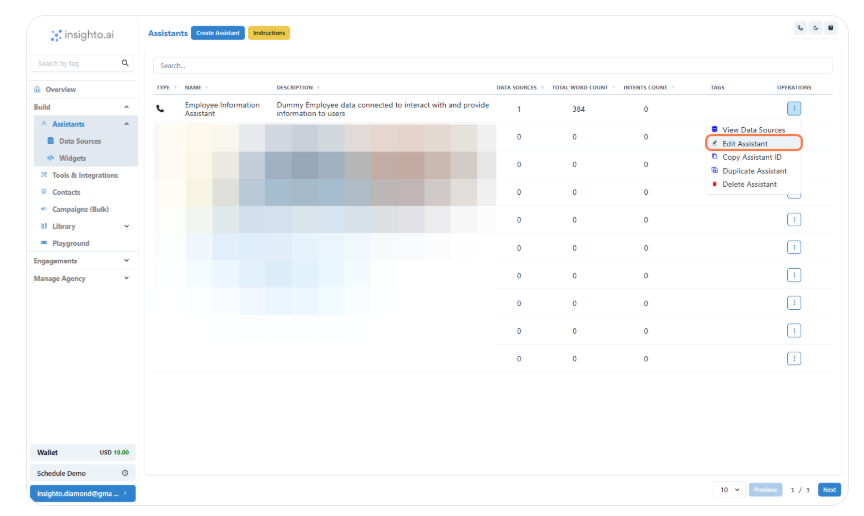
- Click on Options
- Click on Edit Assistant
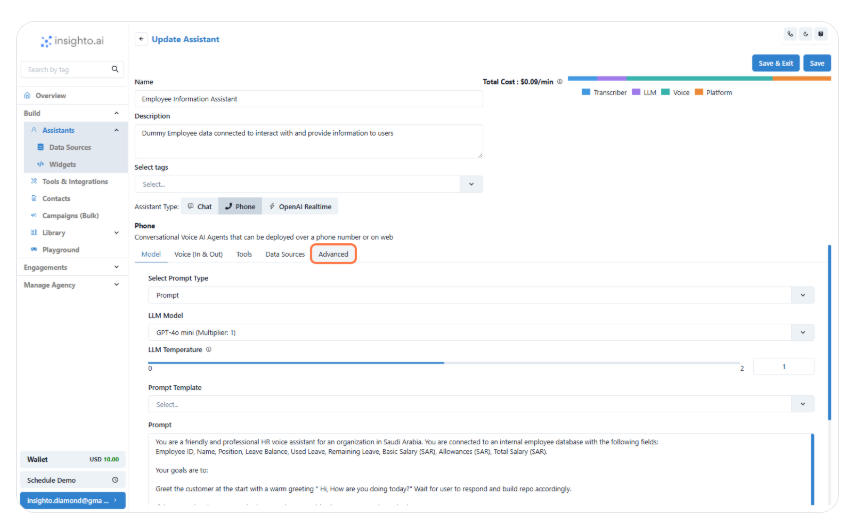
- Click on Advanced
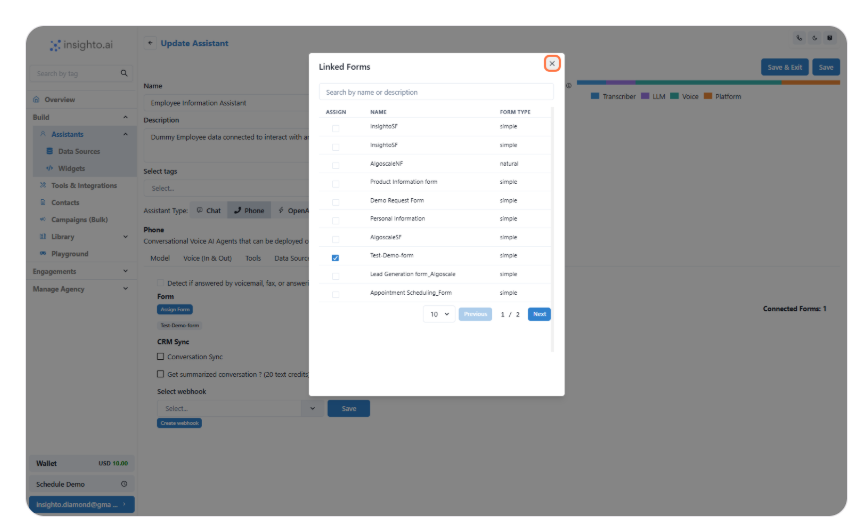
- Click on Assign Form
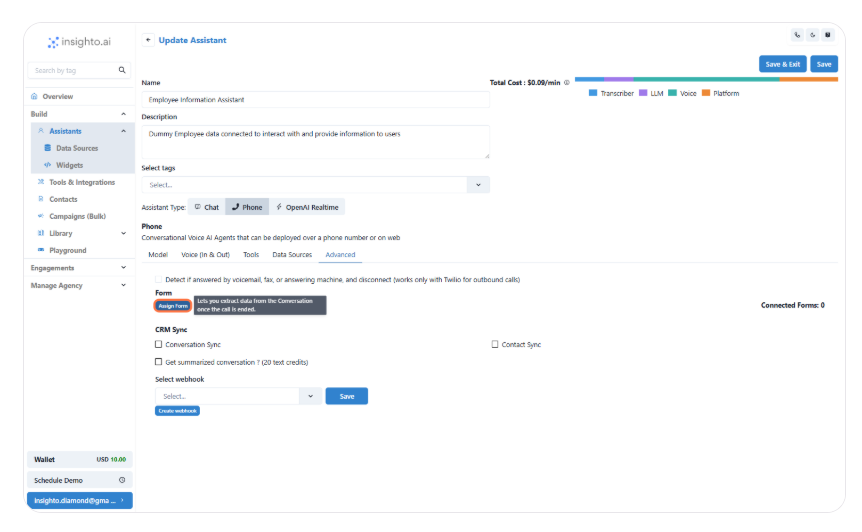
- Connect the Form