This guide walks you through setting up and deploying the GHL Chat Widget inside Insighto to enable your AI assistant to operate through GHL channels.Documentation Index
Fetch the complete documentation index at: https://docs.insighto.ai/llms.txt
Use this file to discover all available pages before exploring further.
Setup GHL Chat Widget
- Prerequisites: Chat Assistant & GHL Calendar Tool Setup
- ✅ A Chat Assistant created in Insighto
- ✅ The GHL Calendar Tool properly configured and connected
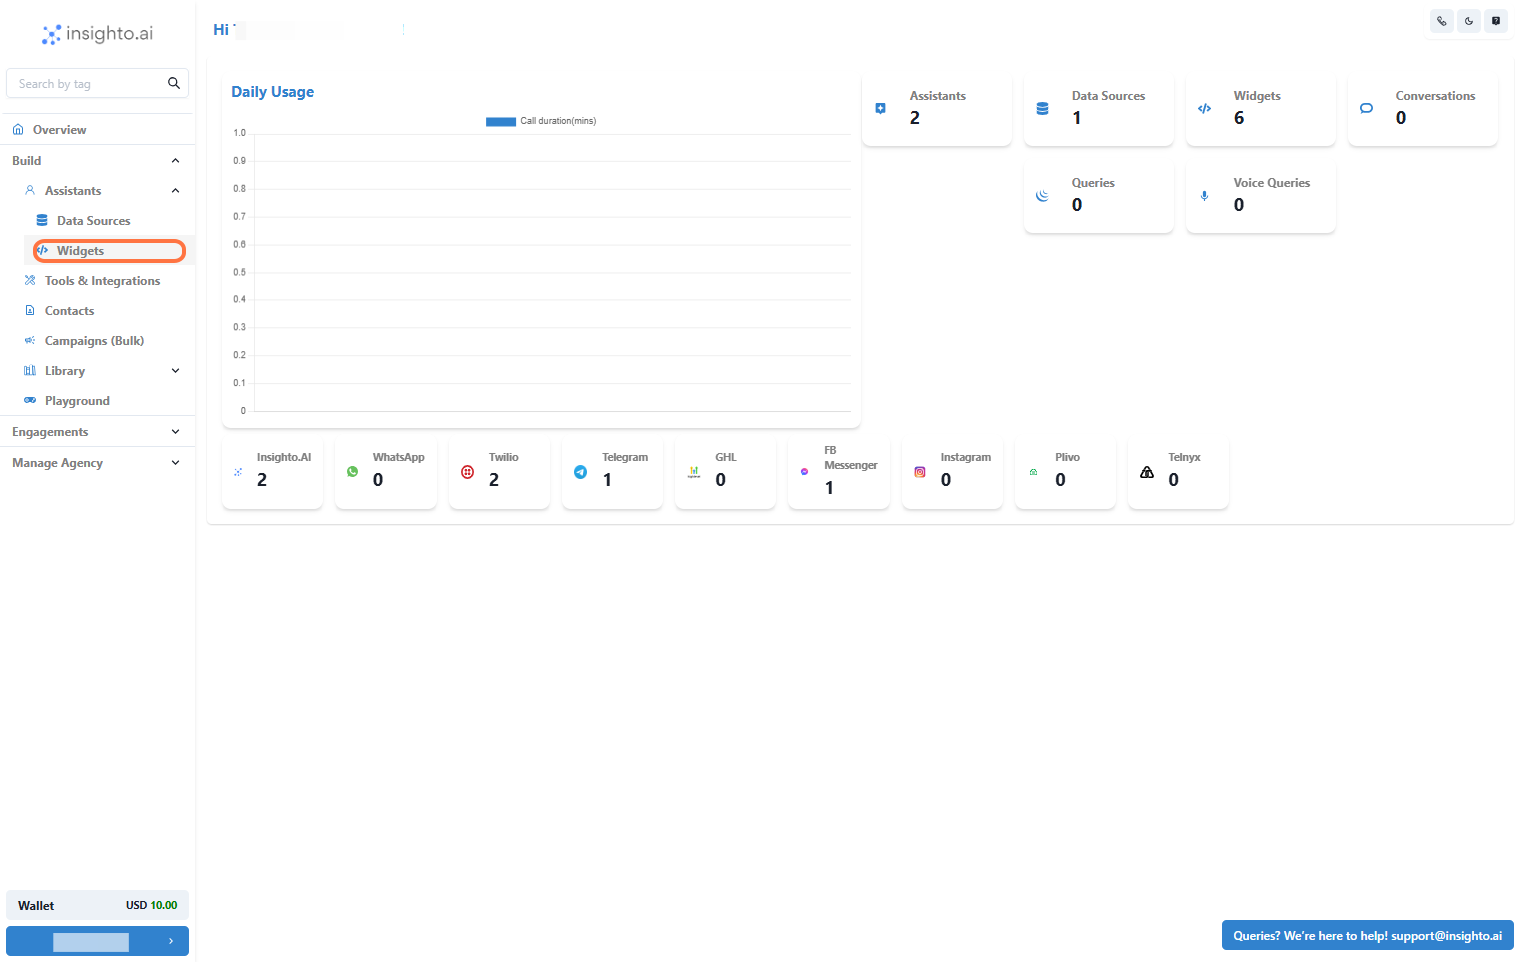
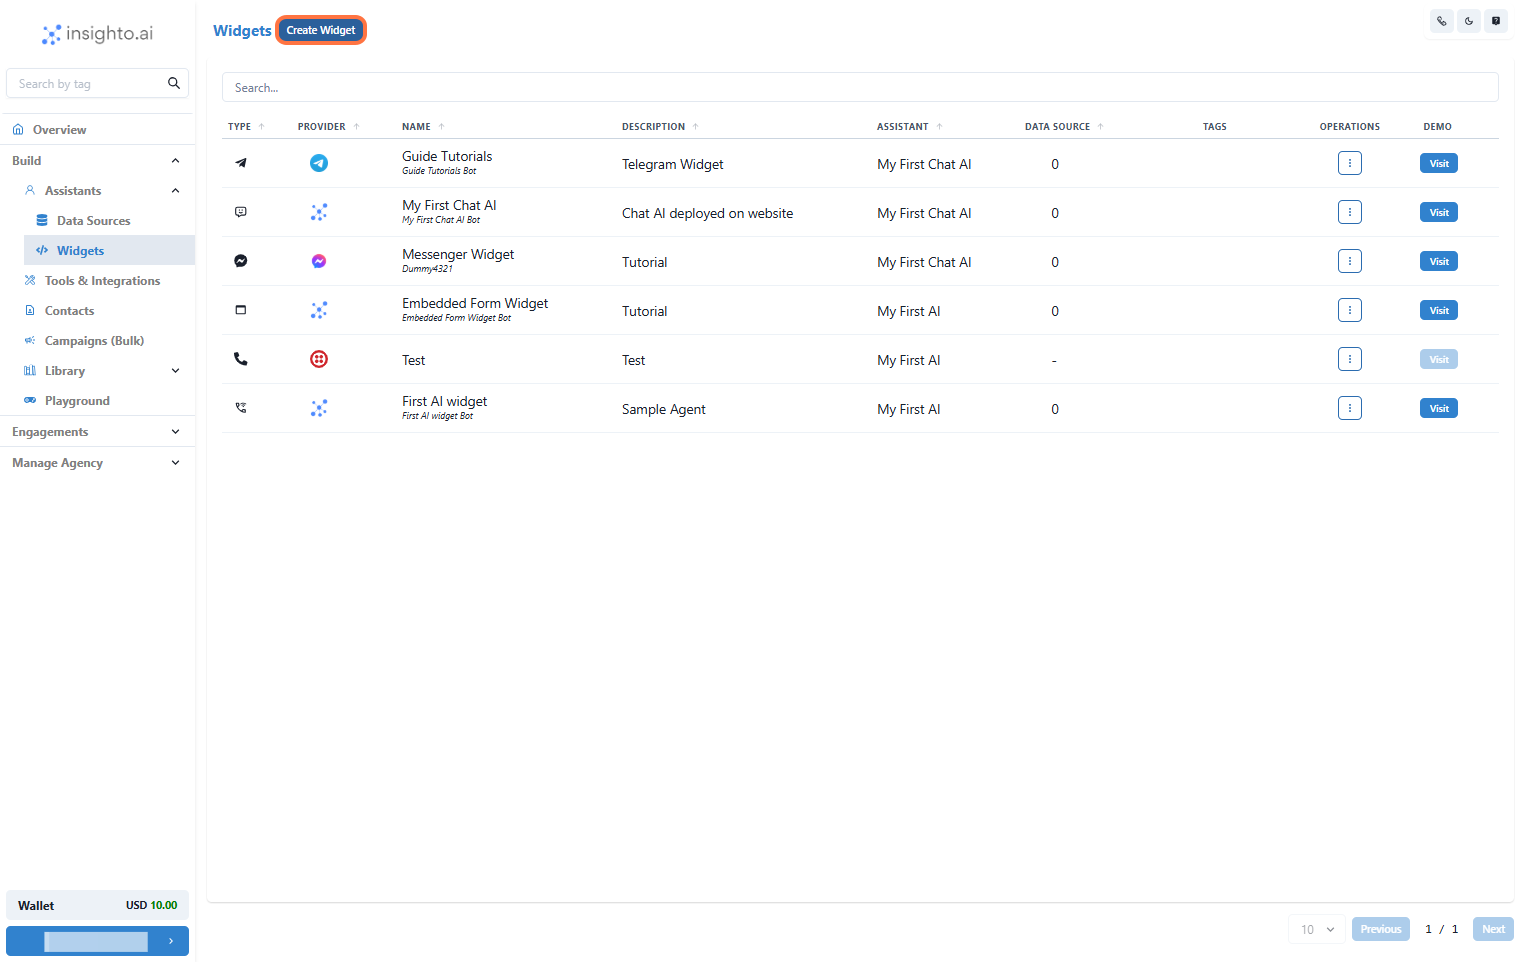
- Click on Widgets from the Left Panel
- Create a New Widget
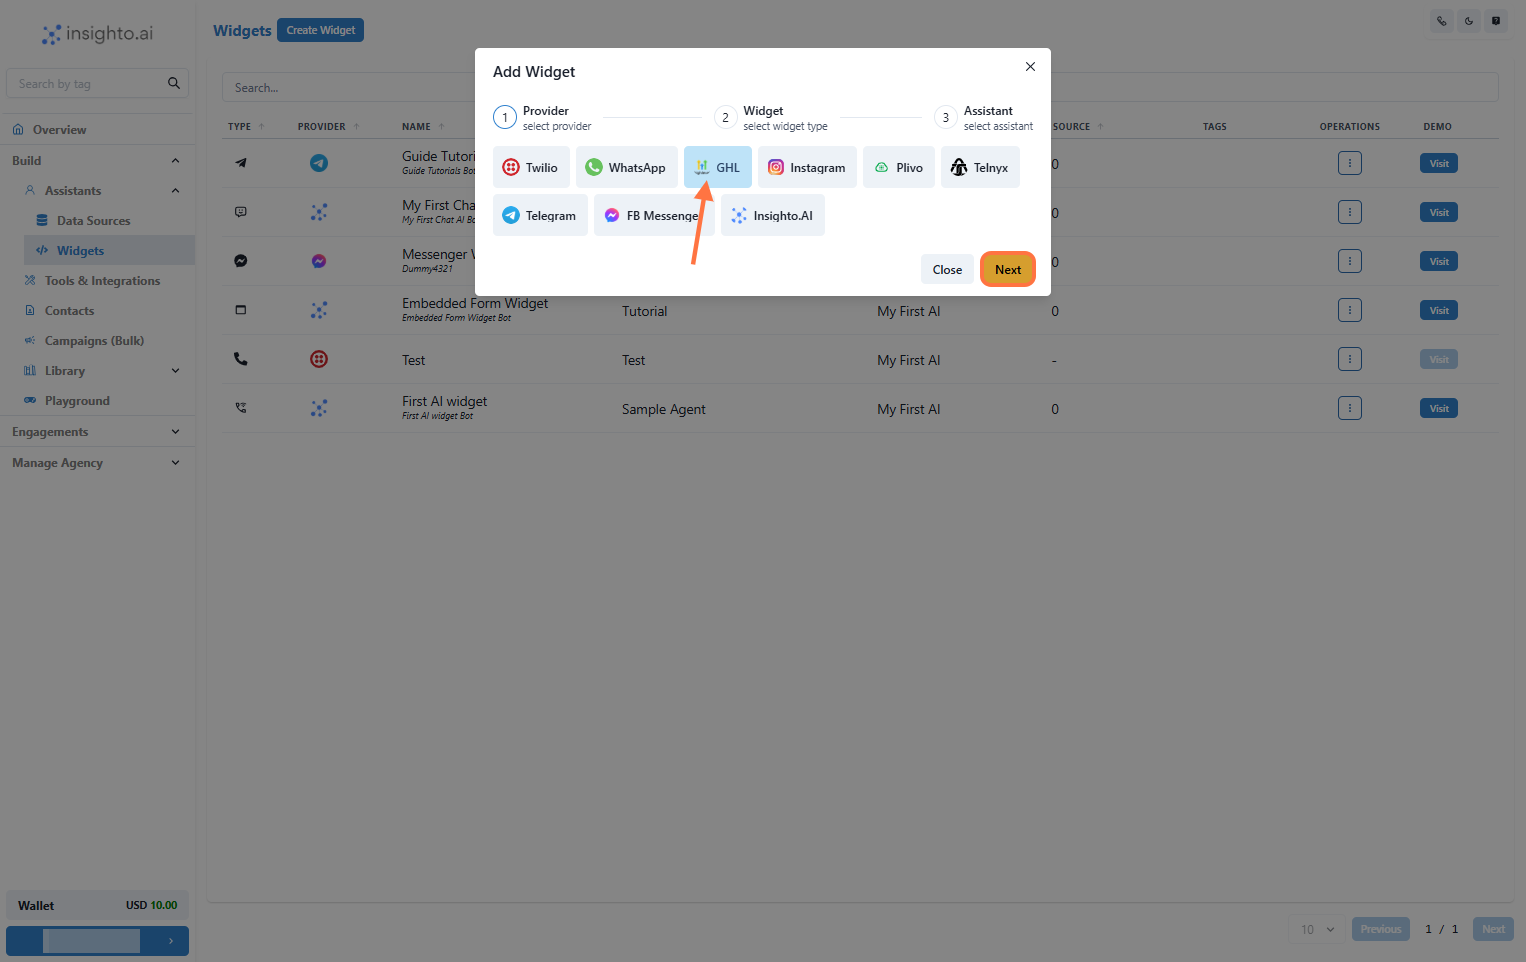
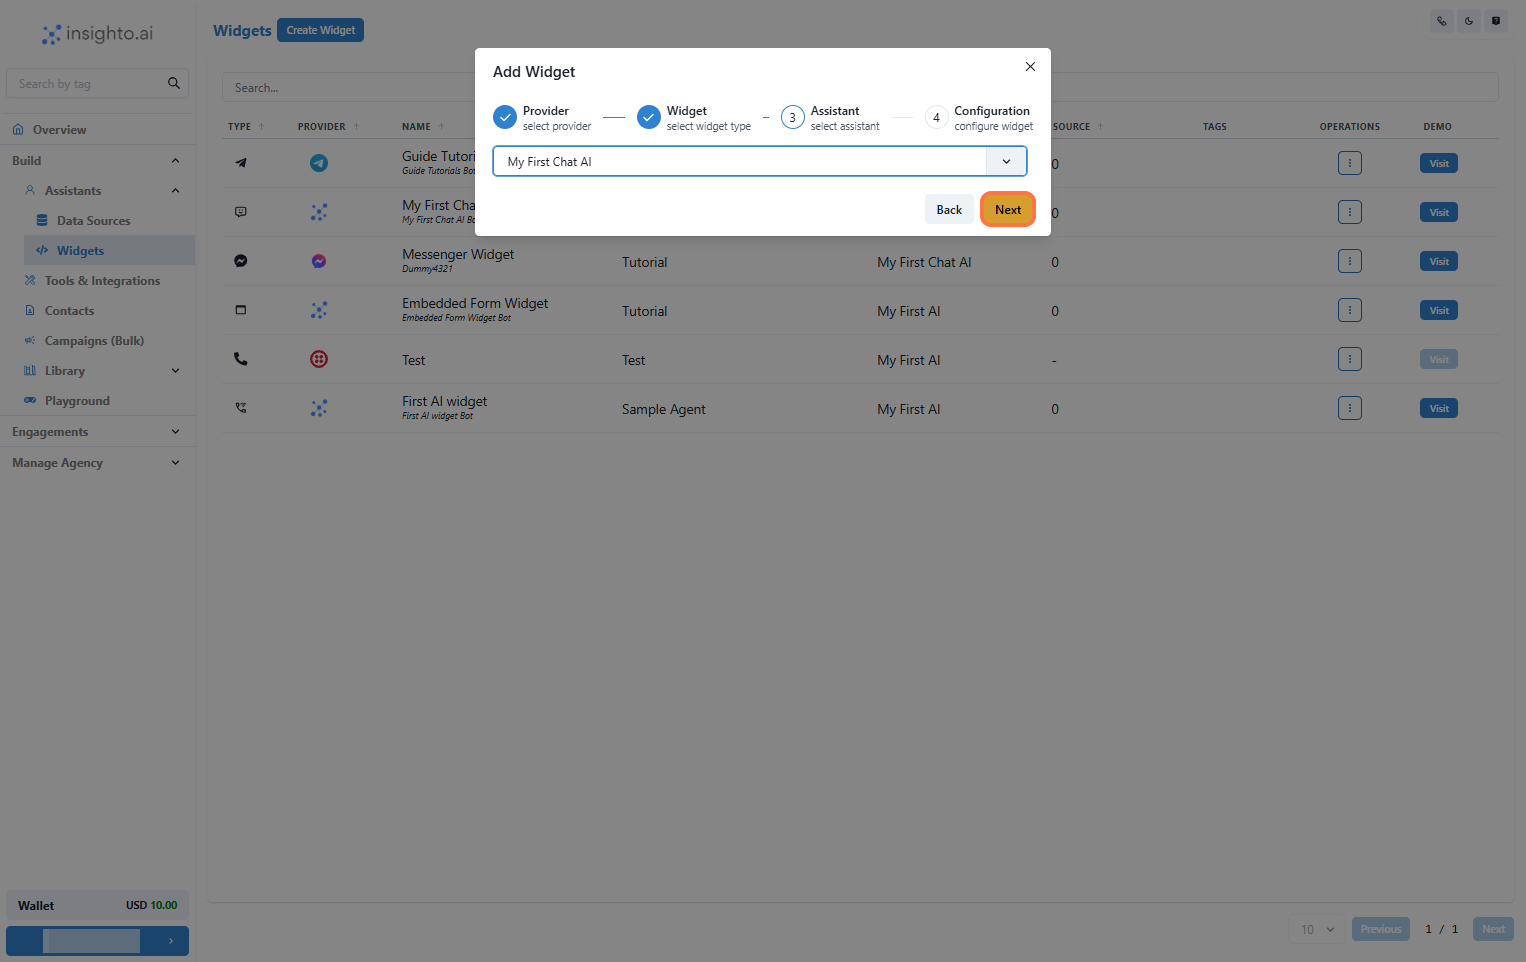
- Select GHL as the Provider Type and Click Next
- Select GHL as the provider type
- Click Next to proceed
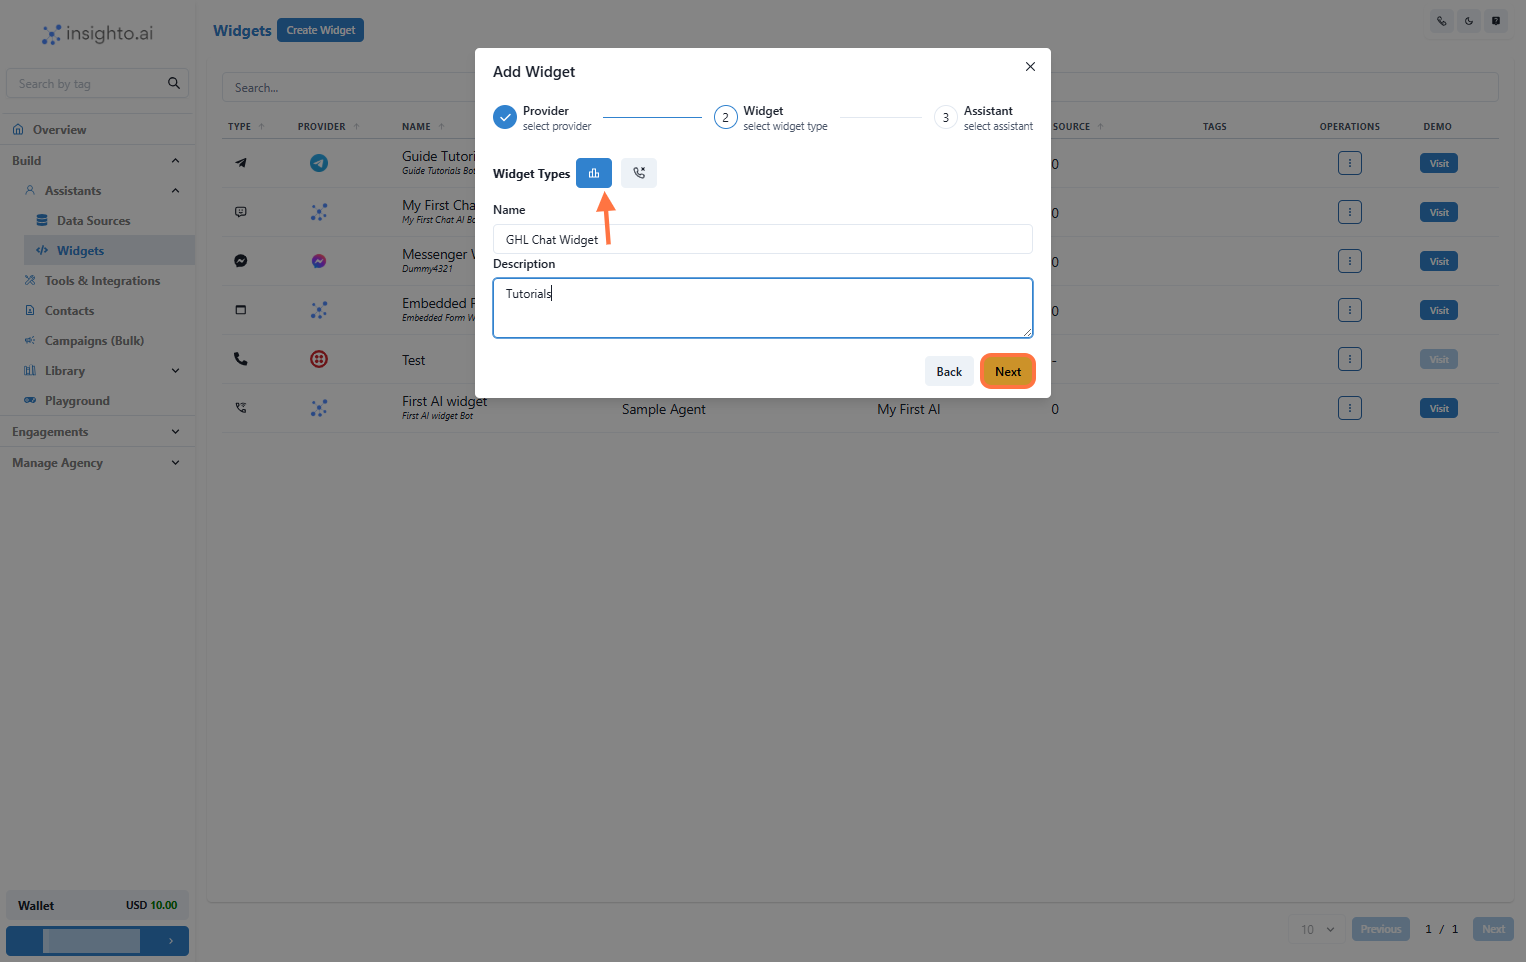
- Select Widget Type, Name, and Describe Your Widget
- Widget Type: Choose Chat
- Name: Provide a meaningful name
- Description: Describe the widget’s purpose briefly
- Select Your Chat Assistant from the Dropdown
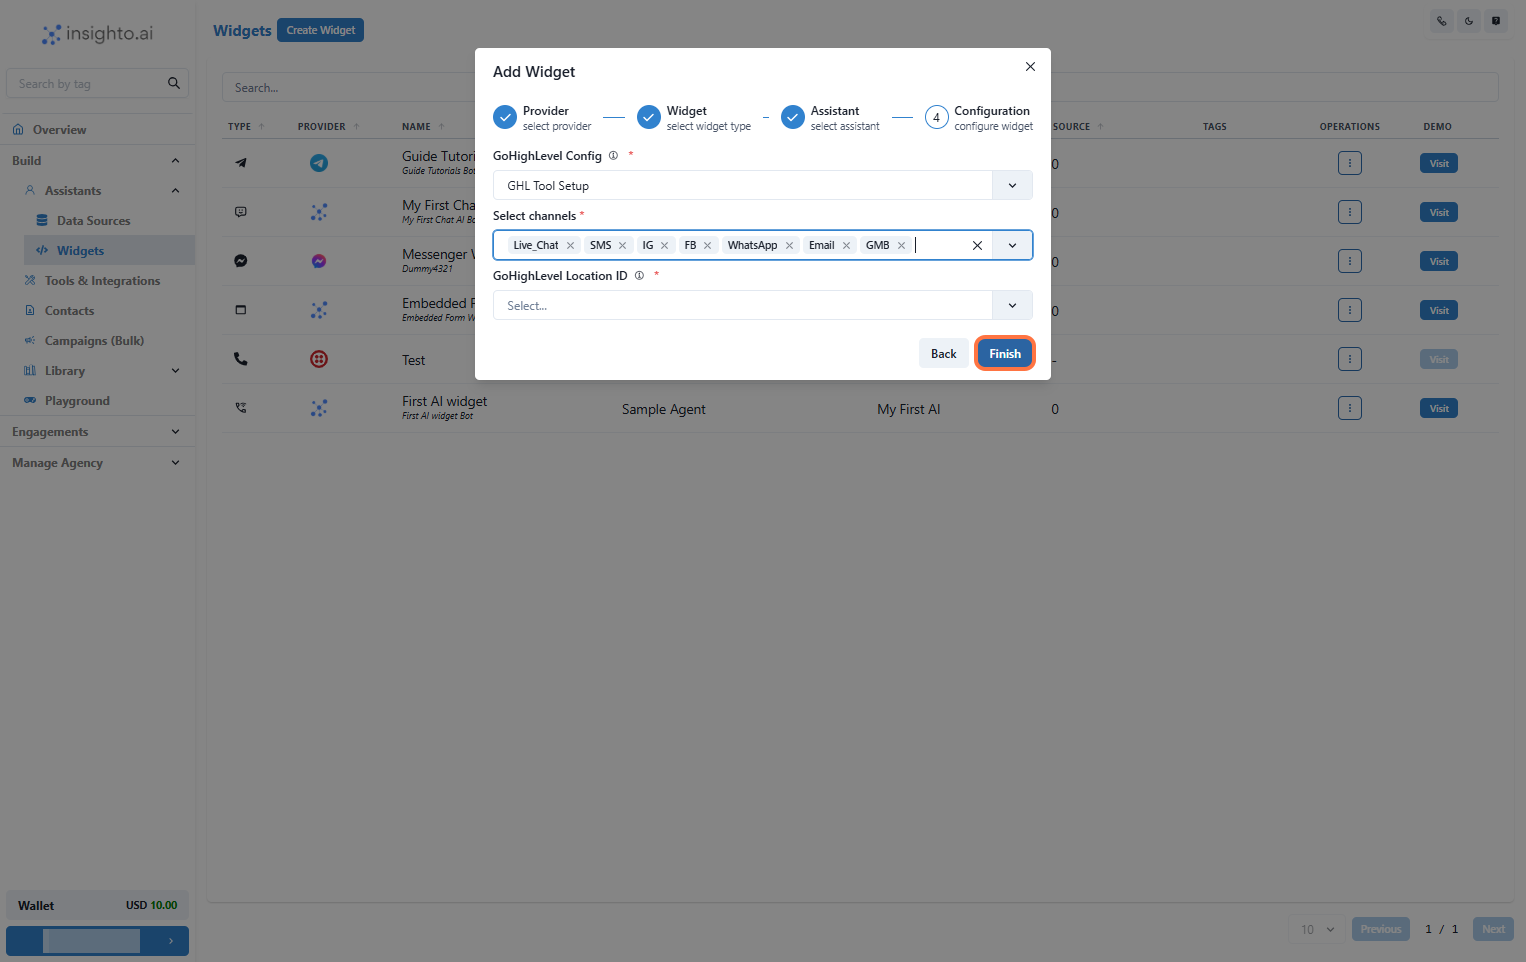
- Configure GHL Chat Widget
- Select your GHL Configuration from the dropdown
- Choose the channels where the assistant will handle conversations
- Select the Location ID
- Click Finish to deploy the widget
- Test the Deployment
- Send sample queries
- Confirm the assistant responds correctly
- Verify calendar interactions work (if enabled)