Documentation Index
Fetch the complete documentation index at: https://docs.insighto.ai/llms.txt
Use this file to discover all available pages before exploring further.
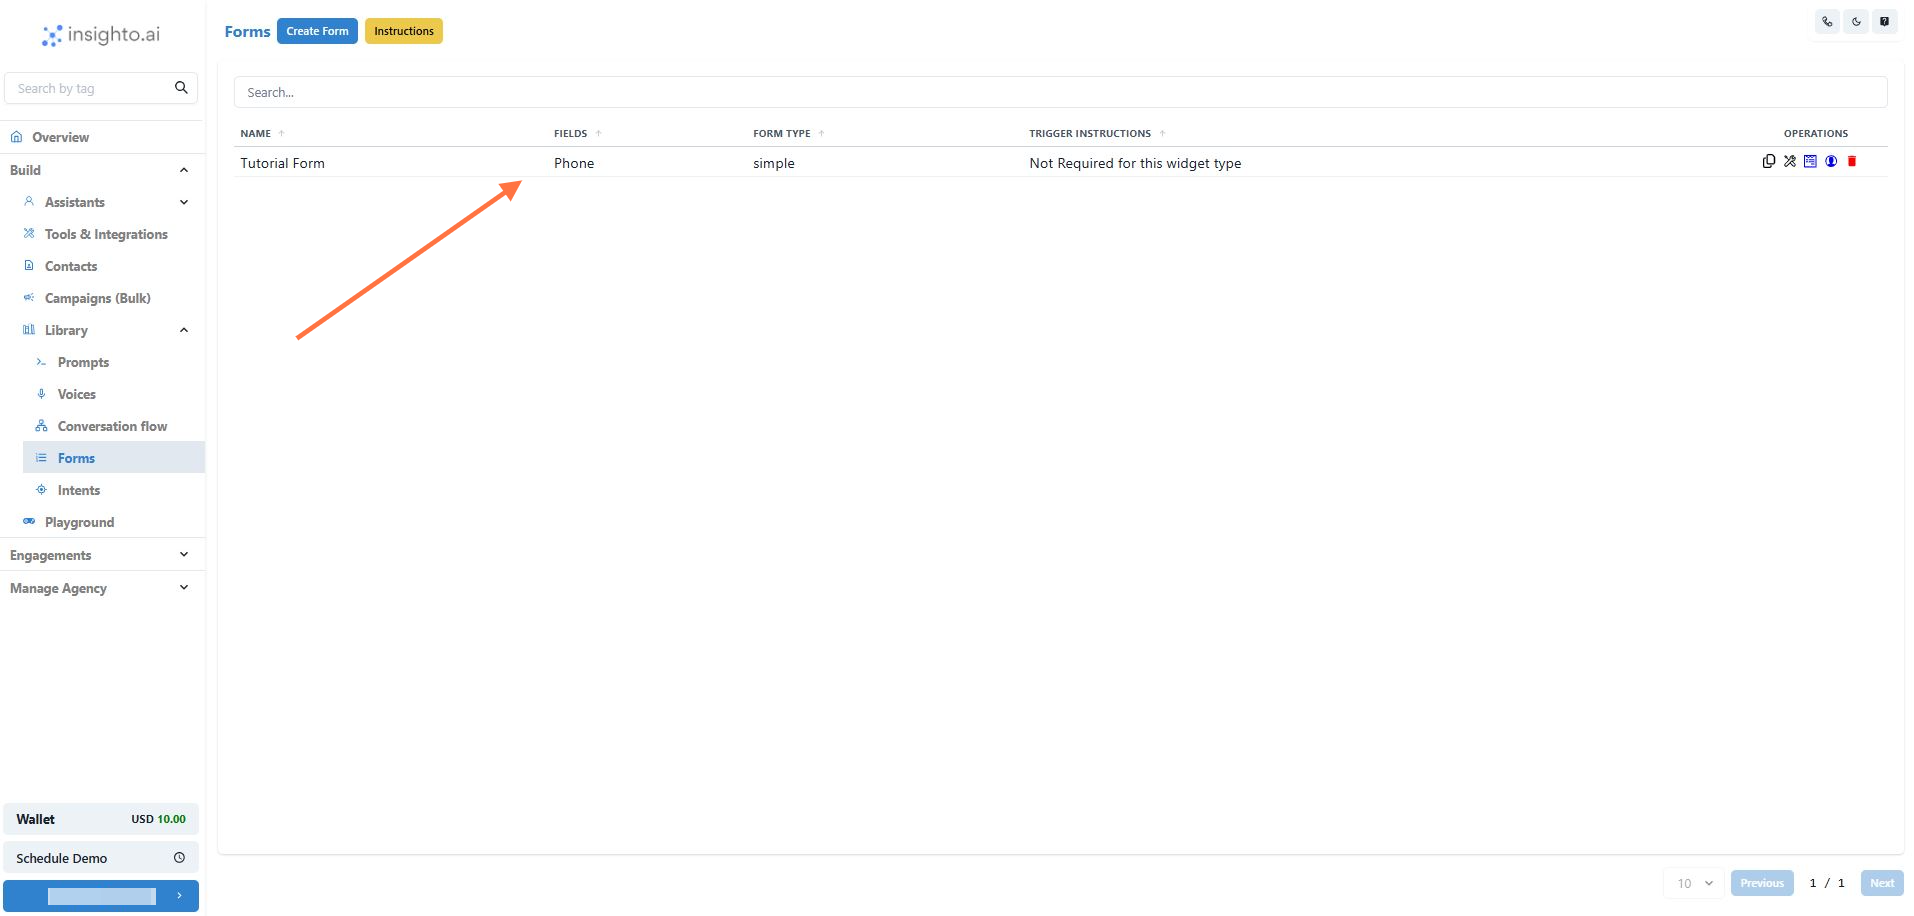
- Create Your Form with a Phone Field
- Set Up Your Voice Assistant
🔧 Steps to Set Up the Embedded Form Widget with Twilio
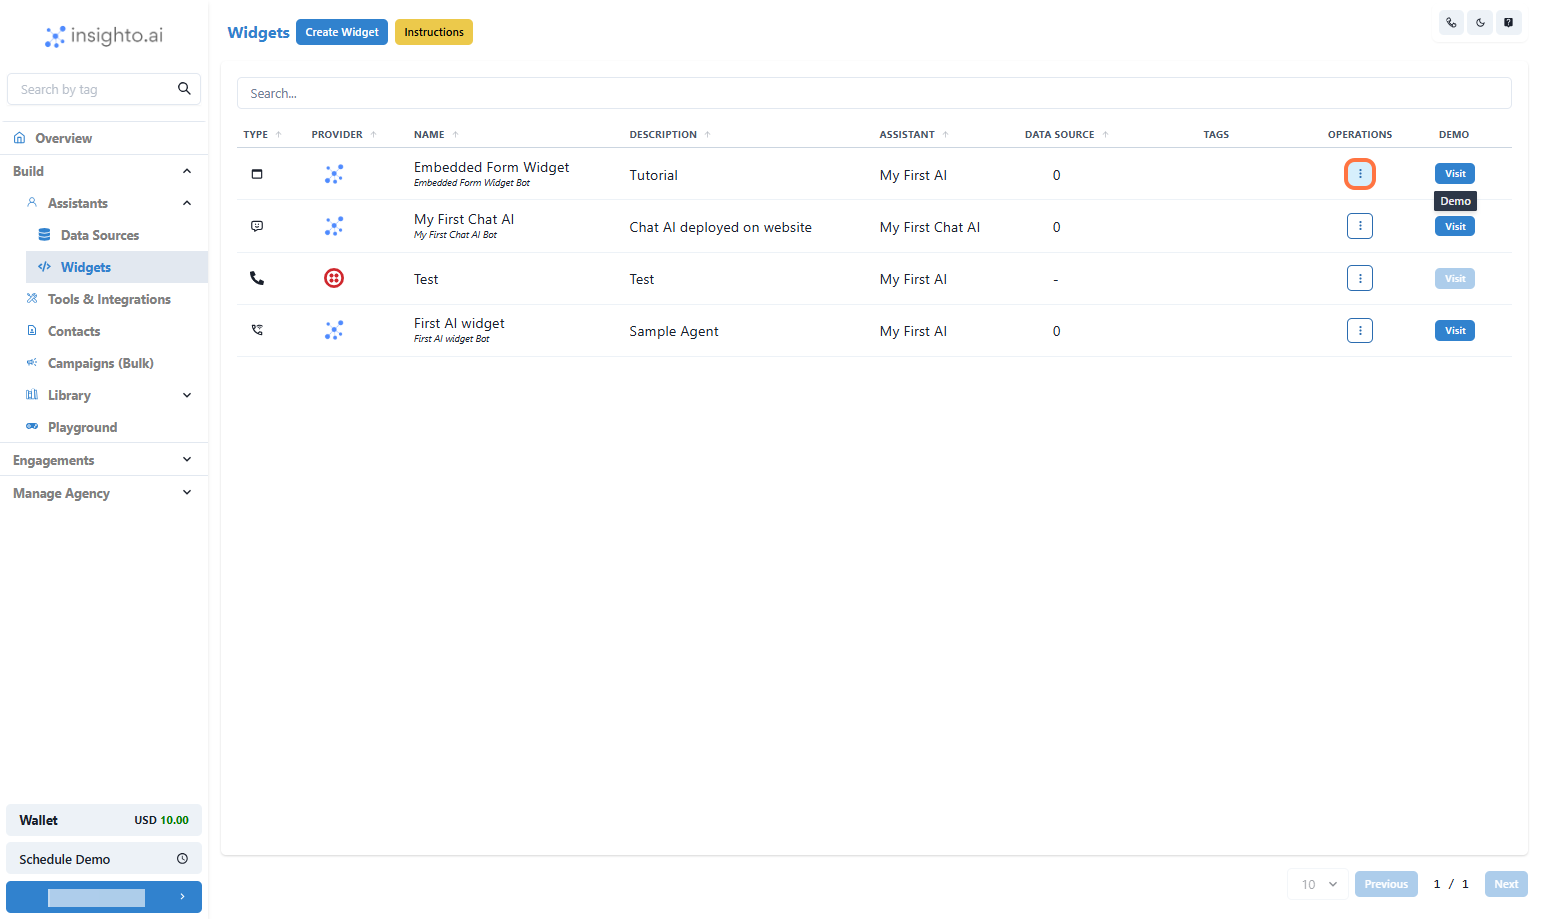
Now that you’ve created your form and configured a voice assistant, follow the steps below to deploy the Embedded Form Widget that instantly triggers AI-powered calls using Twilio.- Click on Widgets
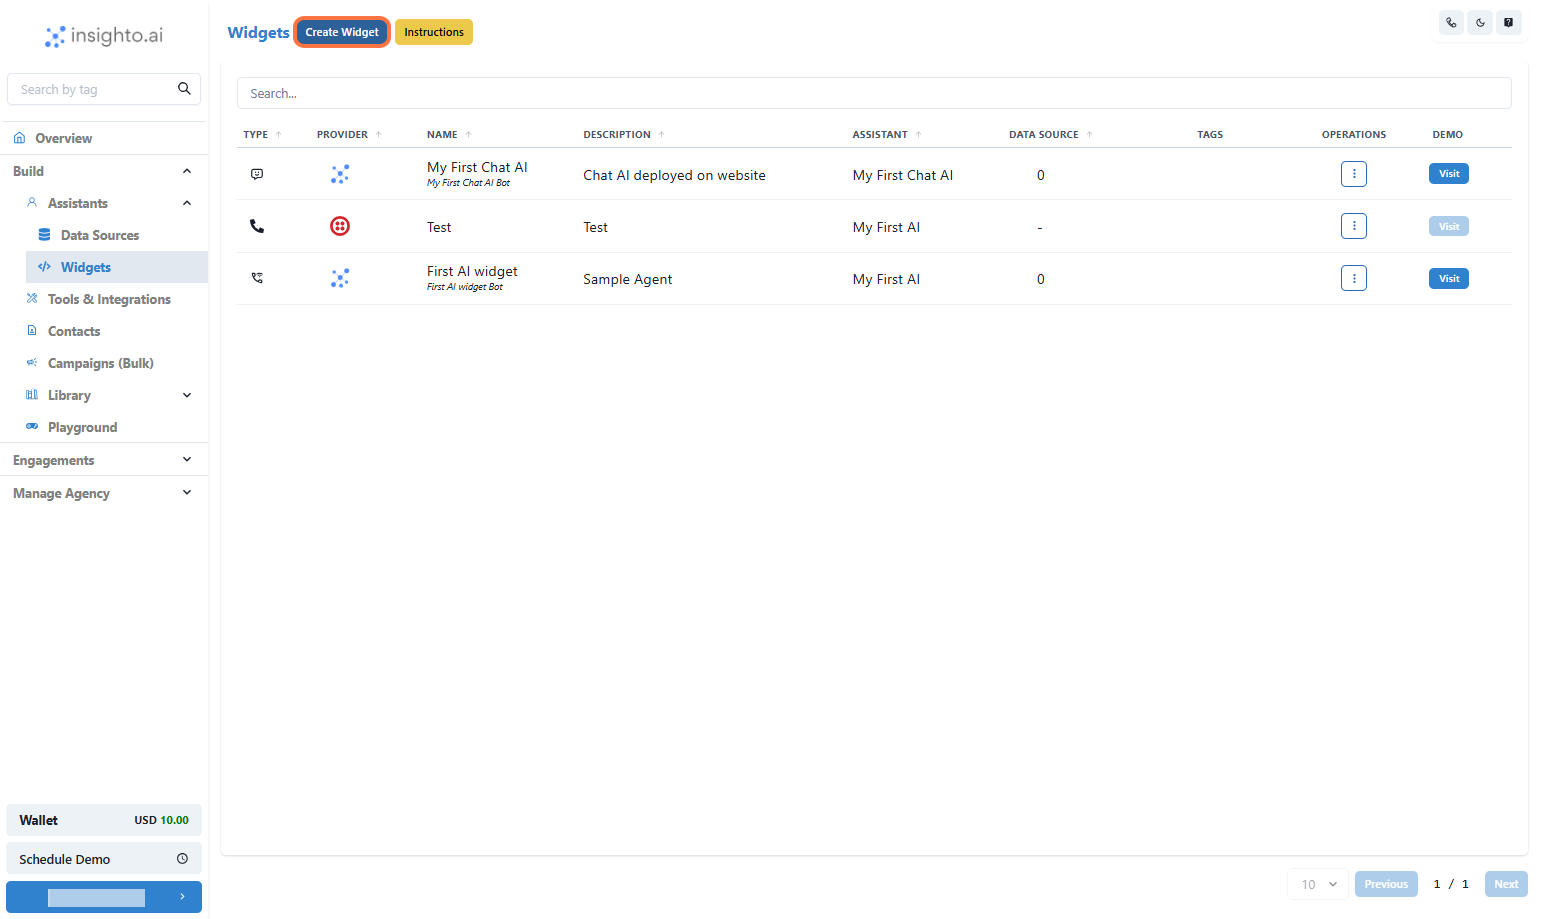
- Click on Create Widget
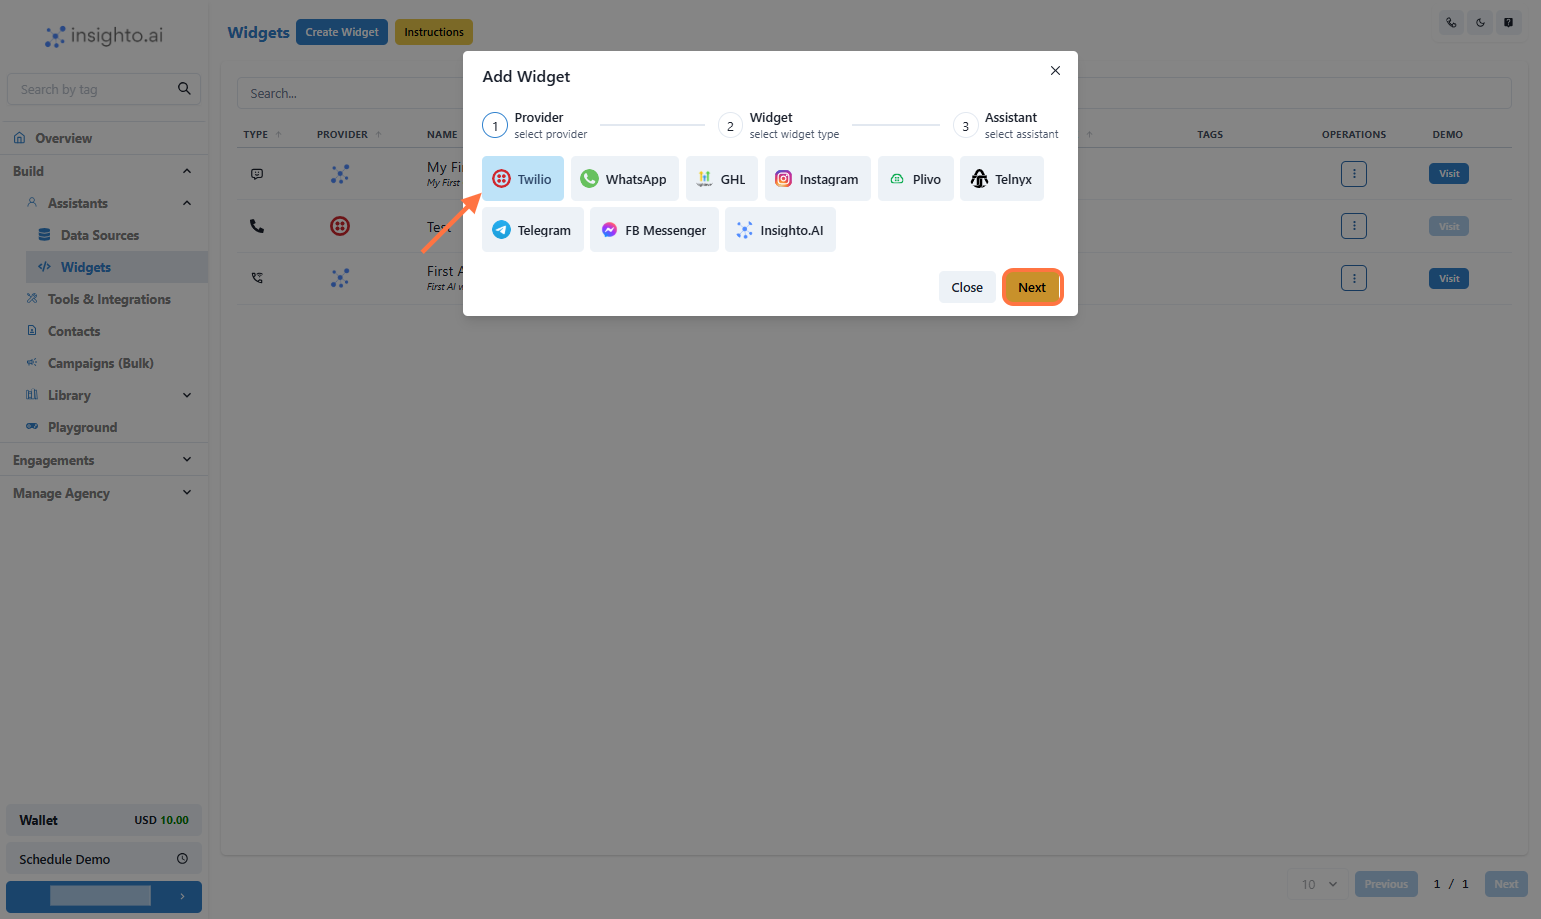
- Select Provider Type
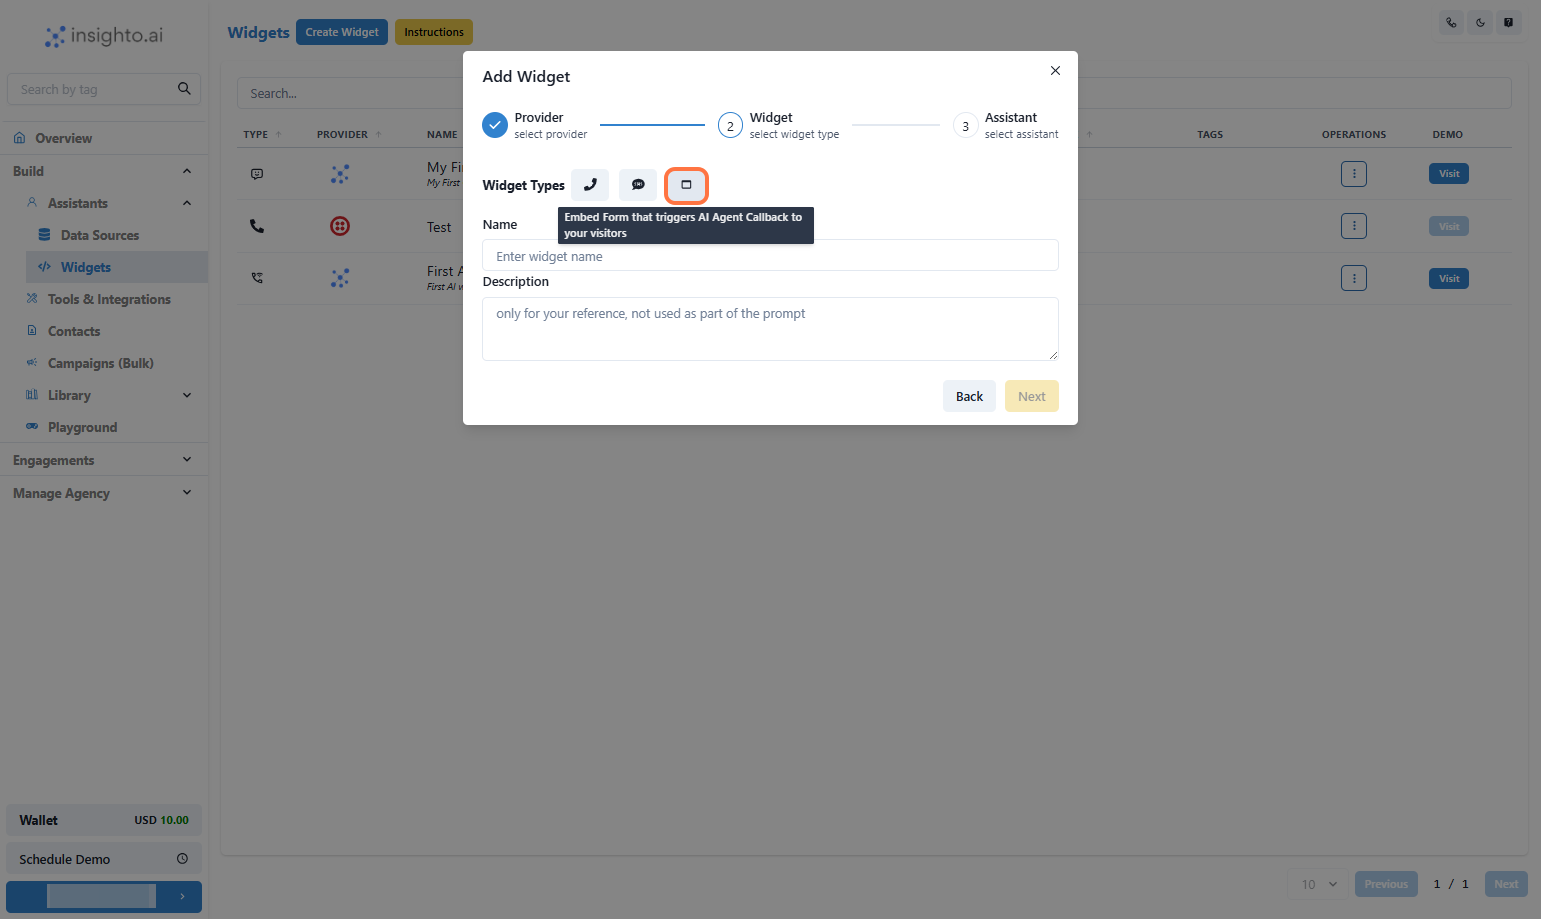
- Select Widget Type
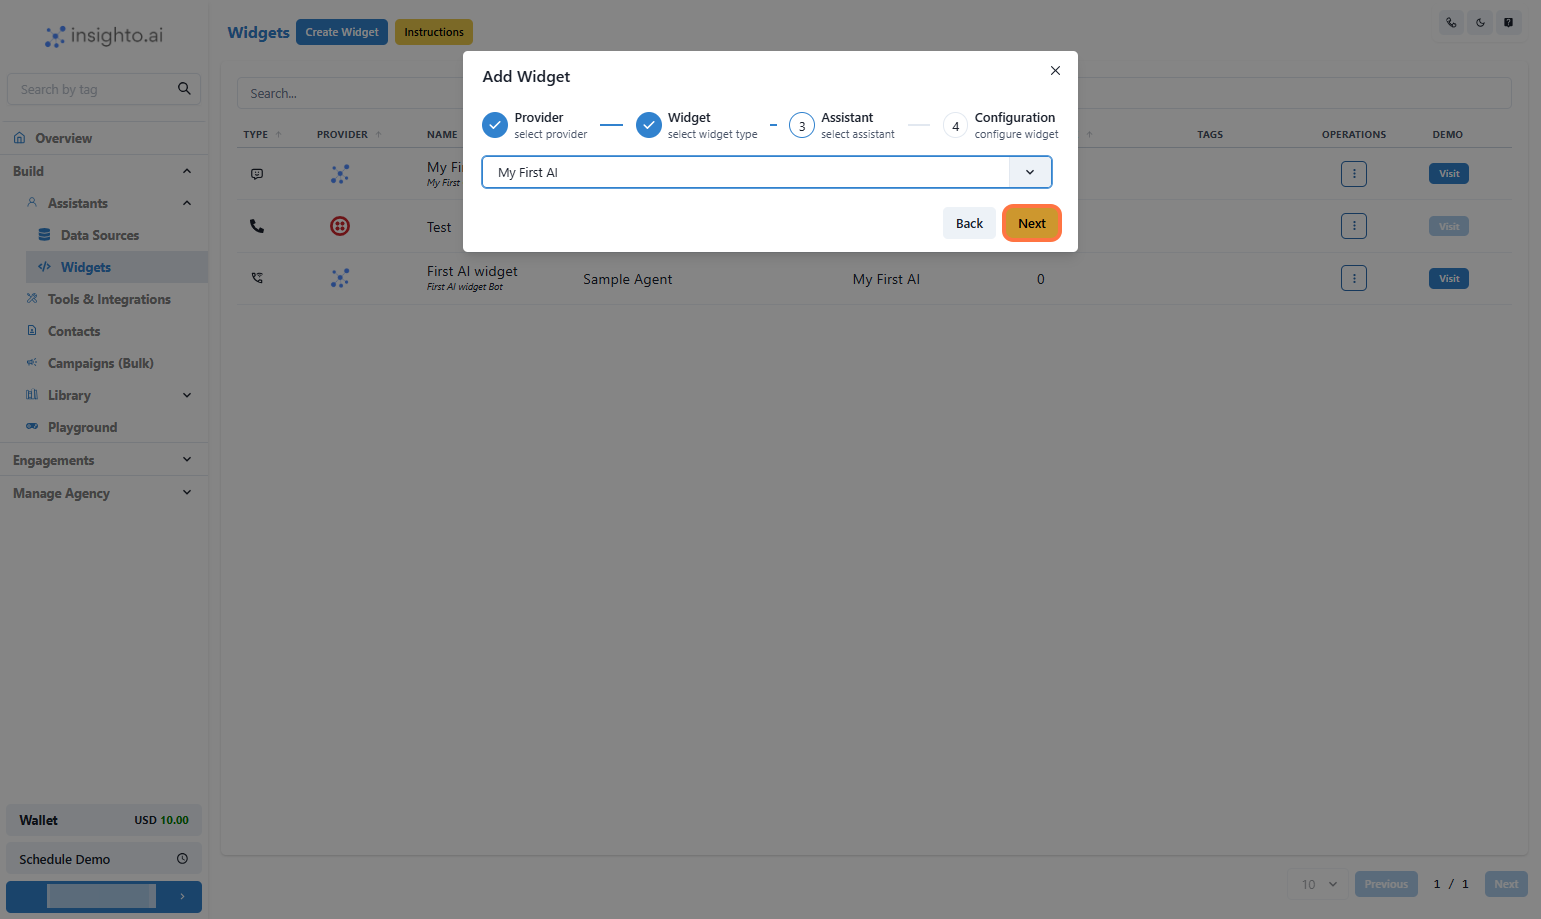
- Select the Assistant

- Configure Twilio Embedded Widget
- Enable Call Recording (optional) – Recordings will be available in your Twilio dashboard
- Set Maximum Call Duration in seconds (e.g., 300 for 5 minutes)
- Select your Twilio Account from the dropdown
- Choose a Phone Number associated with that account
- Form: Select the form created in step 1 and then select the Phone field from the form
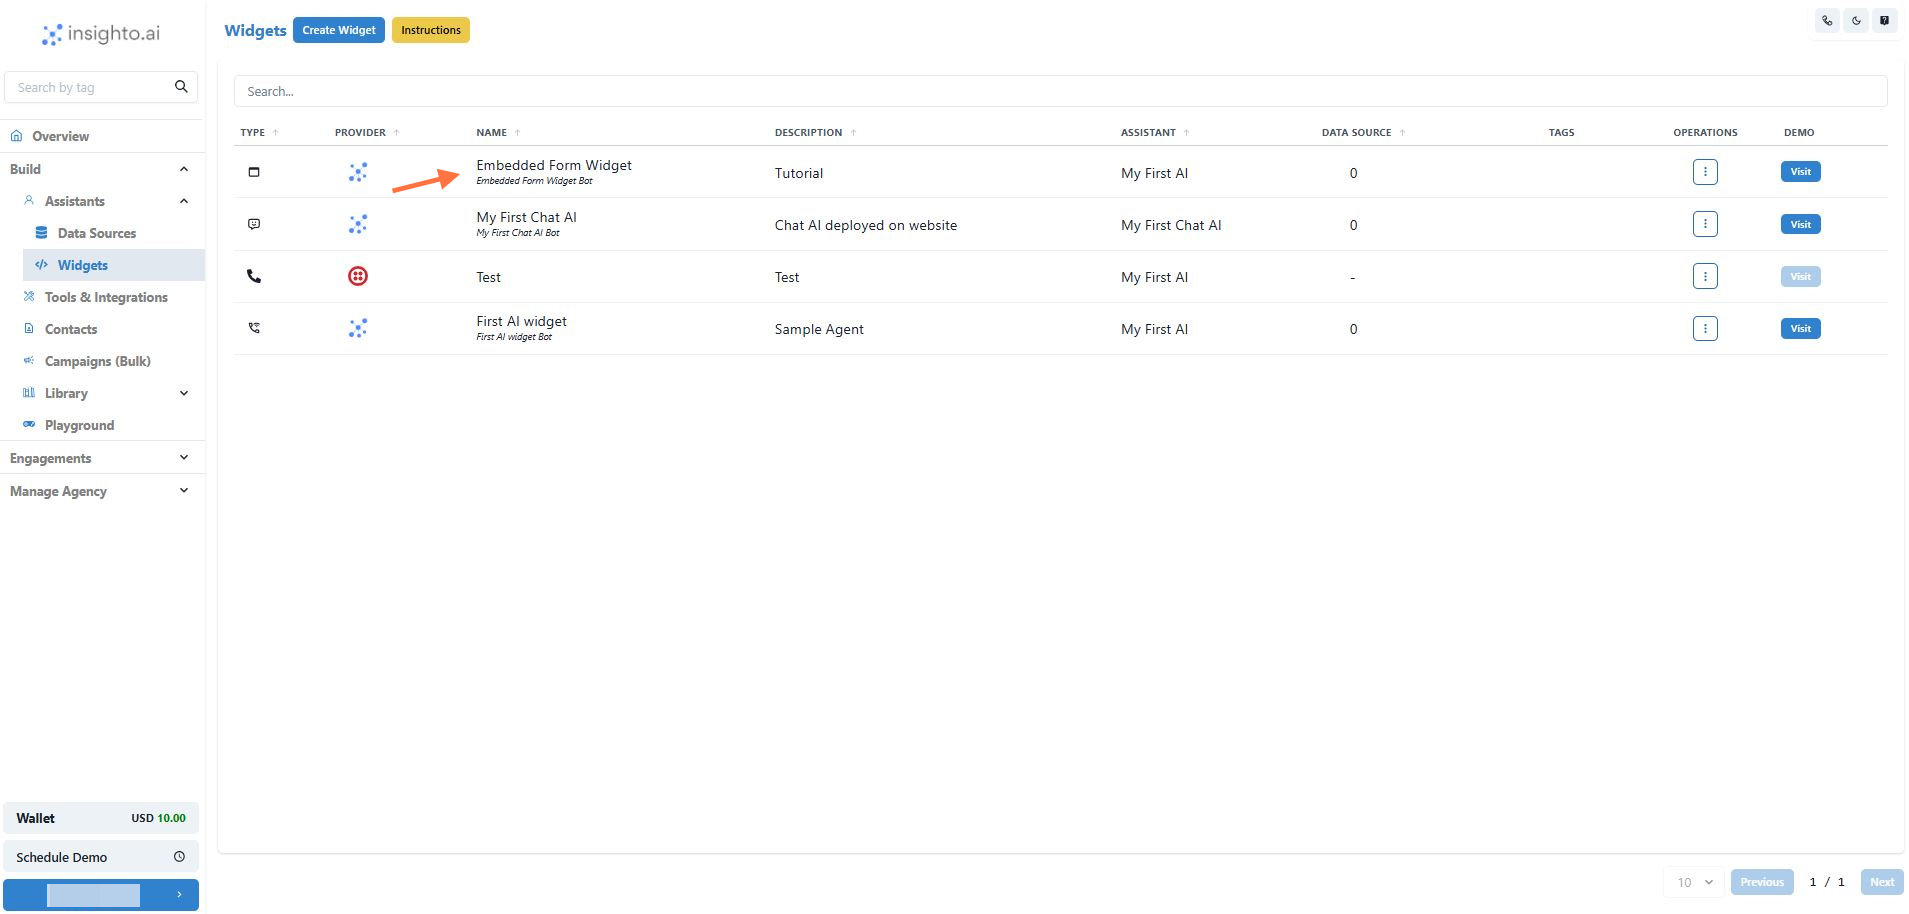
- 🎉 Your Embedded Form Widget is ready!
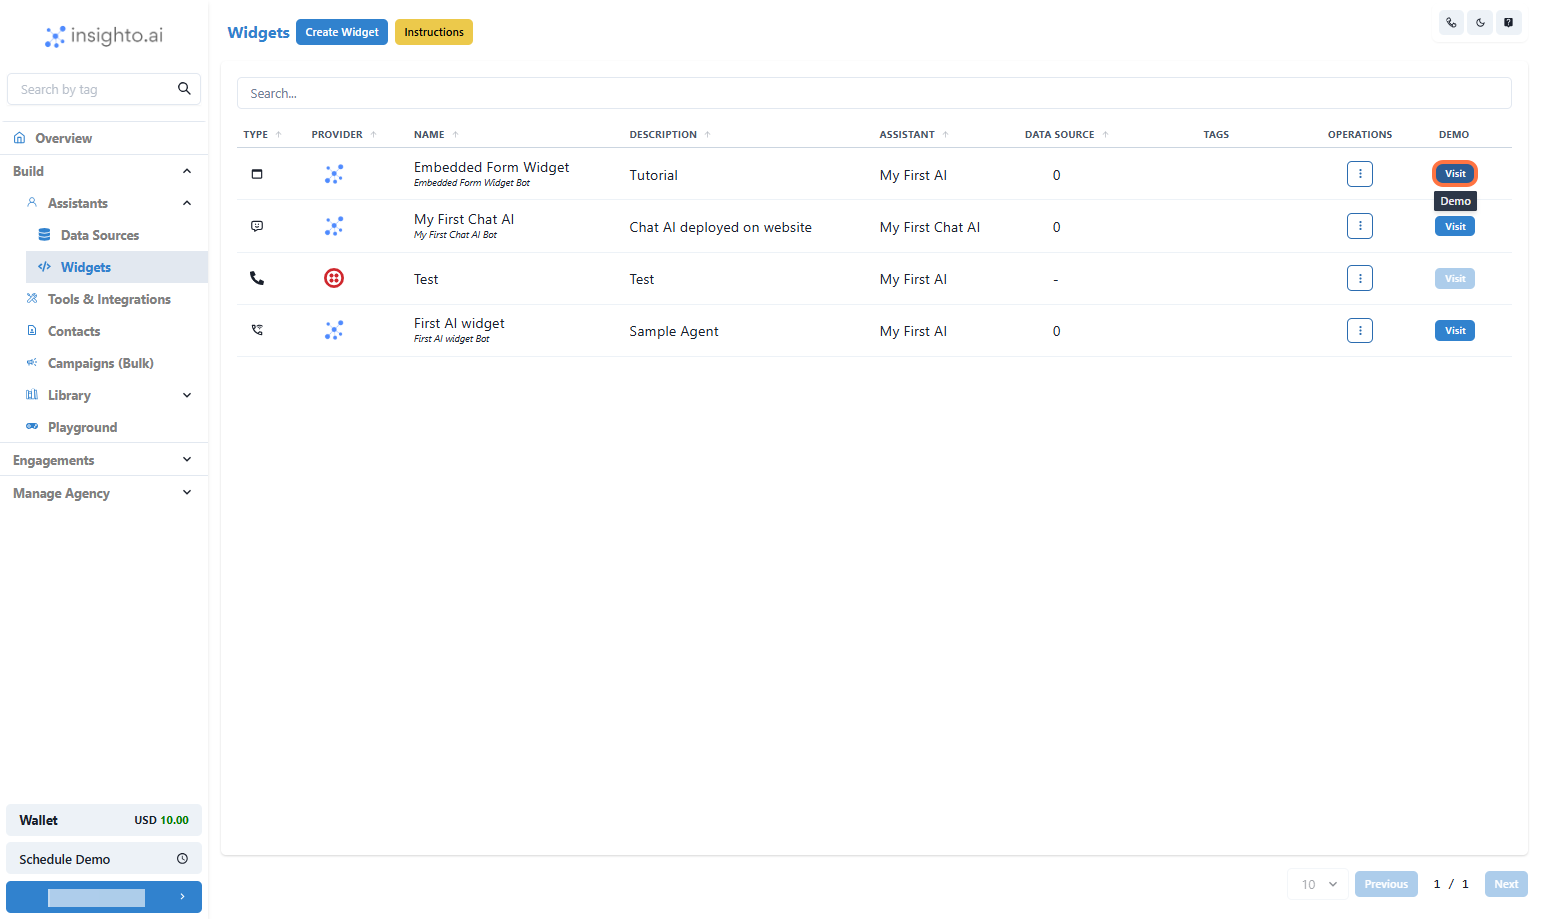
- Click on Visit
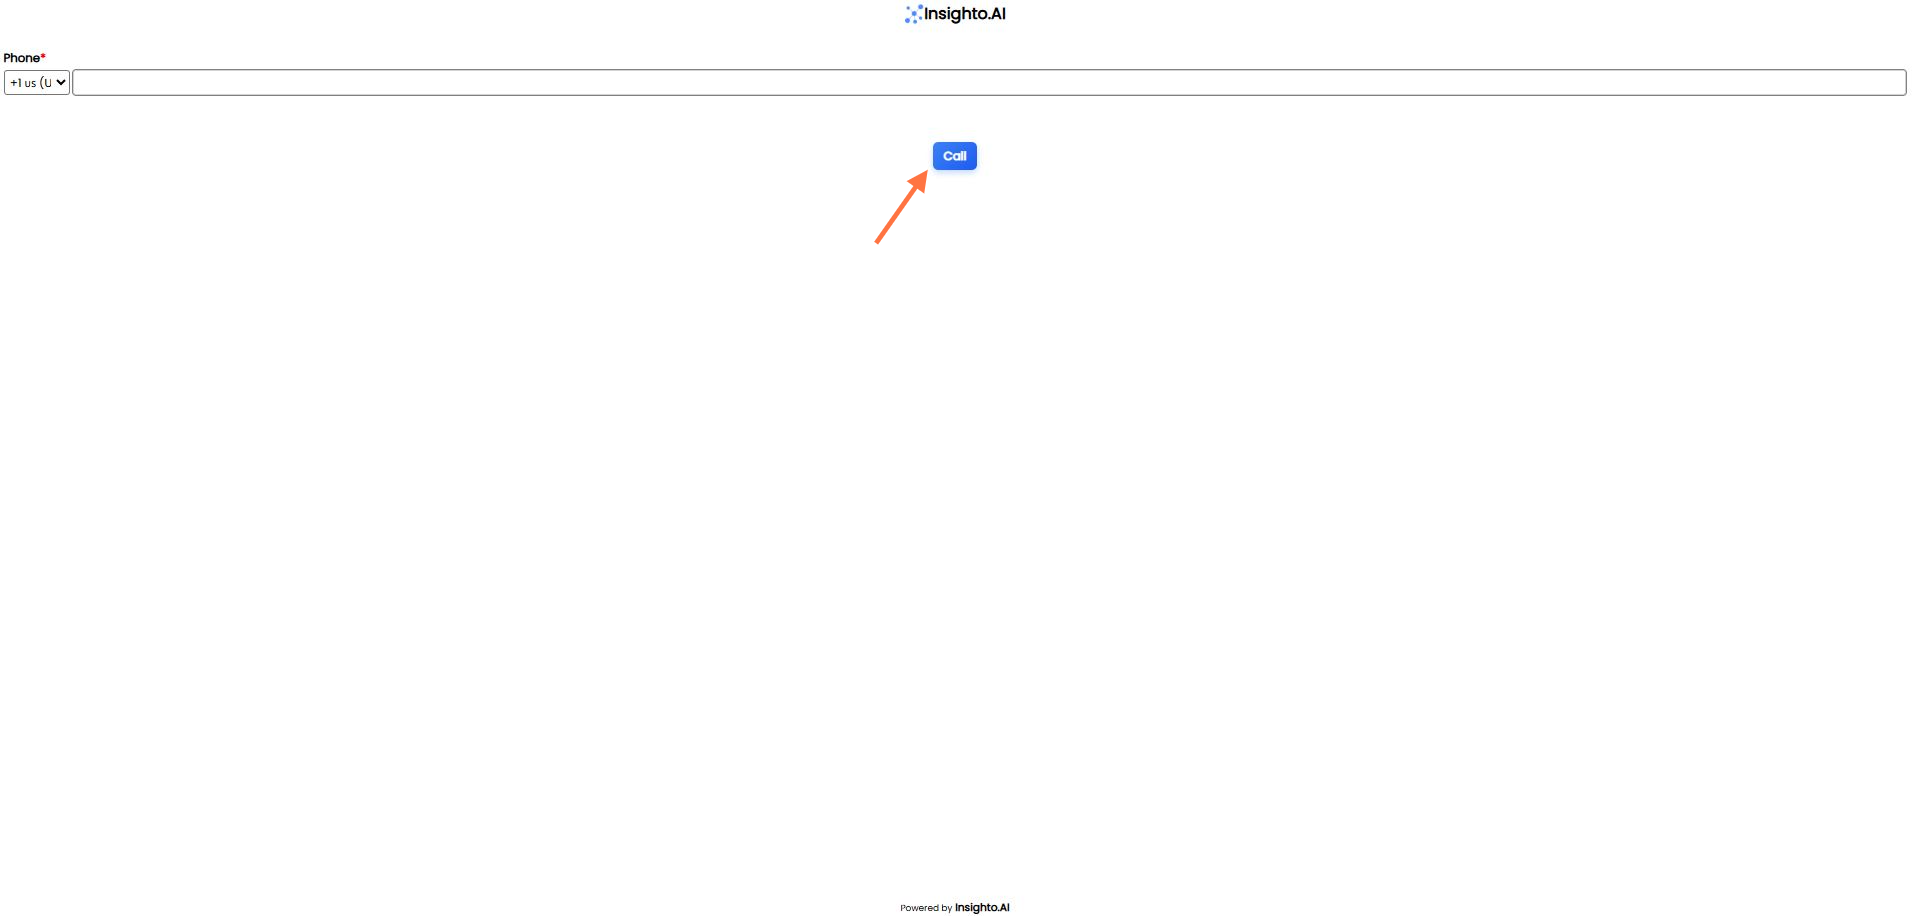
- Enter your phone number and submit to test it now!
Deploy it on your website now!
- Click on Options
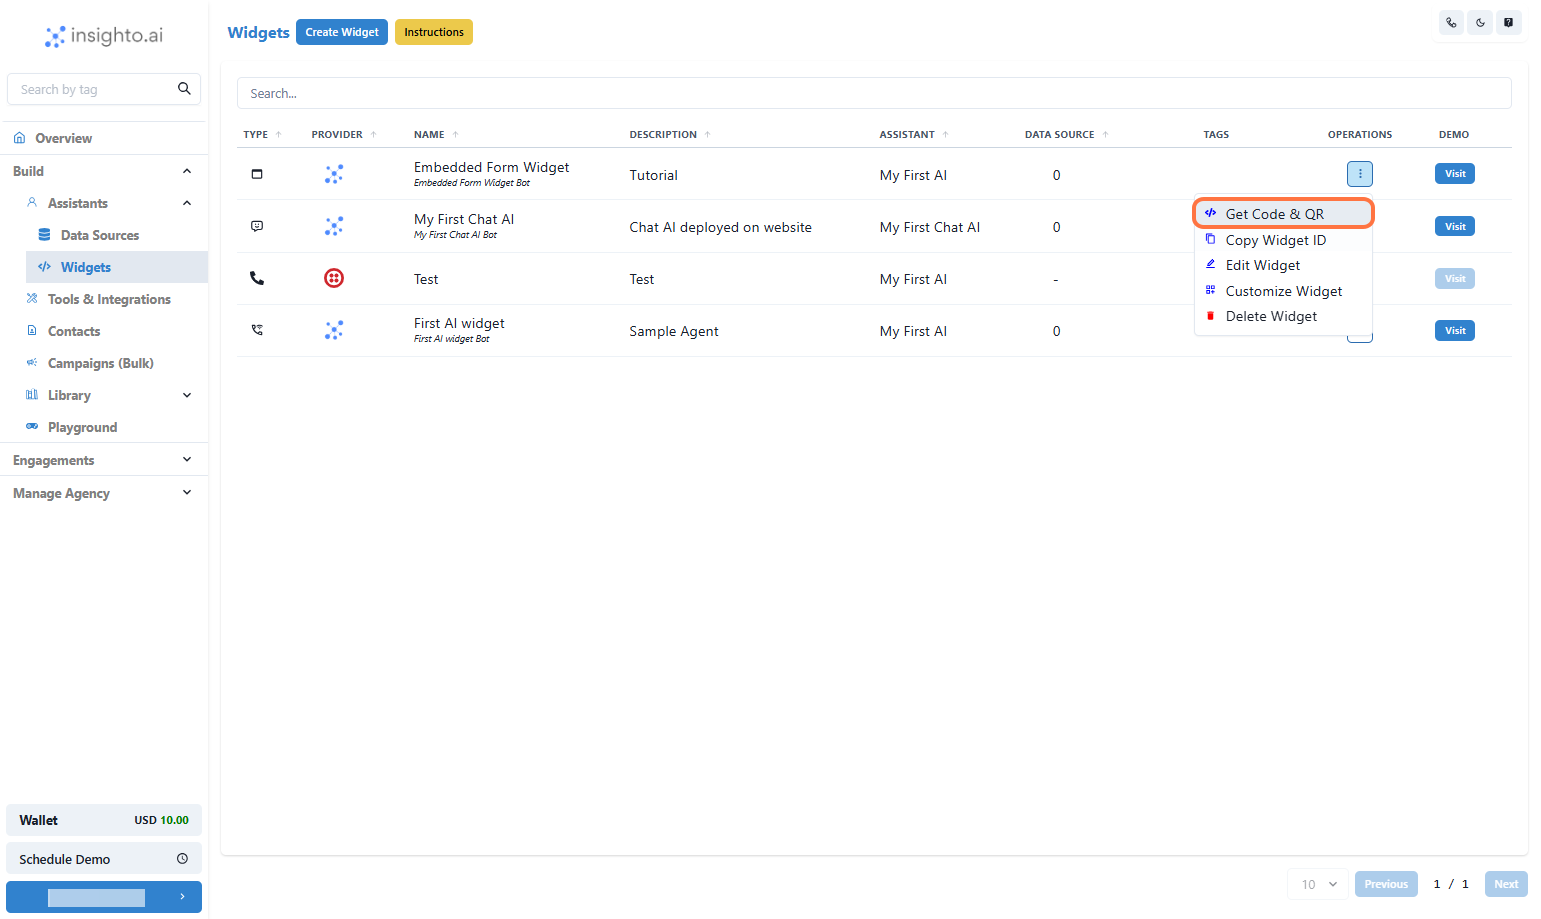
- Click on Get Code & QR
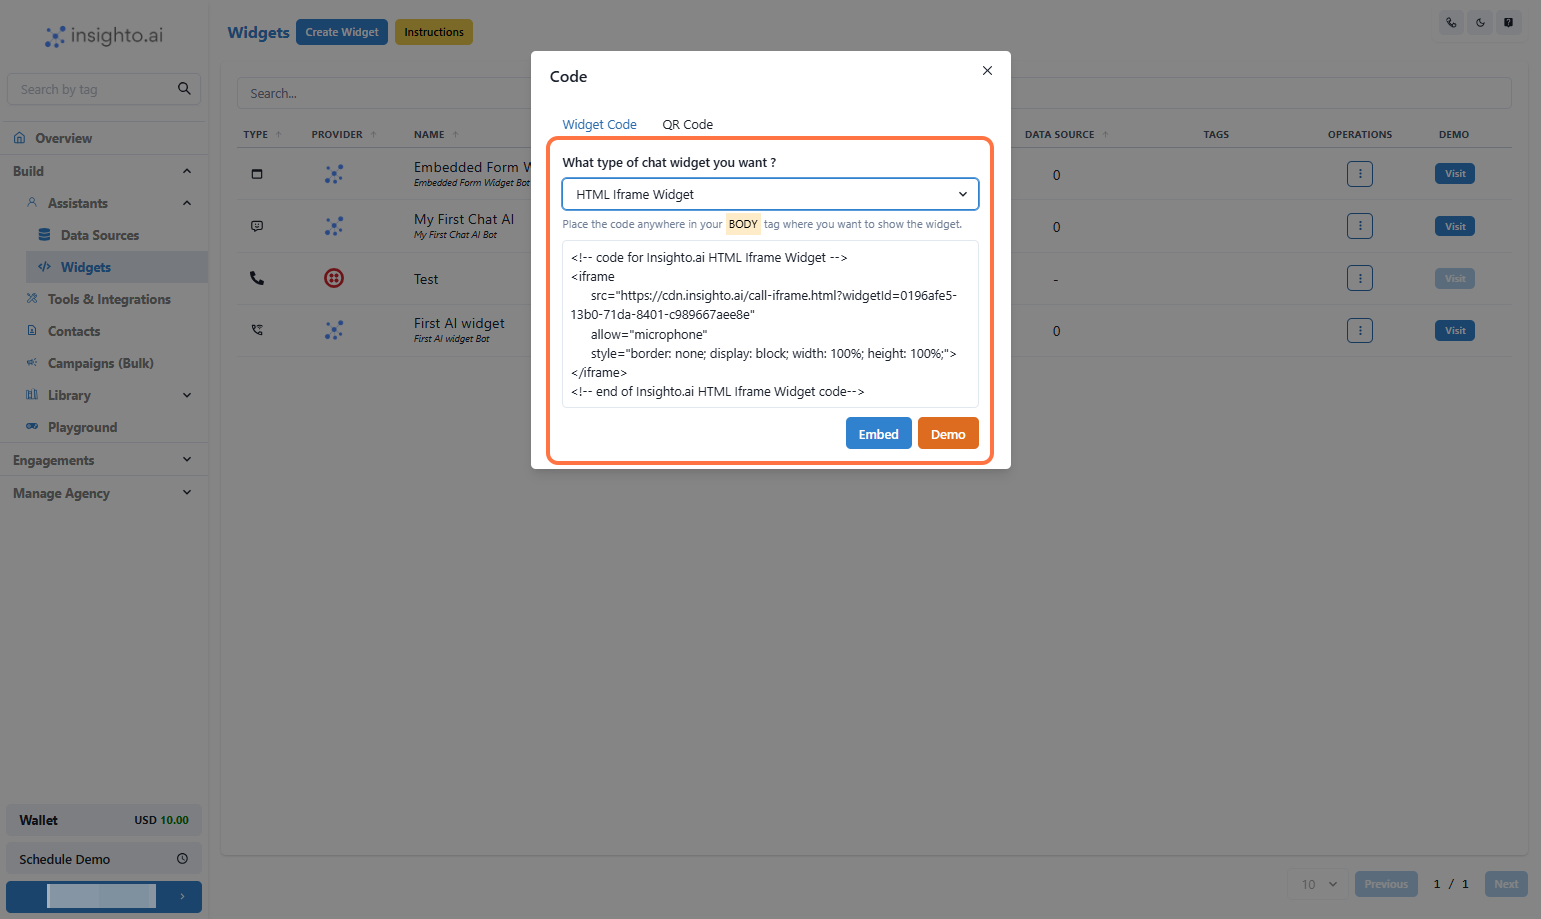
- Copy the Widget Code and add to your website
- HTML iFrame (Only Supported) – Embed the assistant directly within a specific section of your webpage; place the iFrame code within the
<body>where you want it displayed.