Connect any tool or platform you use with Insighto using our API. Once connected, your custom tools can work directly with the Insighto assistant to perform tasks and save you time. Whether it’s sending data, getting updates, or automating actions, you can make everything work together without extra effort.Documentation Index
Fetch the complete documentation index at: https://docs.insighto.ai/llms.txt
Use this file to discover all available pages before exploring further.
🛠️ Create your Custom Tool
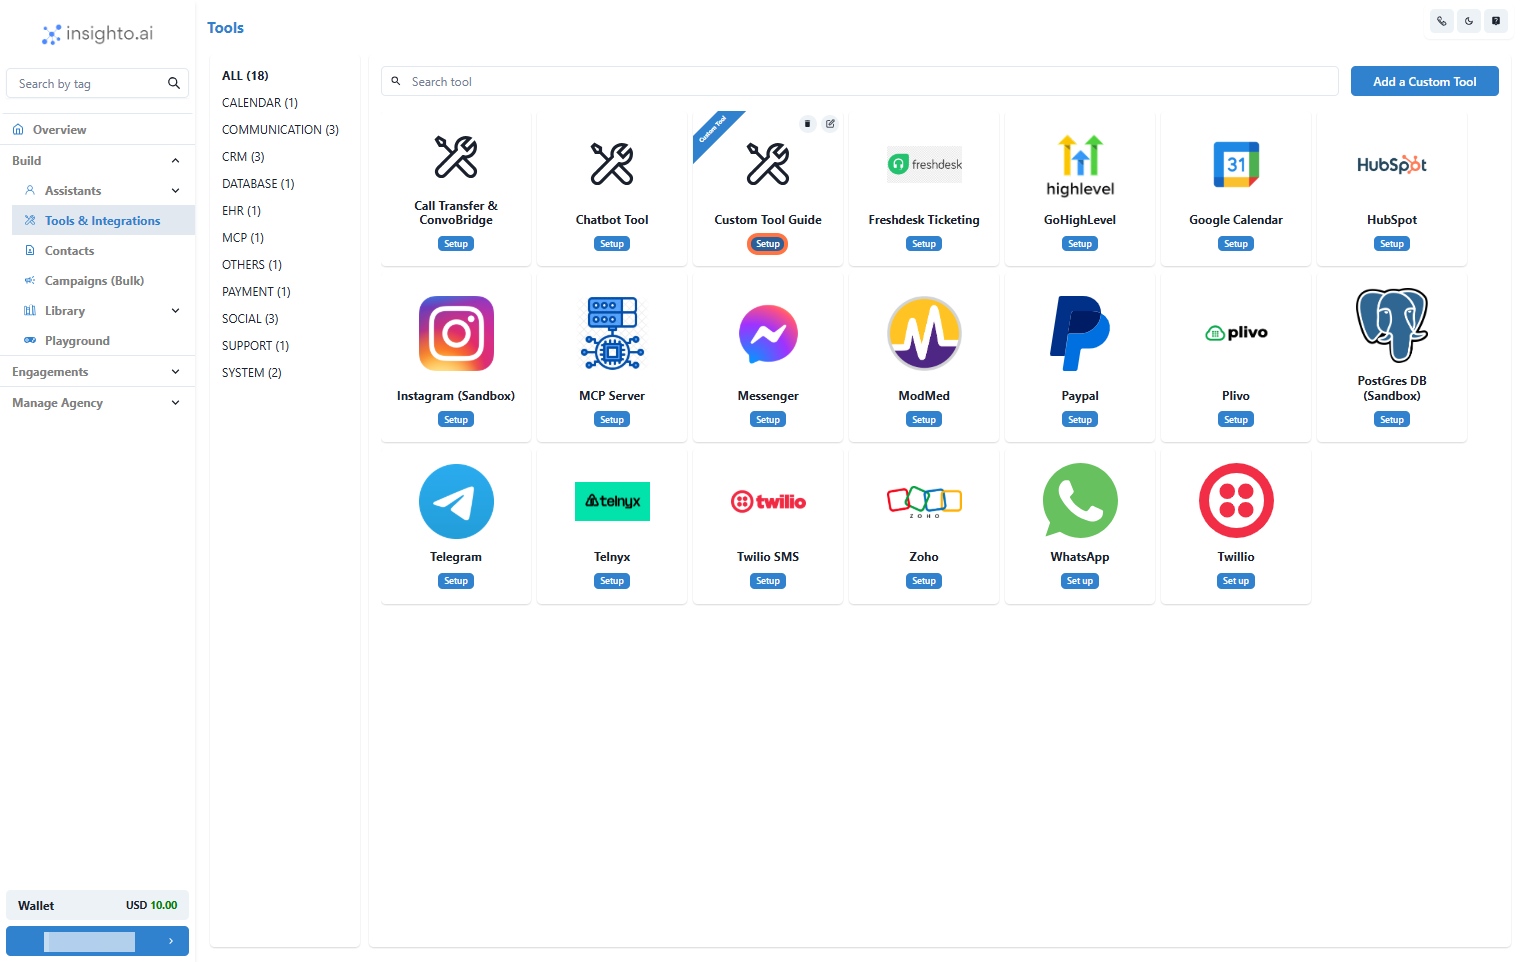
- Go to Tools & Integration
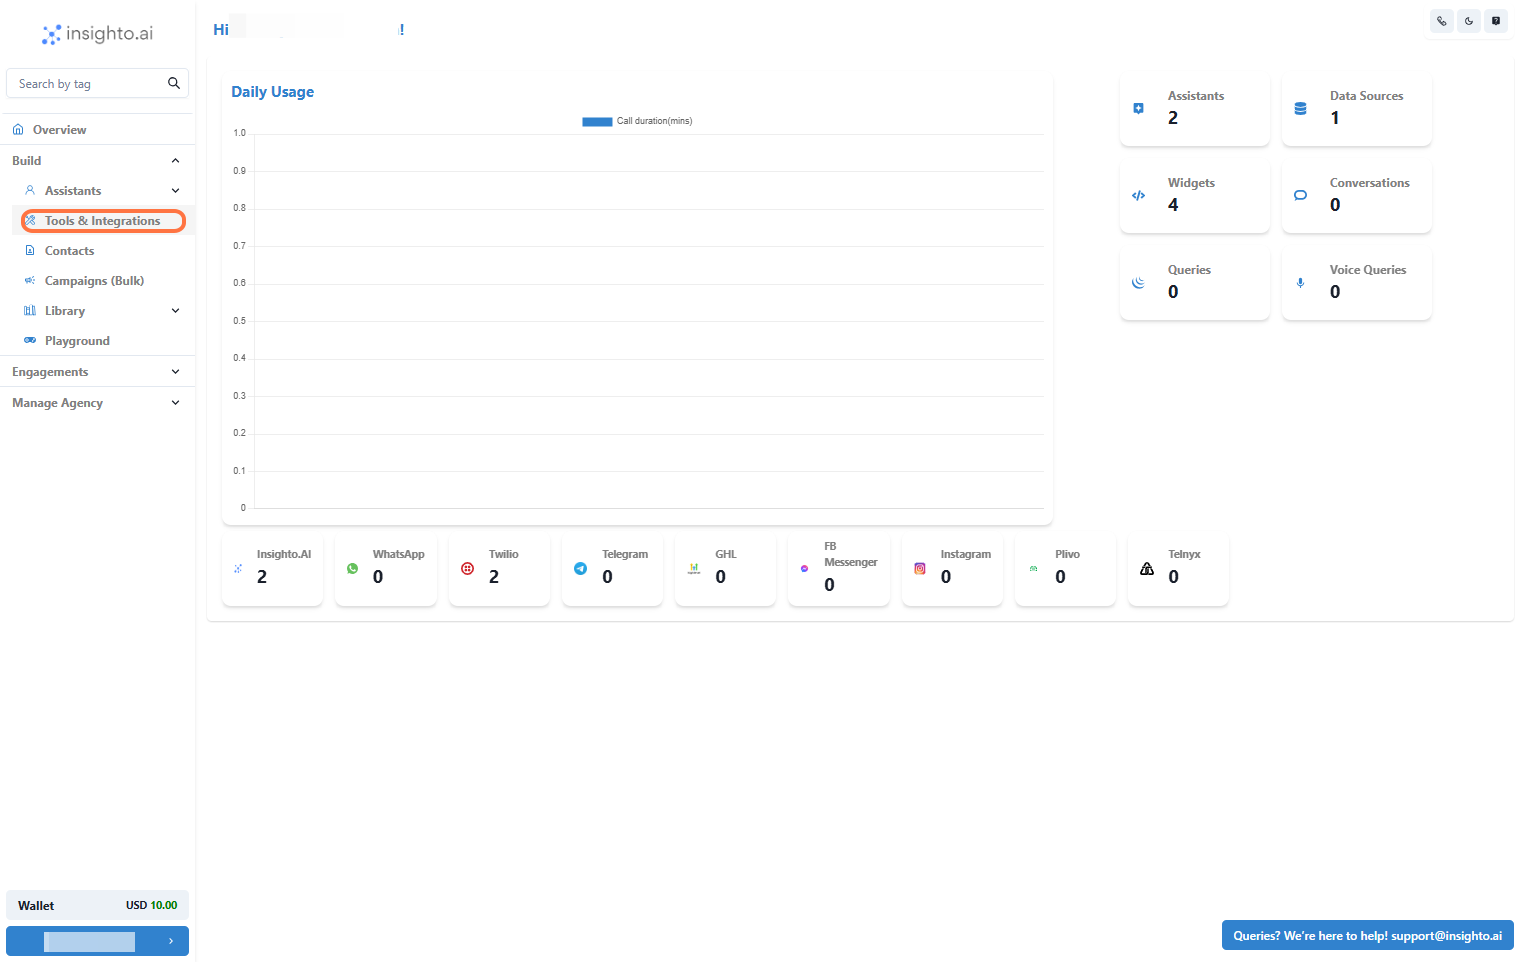
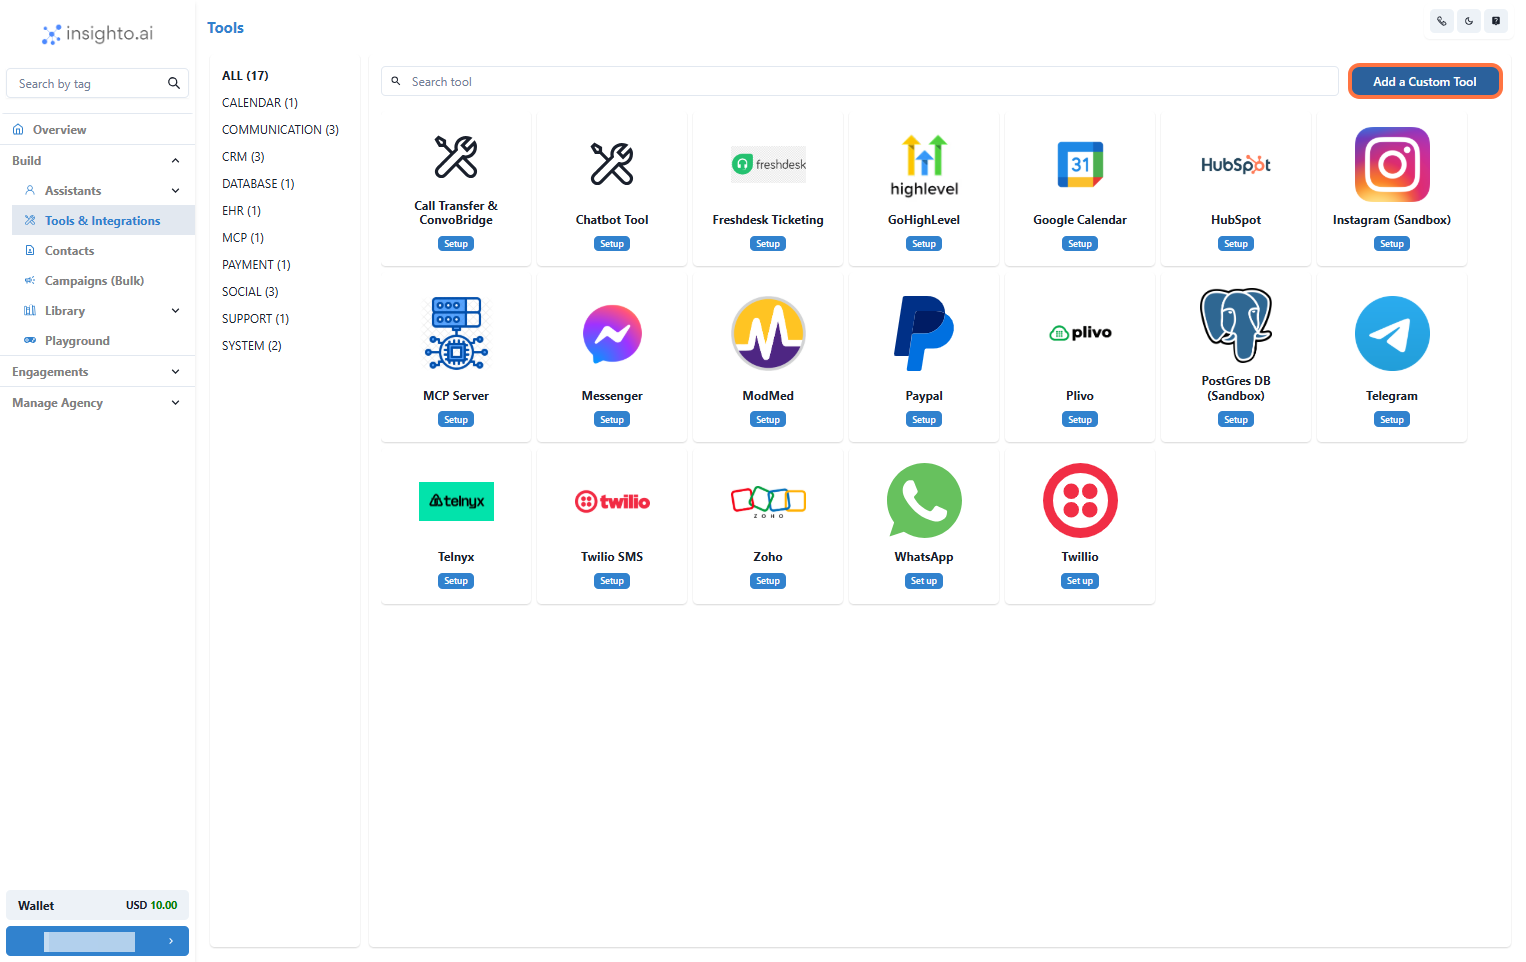
- Click the “Add Custom Tool” Button
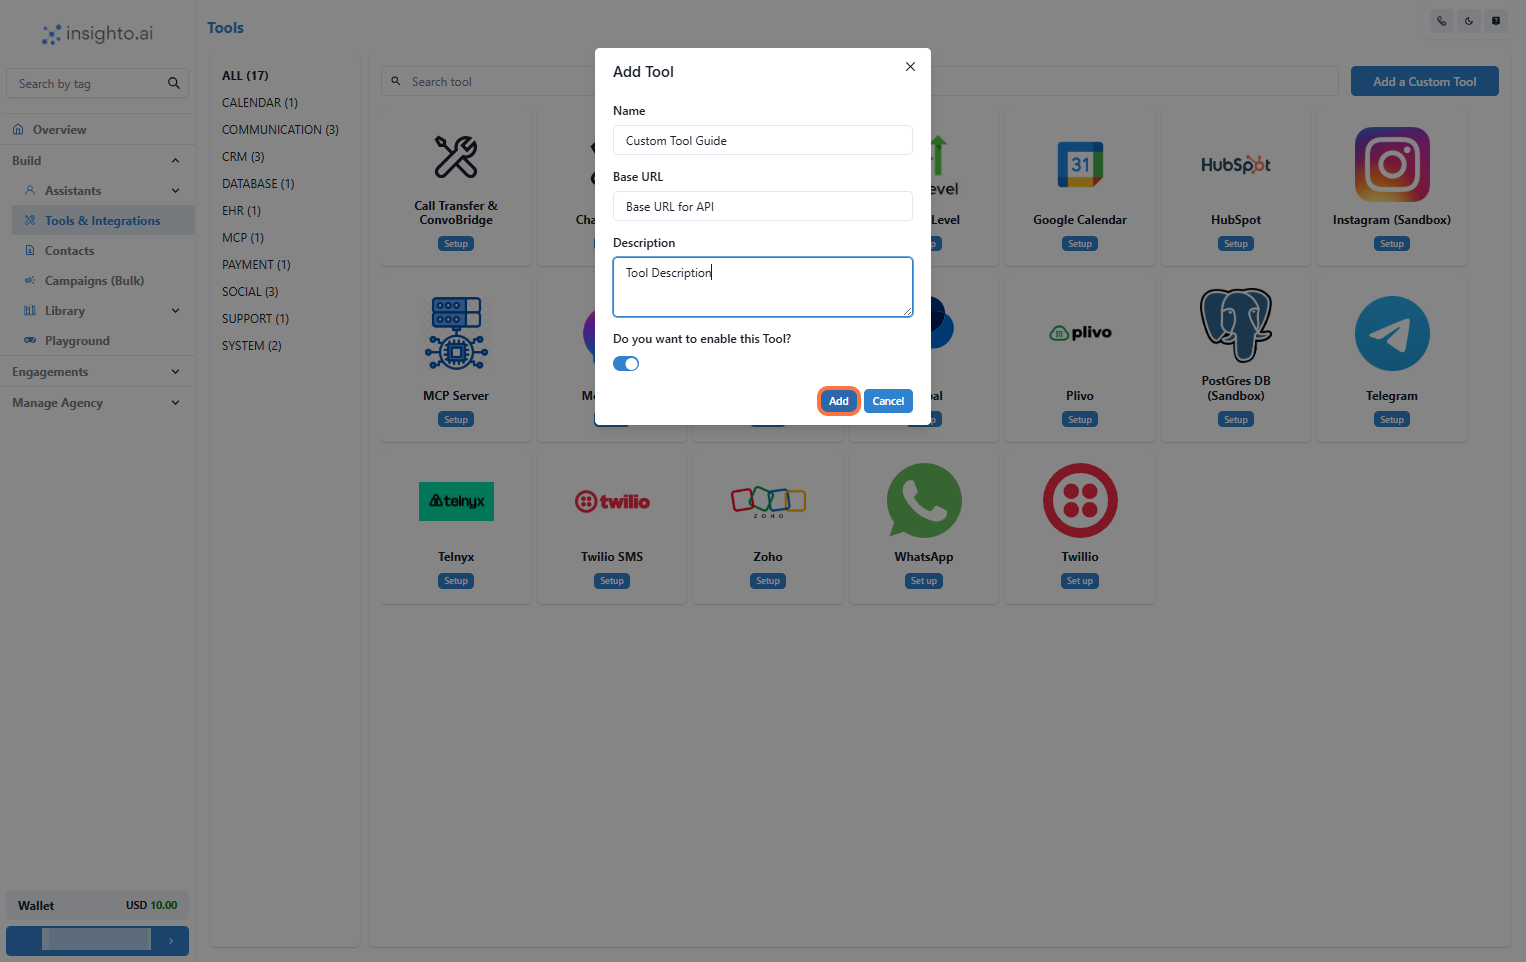
- Fill Out the Add Tool Form
- Name: Enter a suitable name for your custom tool.
- Base URL: This is the fixed part of the external API URL you want to use.
- Description: Write a brief description of what your custom tool does and how you plan to use it.
⚙️ Configure Functions for Your Custom Tool
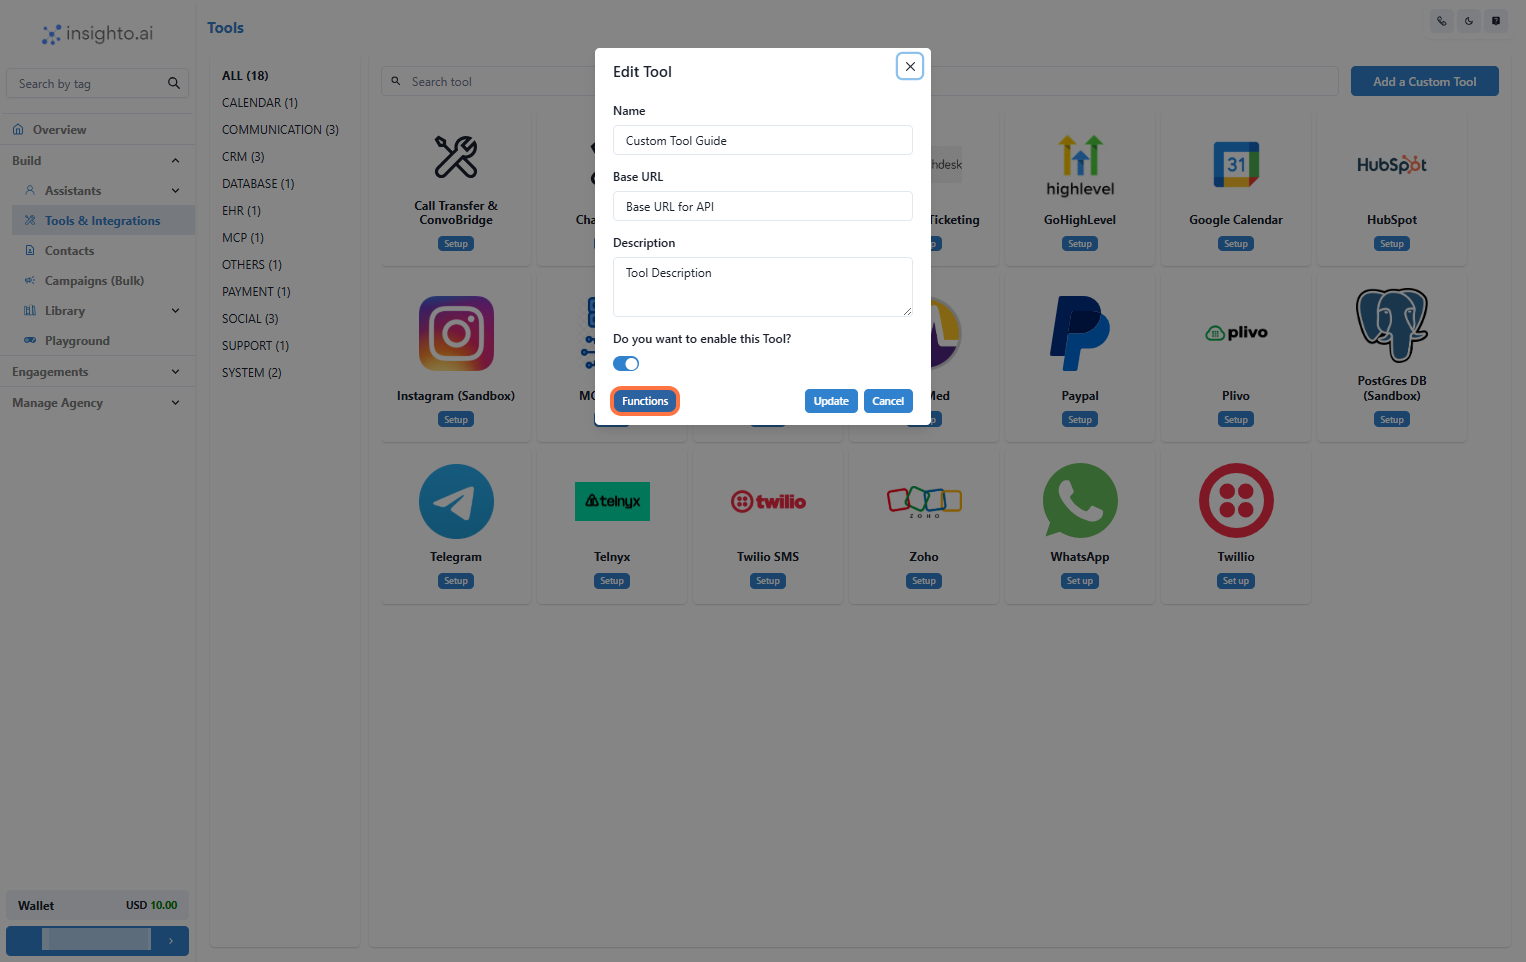
- Locate and Edit Your Newly Created Tool

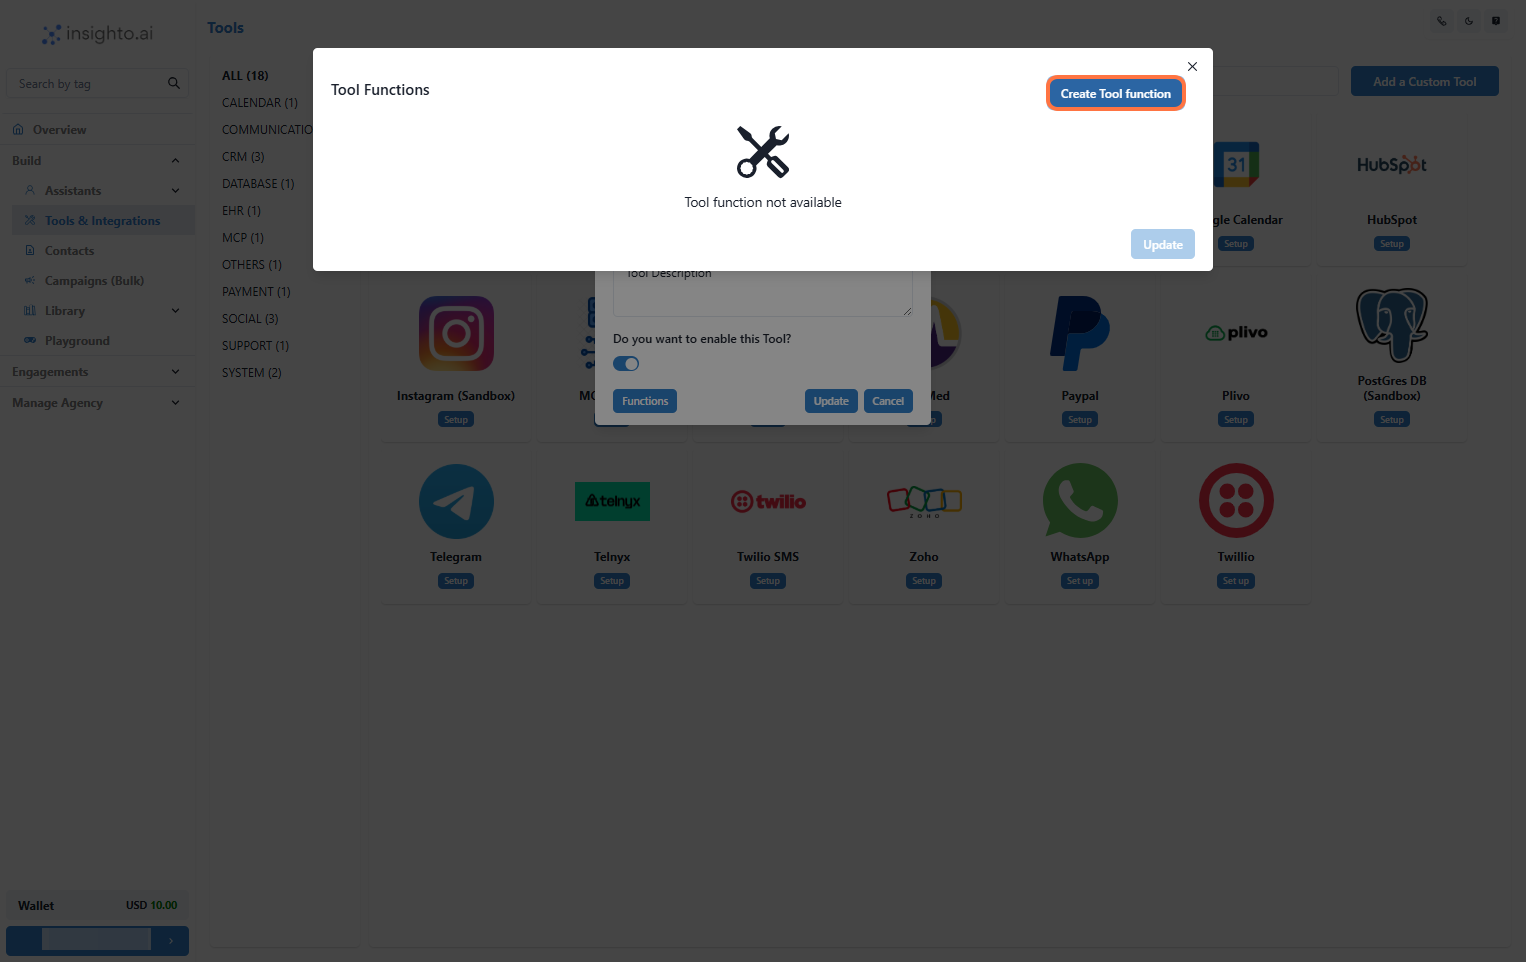
- Click on the “Functions” Option
- Click on the “Create Function” Option
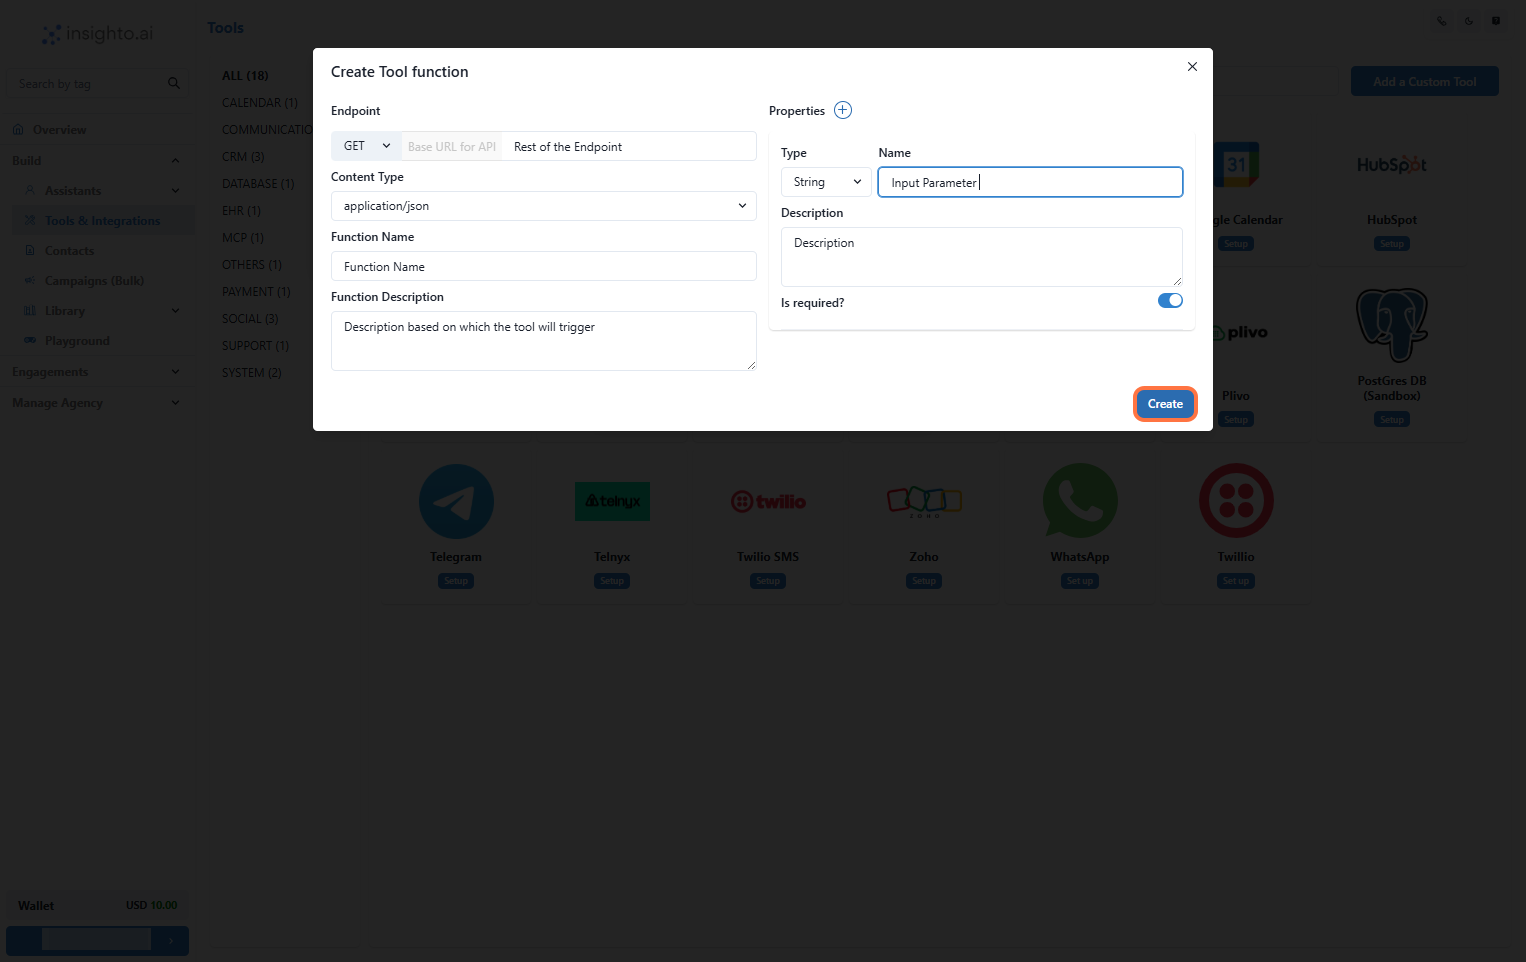
- Define Your Tool Function
- Endpoint: The URL endpoint this function will call.
- Content Type: Specify the content type (e.g., JSON).
- Function Name & Description: A clear name and description that will help trigger this function from prompts.
- Type (e.g., string, integer)
- Name
- Description
🔗 Setting Up Your Custom Tool to Connect with the Assistant
- Click on Set Up
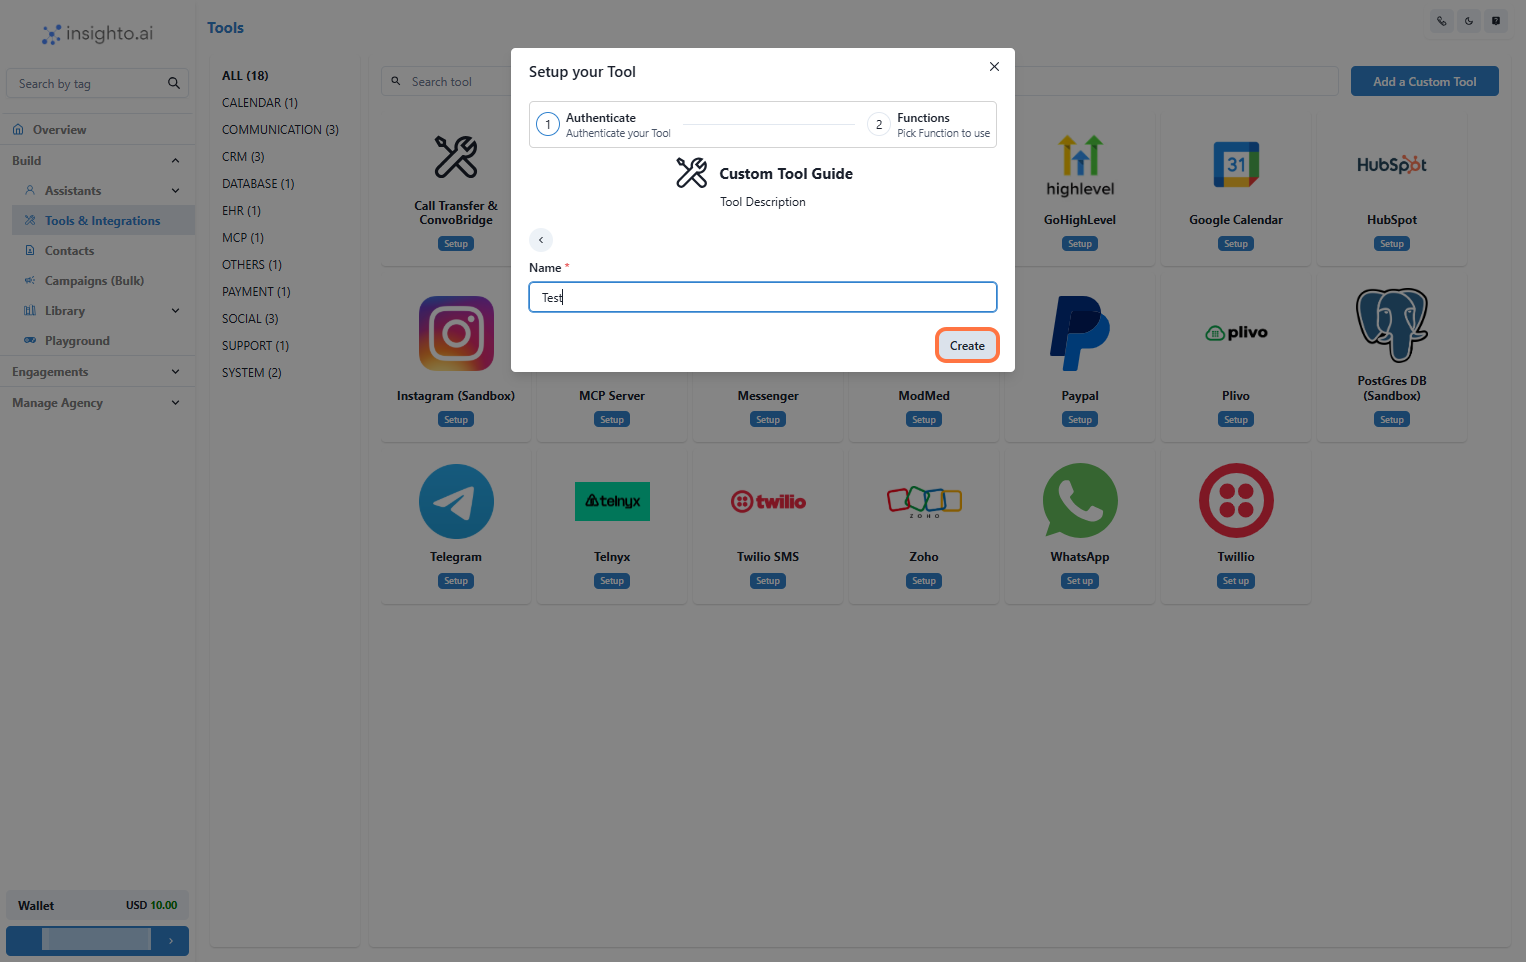
- Click on Start New
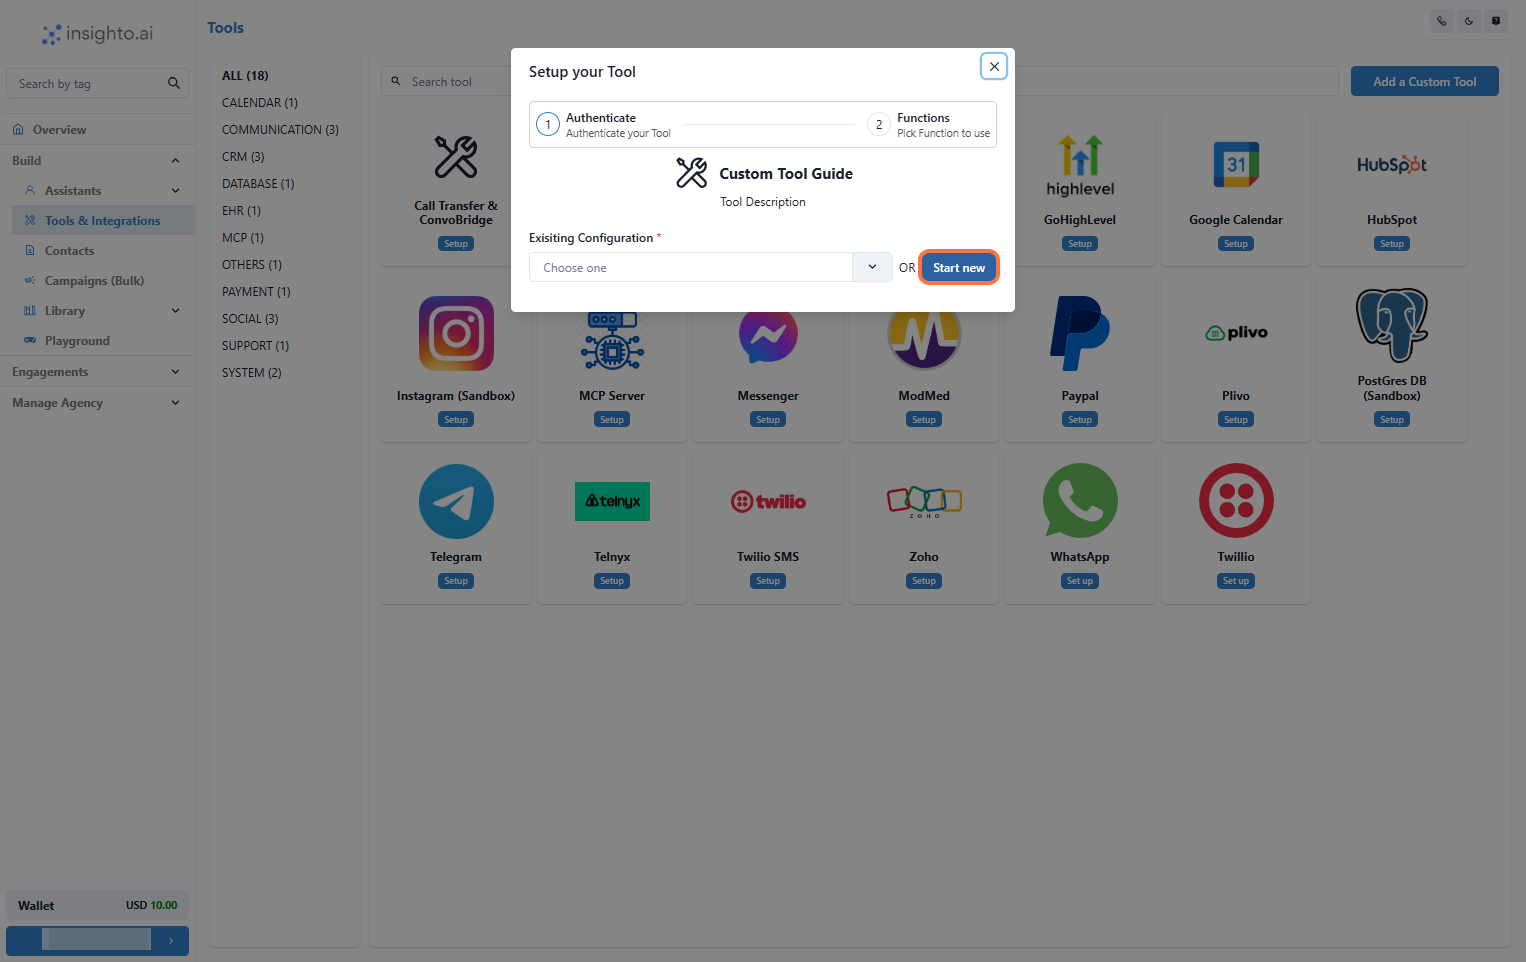
- Name Your Configuration and Click Create
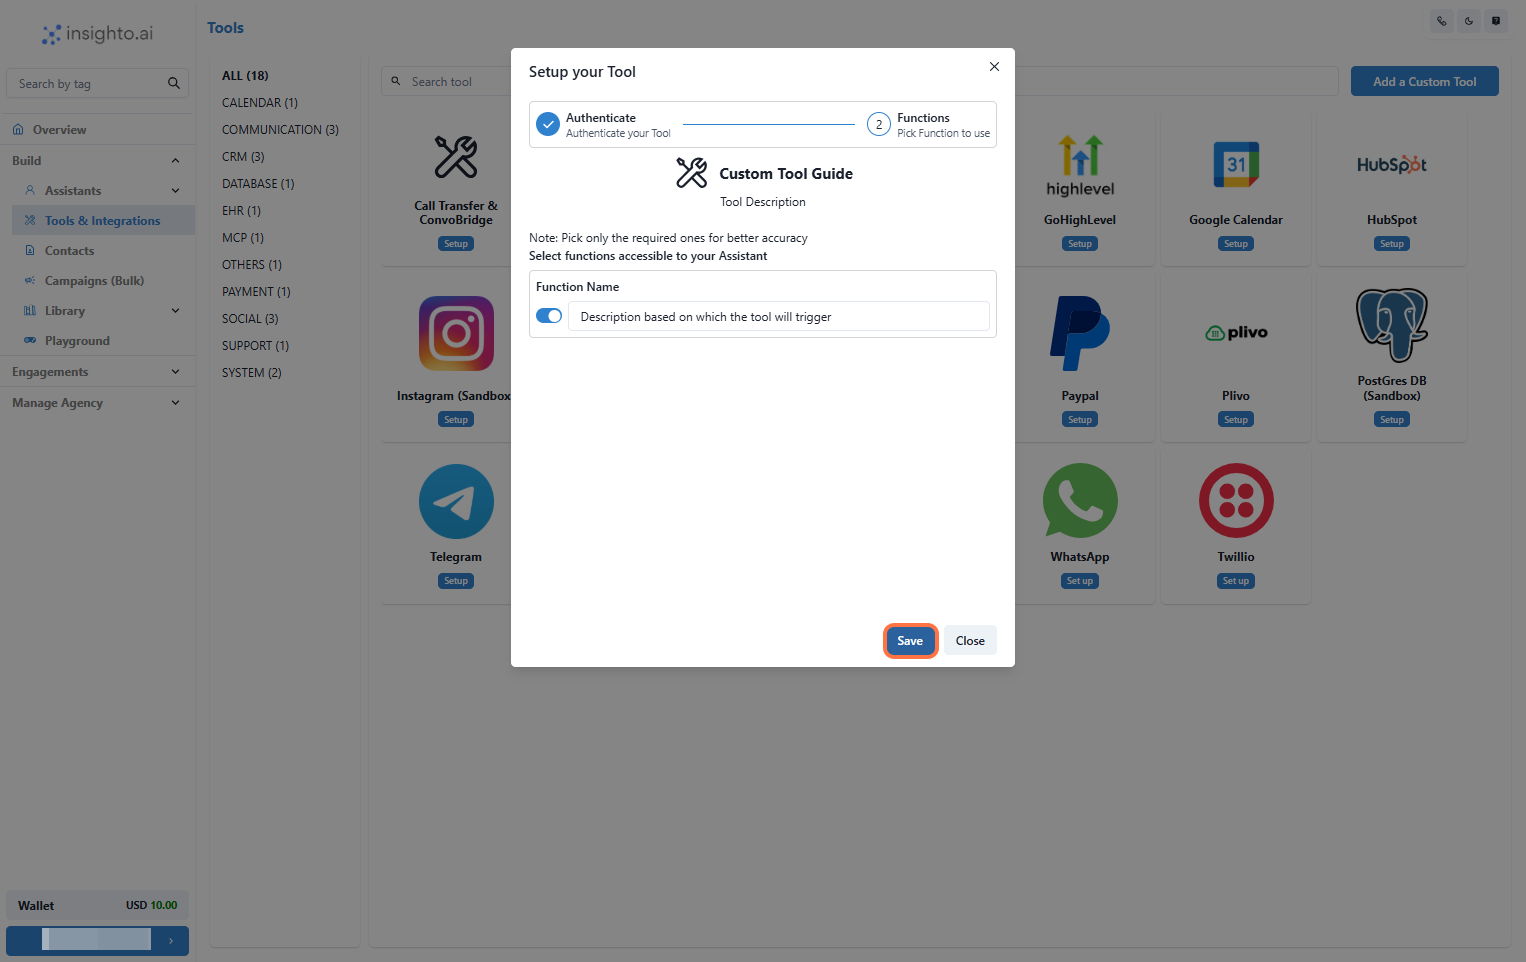
- Enable Required Functions and Save
🤖 Connect with Your Assistant
- Go to the assistant you want to connect this tool with.
- Click Edit on the assistant.
- Navigate to the Tools tab.
- Find and connect your newly created custom tool.
- Add prompts that trigger your tool’s functions.
- Use the phrase “using the available tool” in prompts to ensure the assistant activates it correctly.