The Campaigns feature helps you automate outreach to your contacts by scheduling voice calls using an AI voice agent.Documentation Index
Fetch the complete documentation index at: https://docs.insighto.ai/llms.txt
Use this file to discover all available pages before exploring further.
✅ Prerequisites
Before creating a campaign, make sure you have the following:- A voice agent deployed on a phone number through a supported provider like Twilio, Plivo, or Telnyx.
- A list of leads (contacts) you want to reach out to during the campaign.
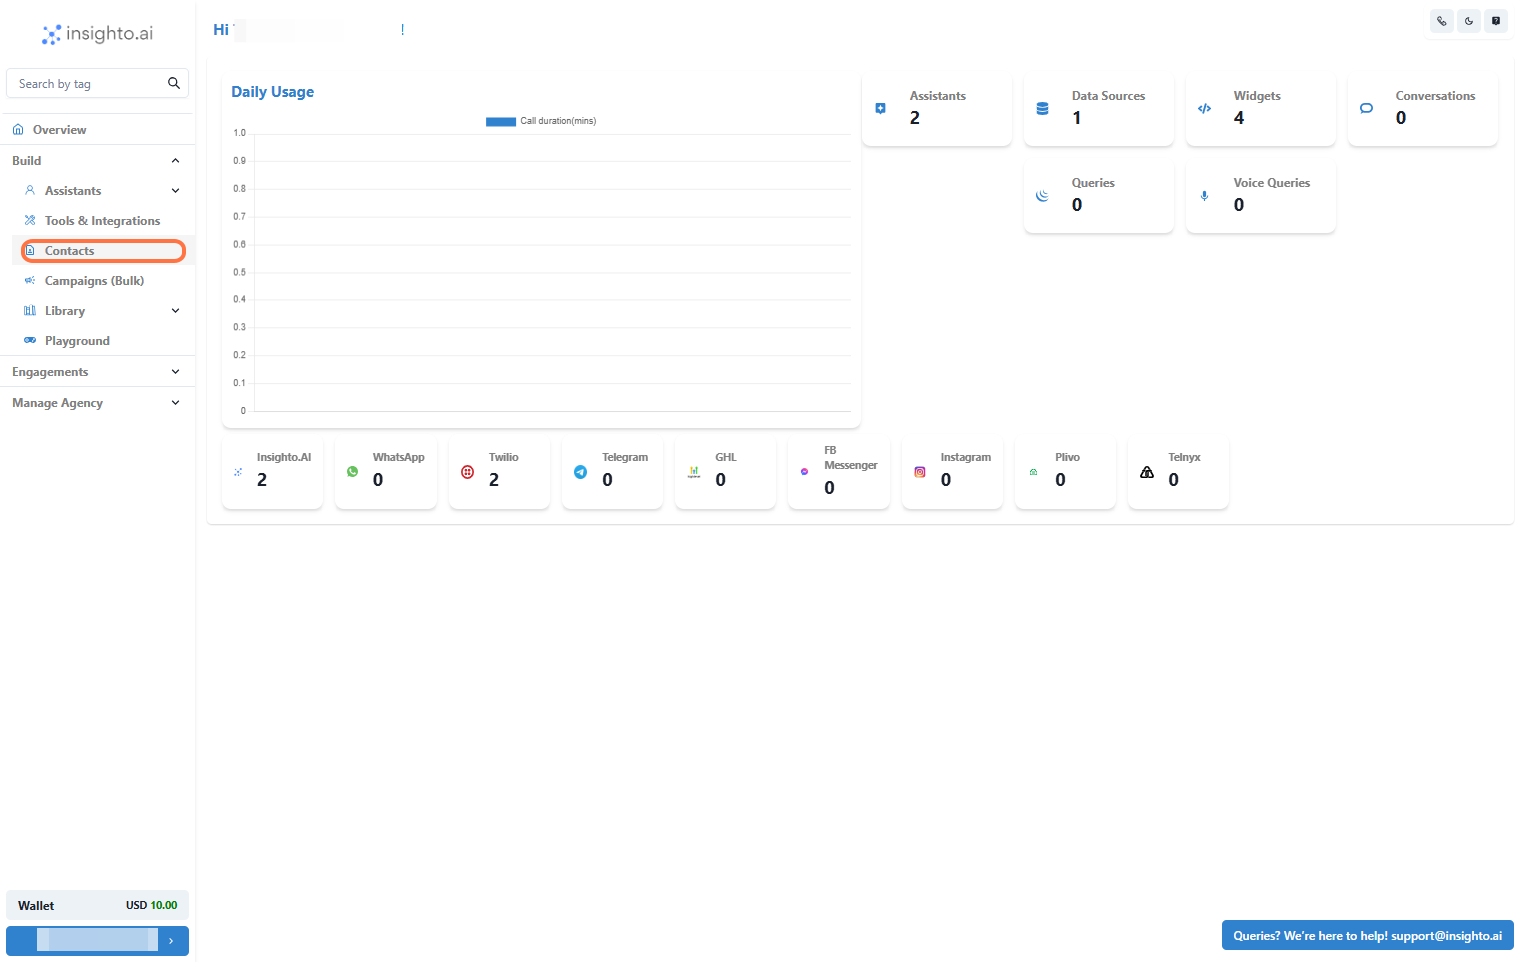
👥 Add Contact in Insighto
- Go to Contacts Section
- Add a Single Contact
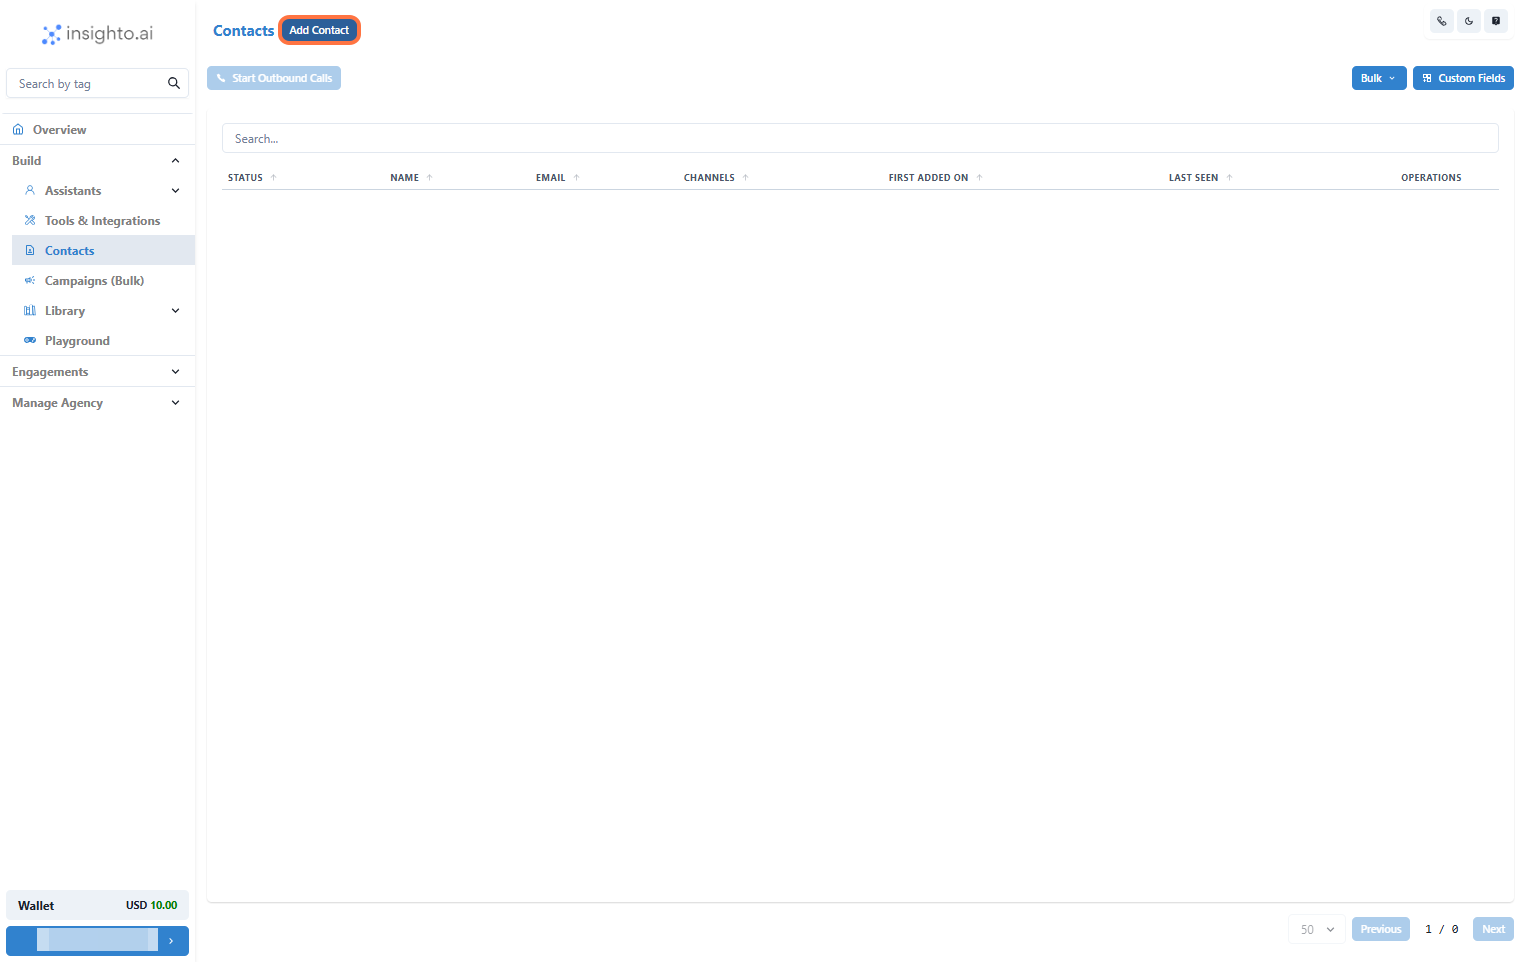
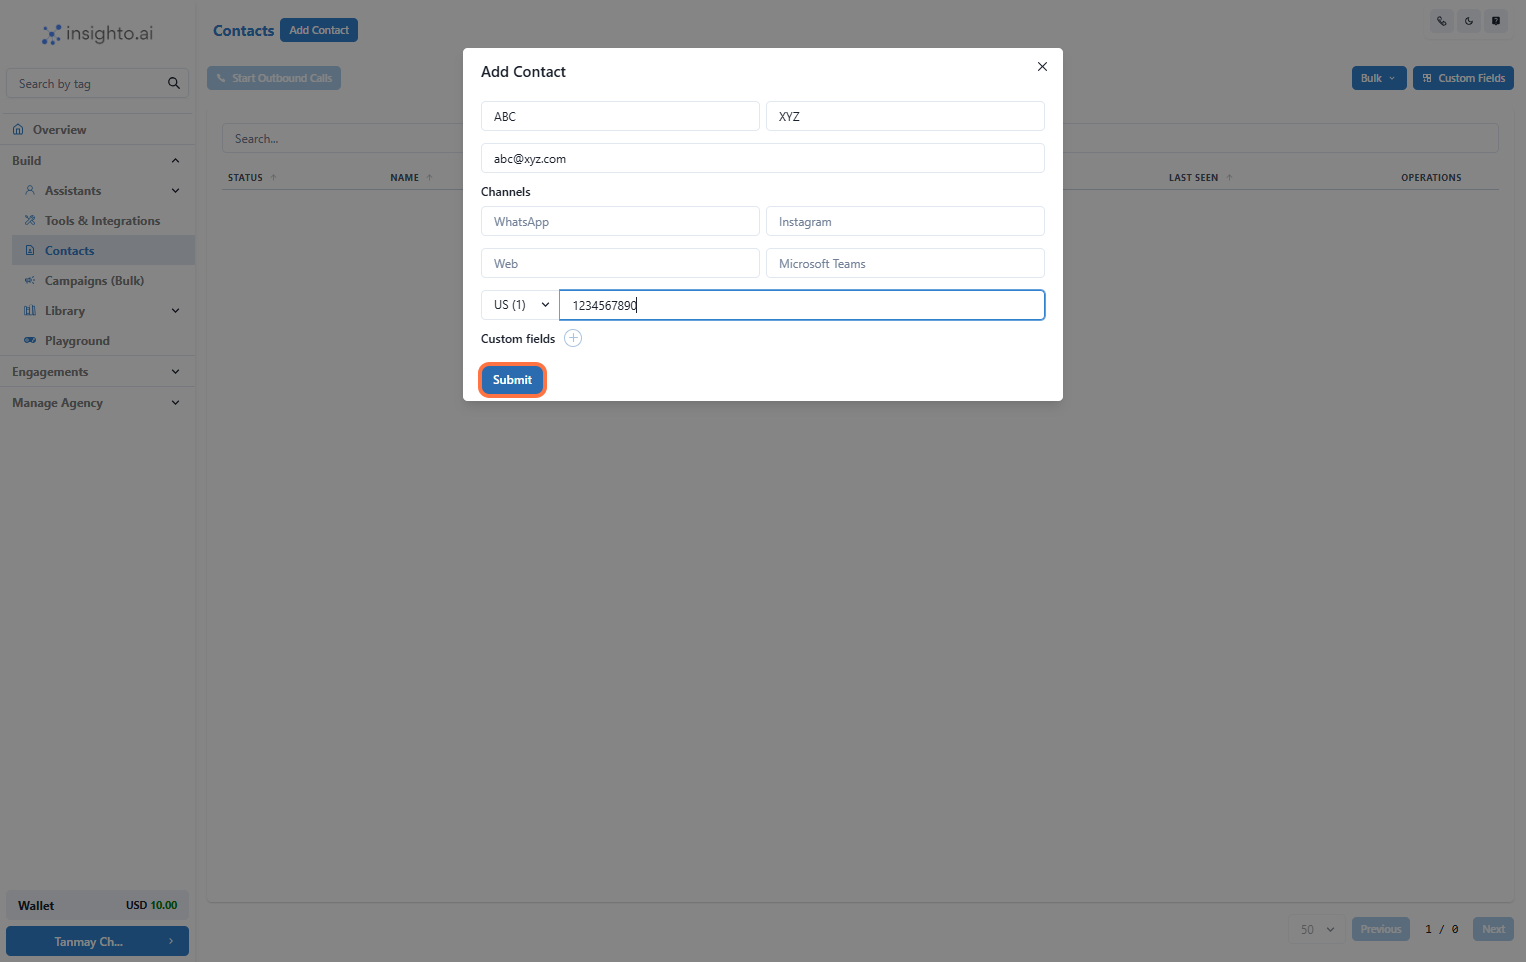
- Enter the Details & Click on Submit
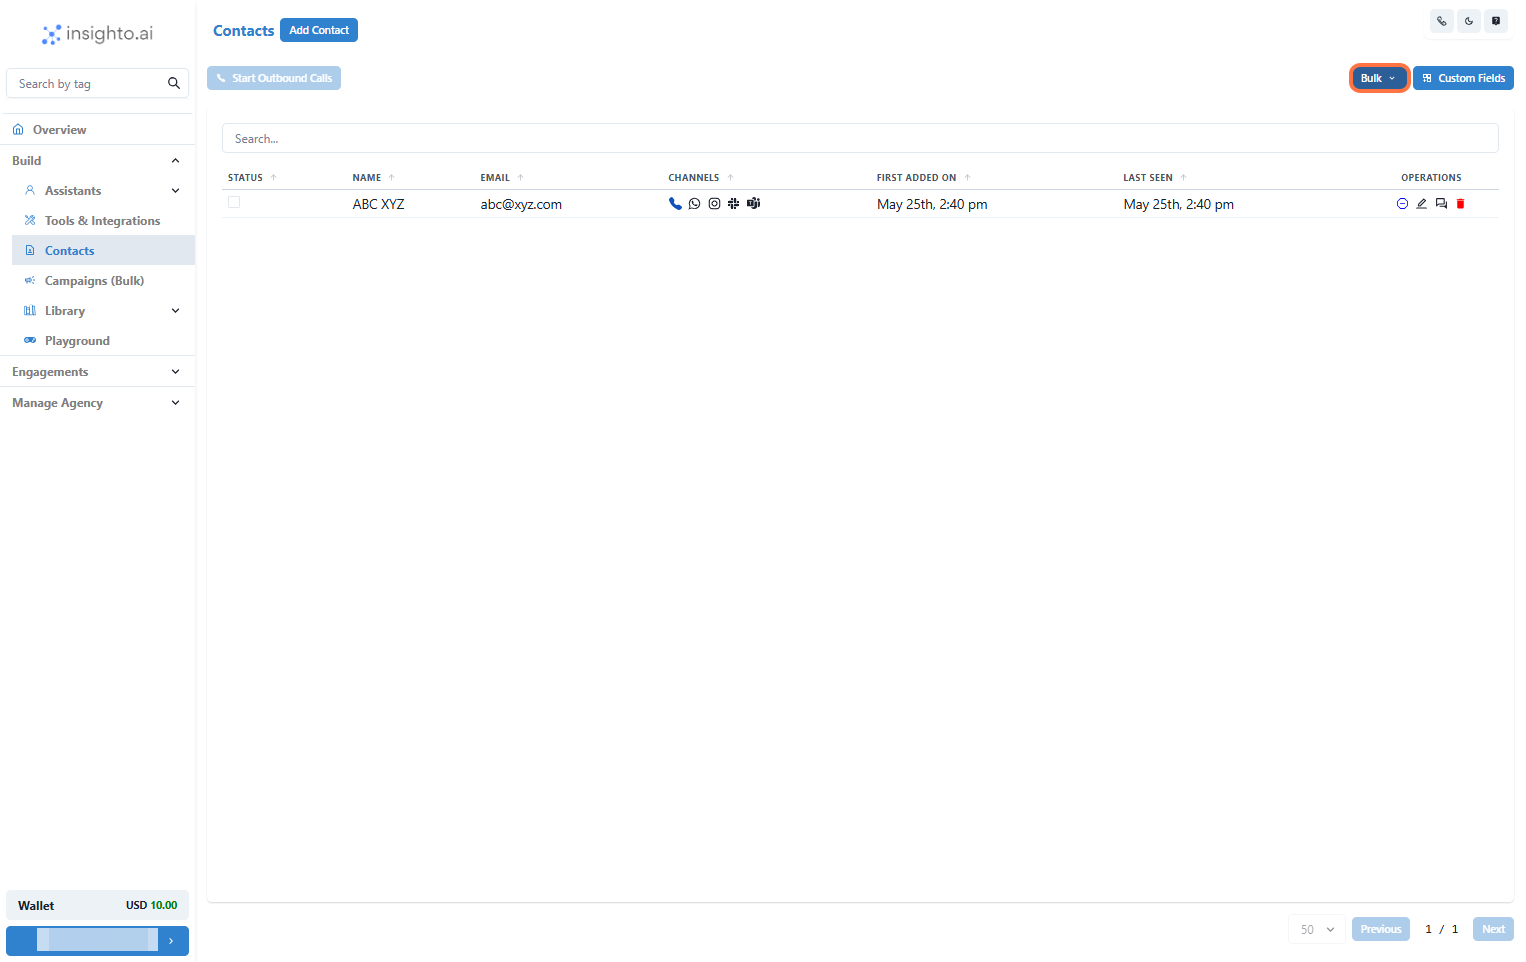
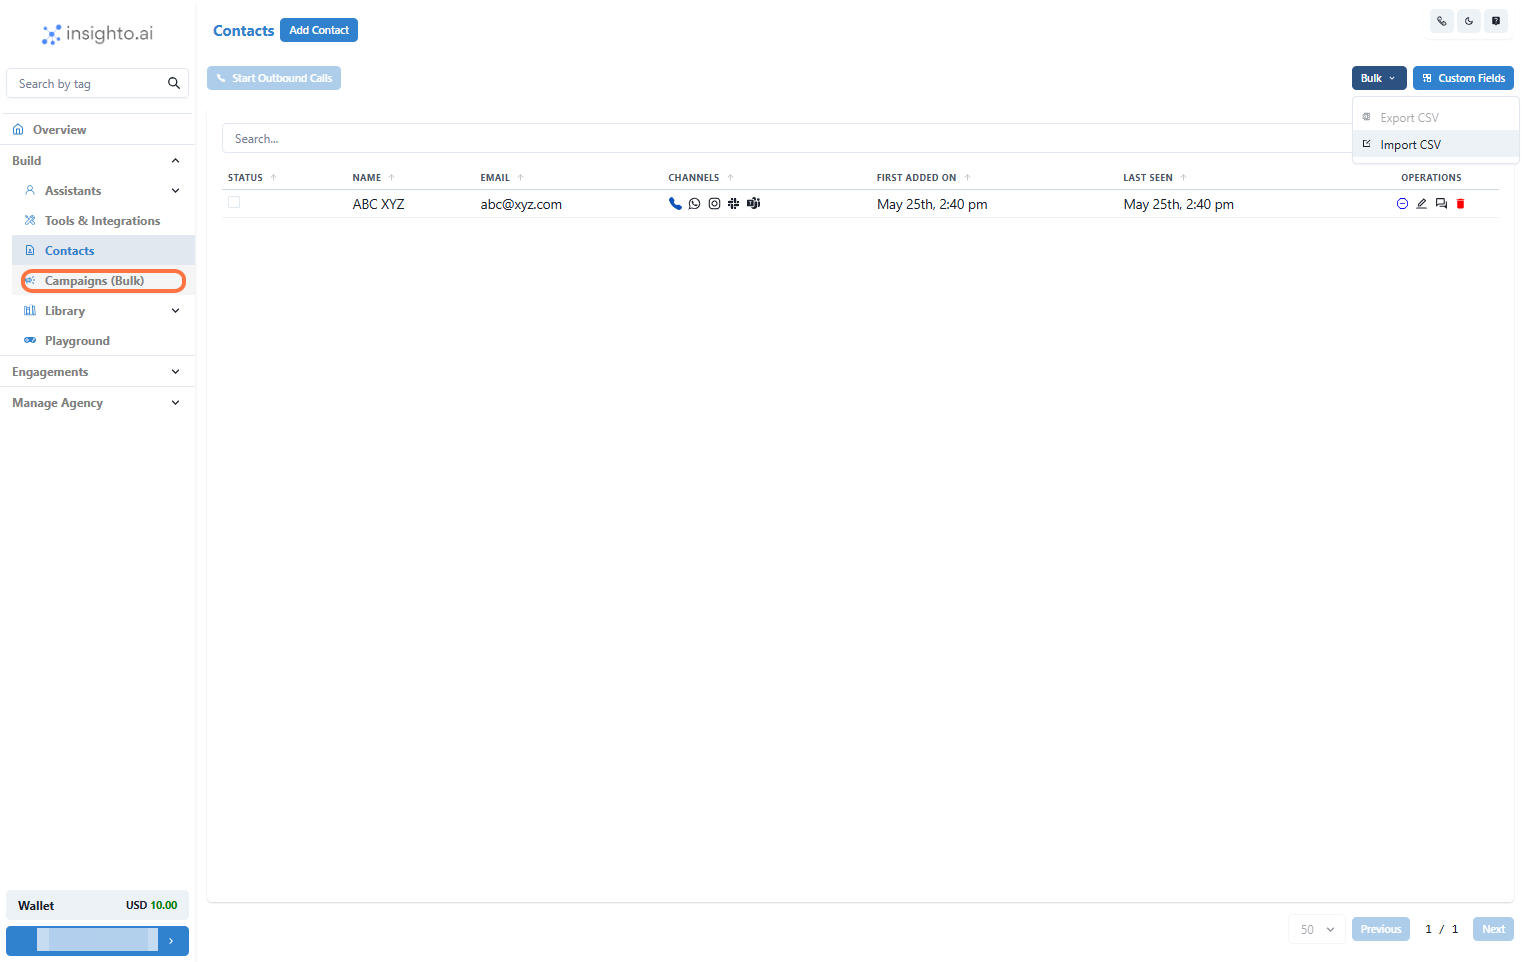
- Upload Contacts in Bulk
📞 Create Campaigns (5 Steps)
- Go to Campaigns Section
- Click on Create Campaign

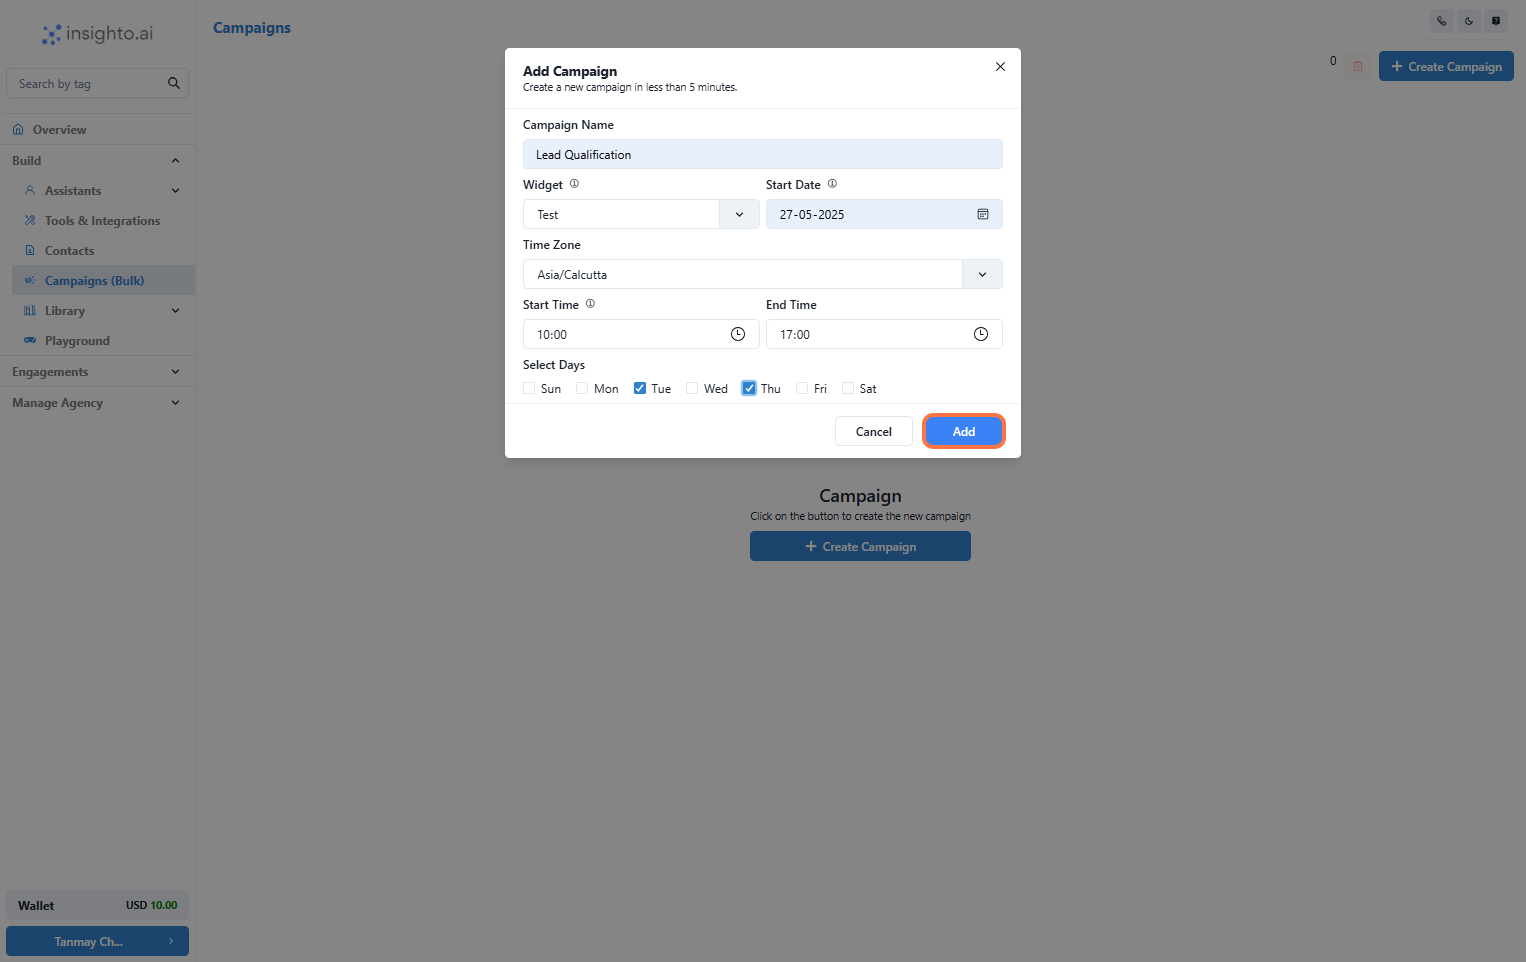
- Enter the Details and Click on Add
- Name your campaign (e.g., “Lead Qualification Campaign”)
- Select the Voice Widget you want to use for calling
- Set the start date, time zone, and daily calling hours
- Choose the days of the week for the campaign to run
- Click Add
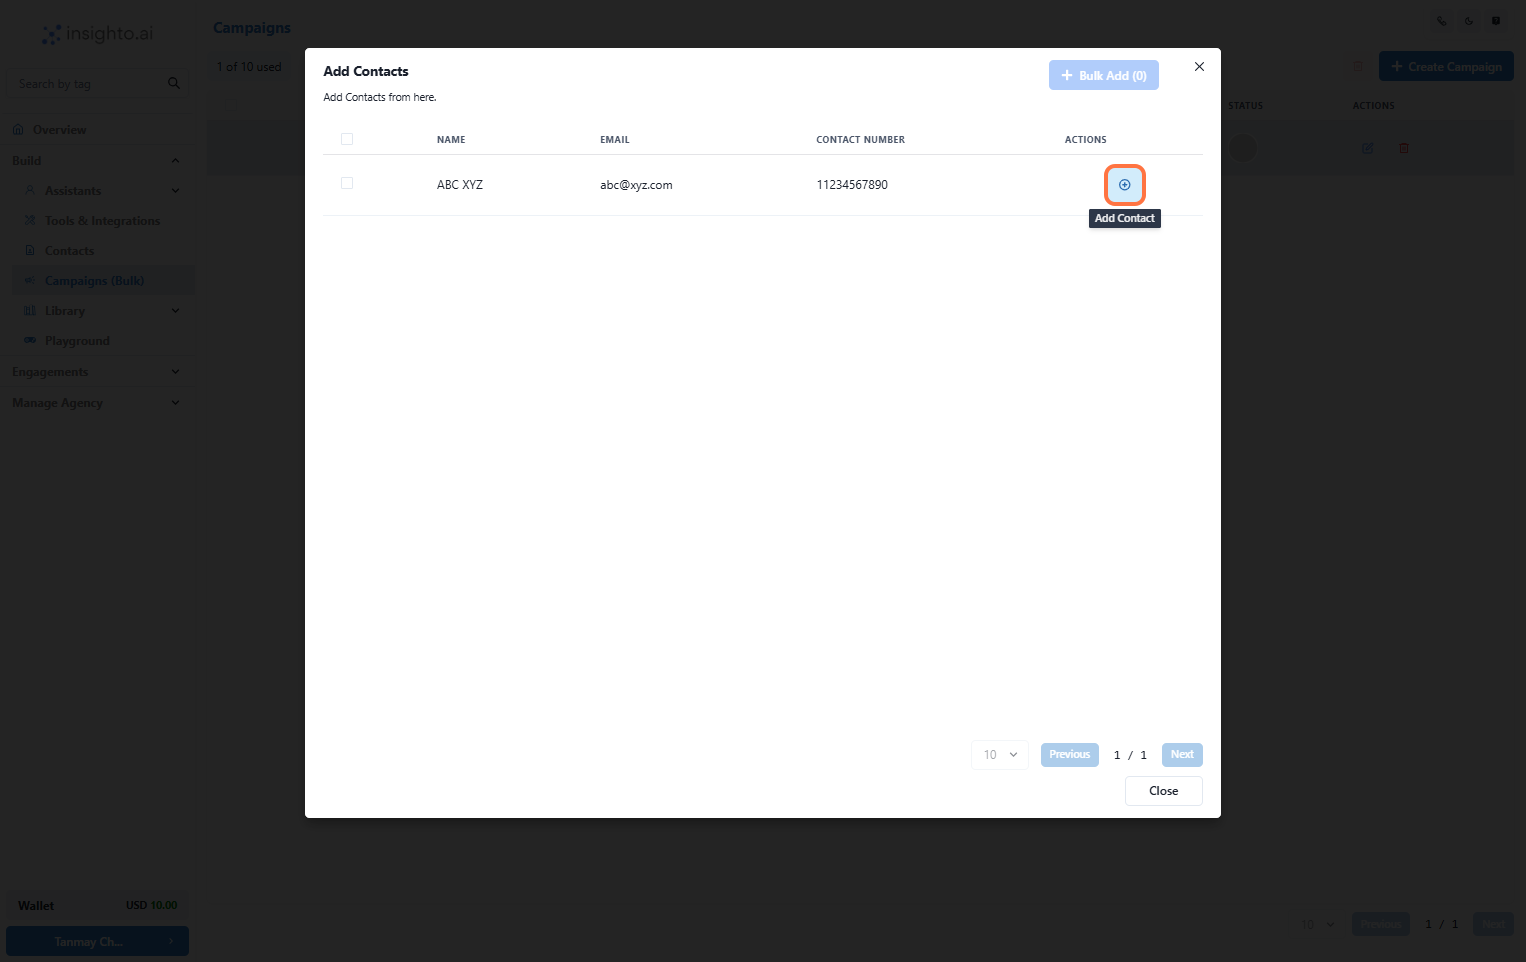
- Select the Contacts and Click on Close
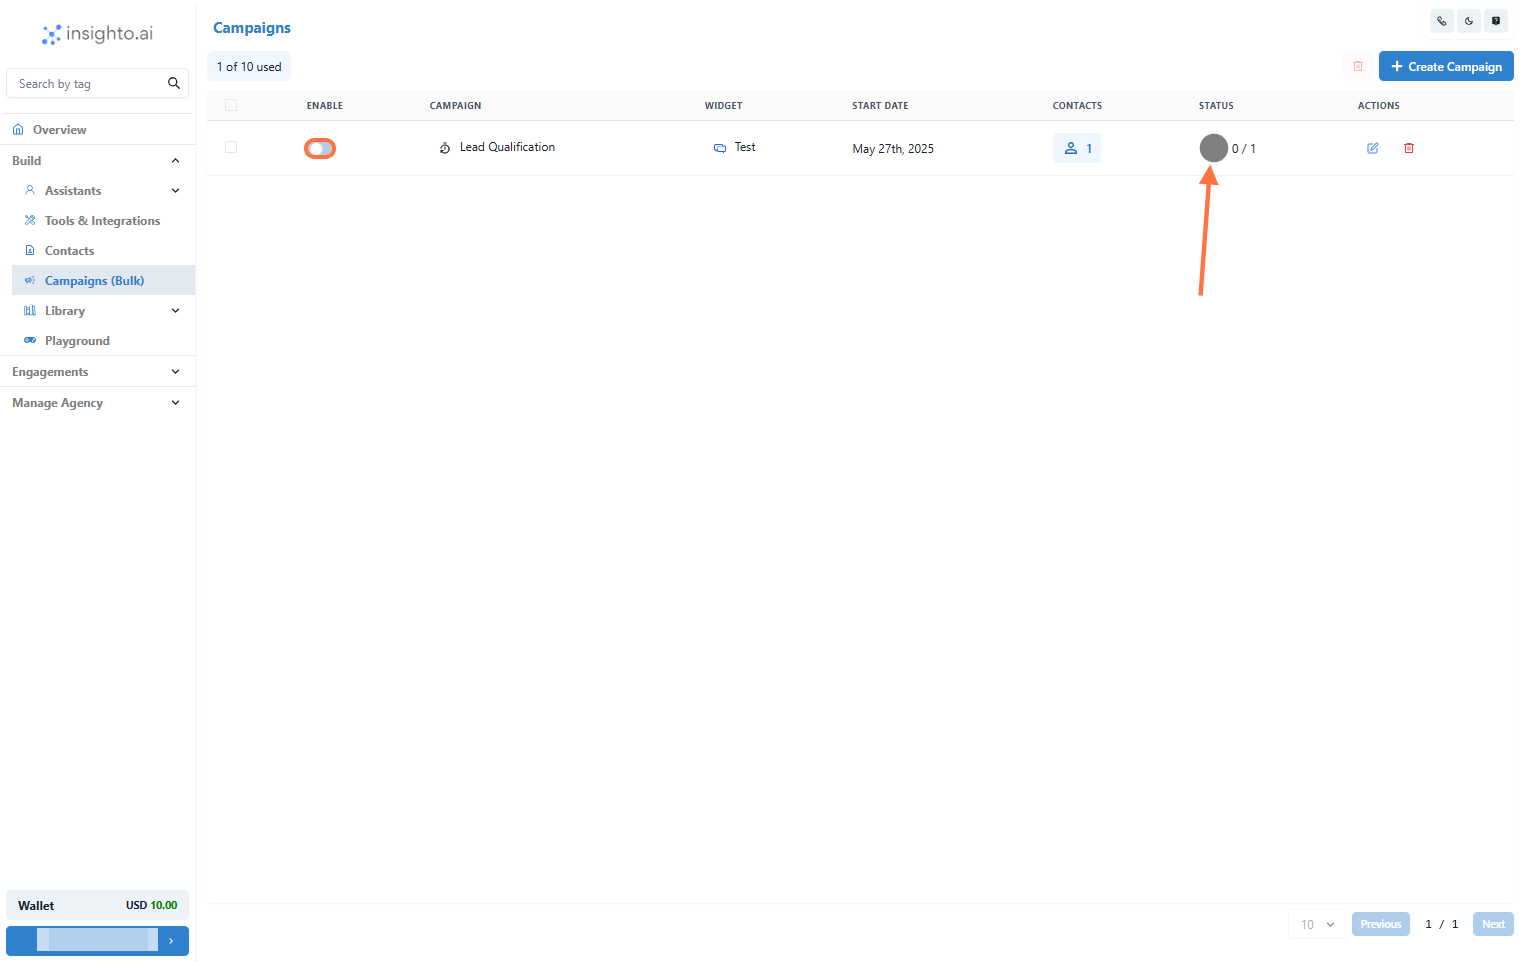
- Enable and Monitor Your Campaign
- Toggle to Enable the campaign.
- It will run based on your defined schedule.
- Track the status and performance of the campaign in the interface.
📊 After Campaign
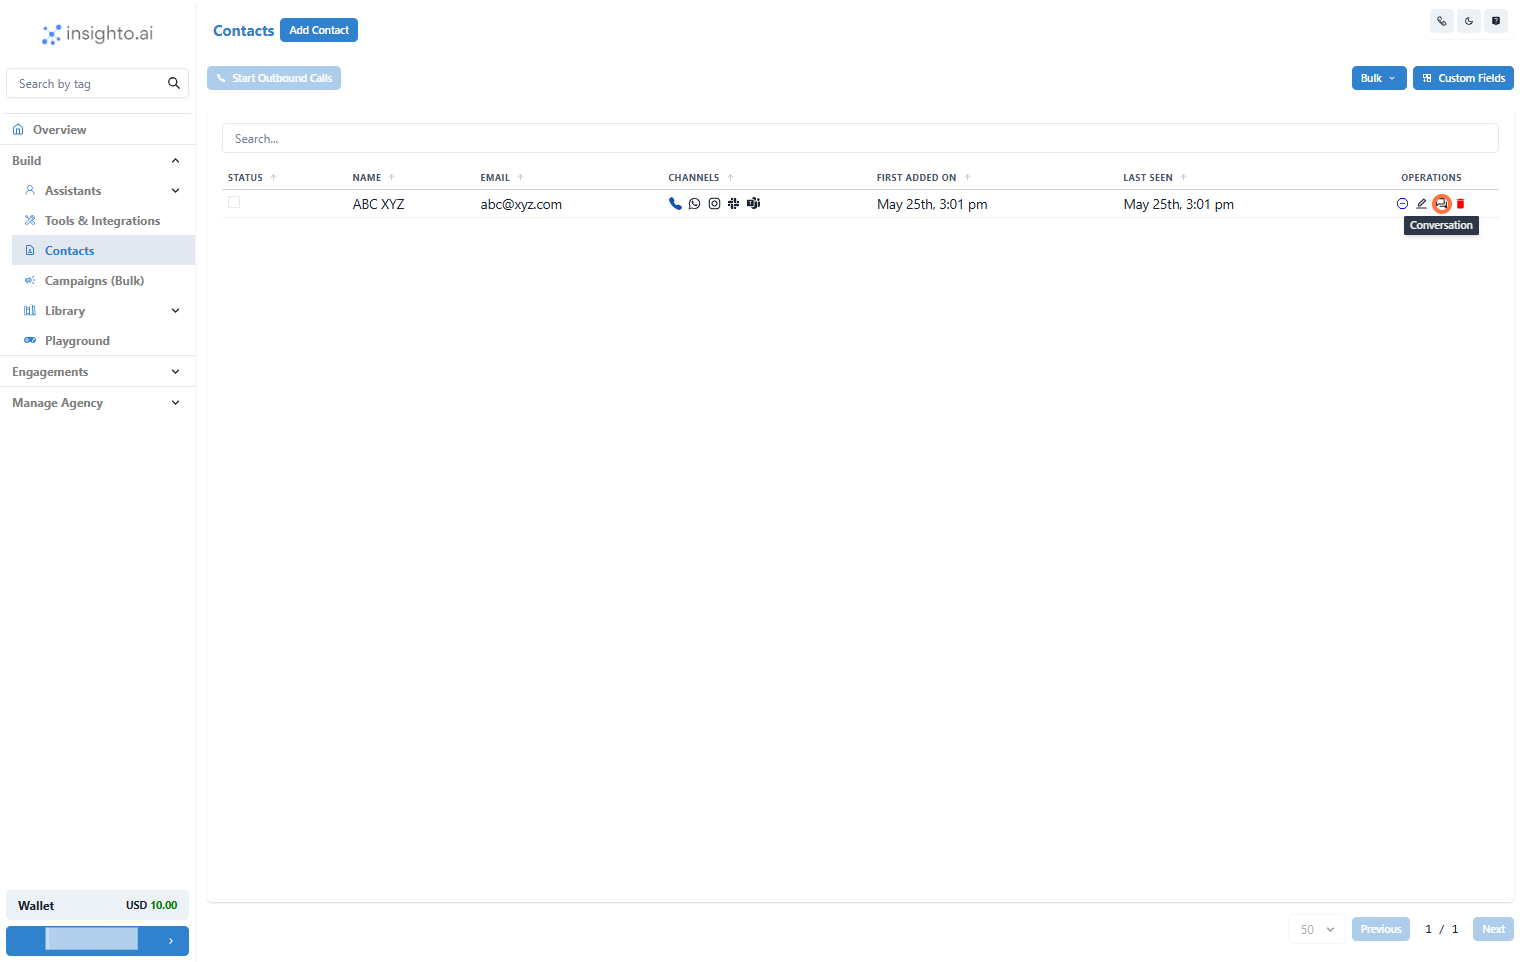
- Check the Conversations After Campaigns
- Review conversations for a specific contact in the Contacts section, or
- Track all conversations in the Engagement section from the left panel.