This comprehensive guide will help you configure the ConvoBridge Tool, which enables seamless handoff from an AI phone assistant (using Web call or number) to a chat assistant (via SMS or WhatsApp)Documentation Index
Fetch the complete documentation index at: https://docs.insighto.ai/llms.txt
Use this file to discover all available pages before exploring further.
Introduction
ConvoBridge is ideal for situations where capturing details such as email addresses, home addresses, or other relevant information is more efficient through text chat rather than voice. After gathering these details via chat, the conversation can smoothly continue with a phone agent. Before getting started, ensure you have the following prerequisites: ✅ An AI chat SMS agent or AI WhatsApp chat agent✅ A phone agent setup using either Web call or Phone Number.
✅ A Form that will capture the details
Note: Tool will be connected to parent widget i.e. Phone Assistant & Form will connect to bridged widget i.e. Chat AssistantIn this guide, you’ll learn how to configure ConvoBridge in two main ways: Option A: Phone assistant to SMS widget
Option B: Phone assistant to WhatsApp widget
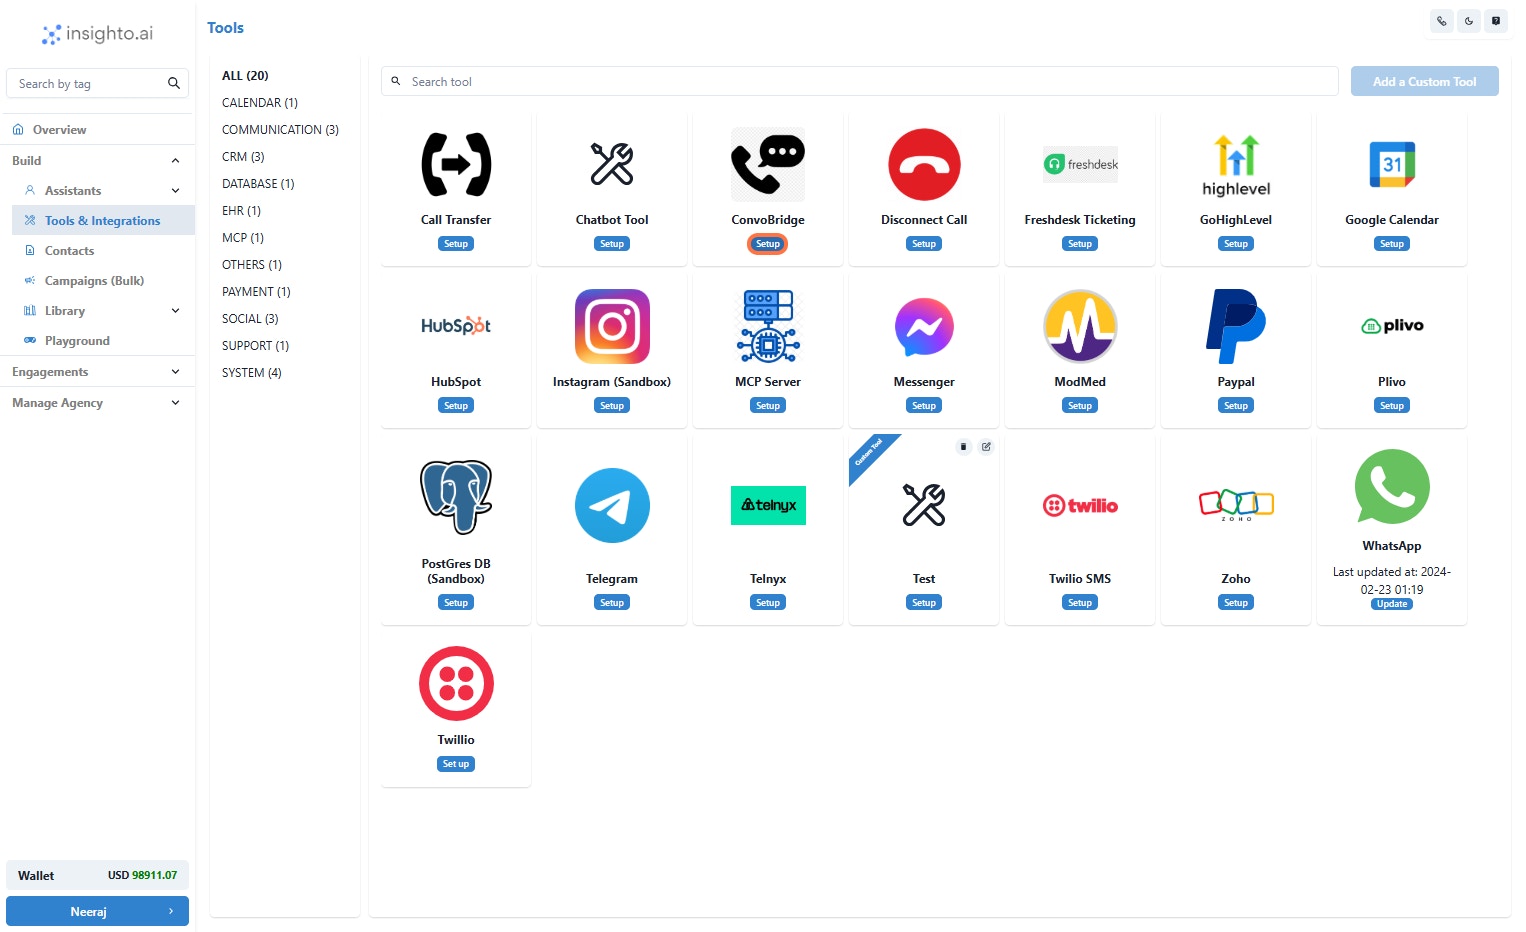
- Go to Tools & Integration & Click on Setup
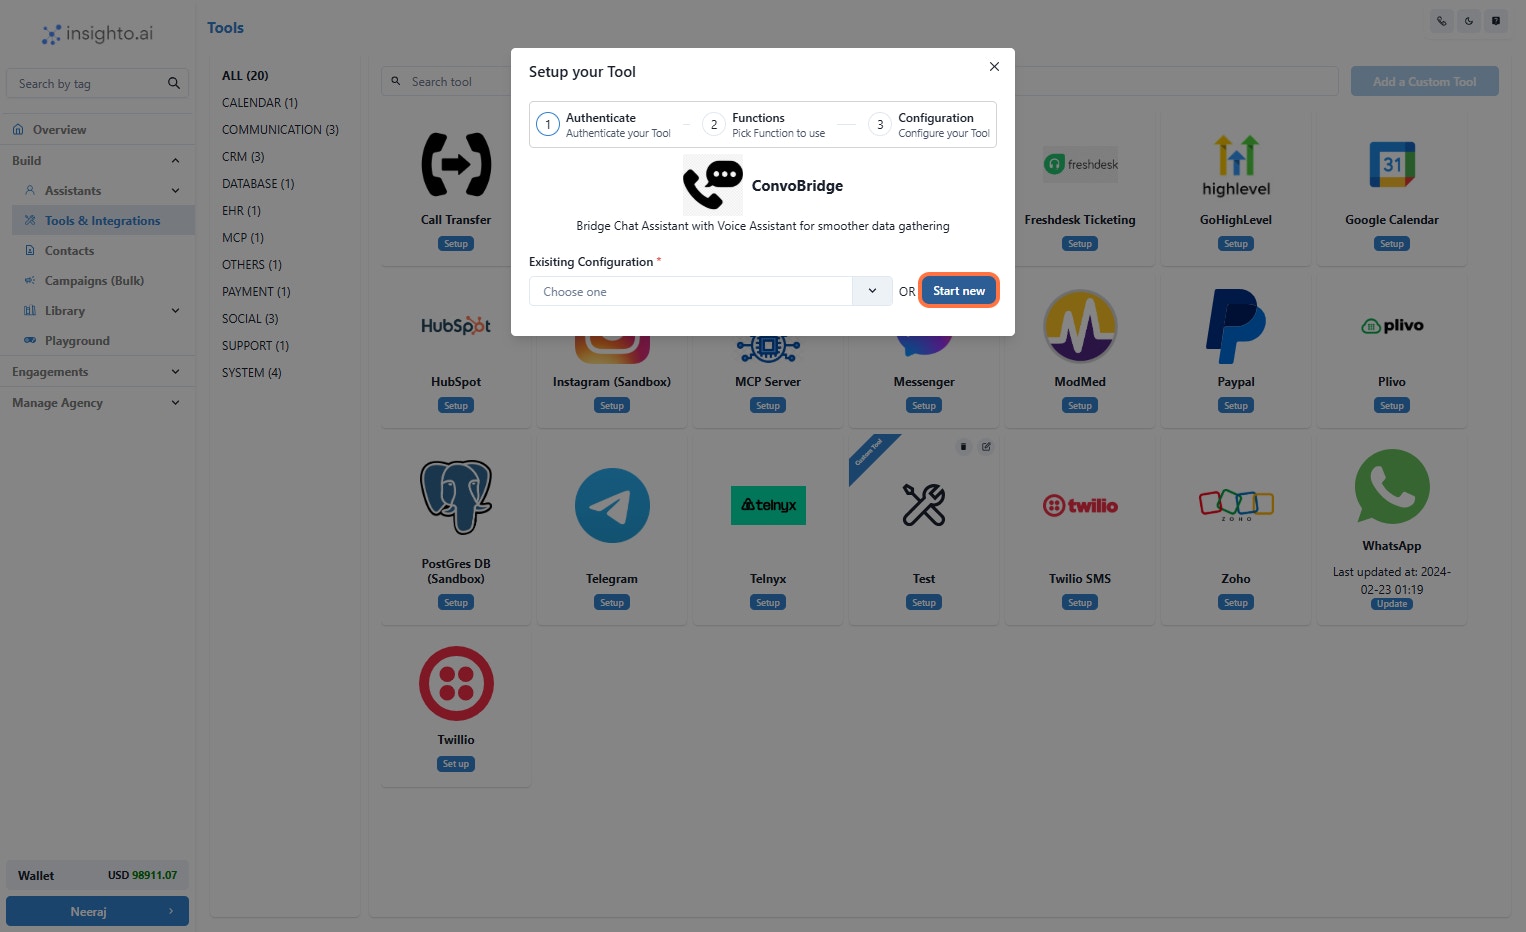
Locate the Convo Bridge Tool and click Set Up.
- Click on Start new
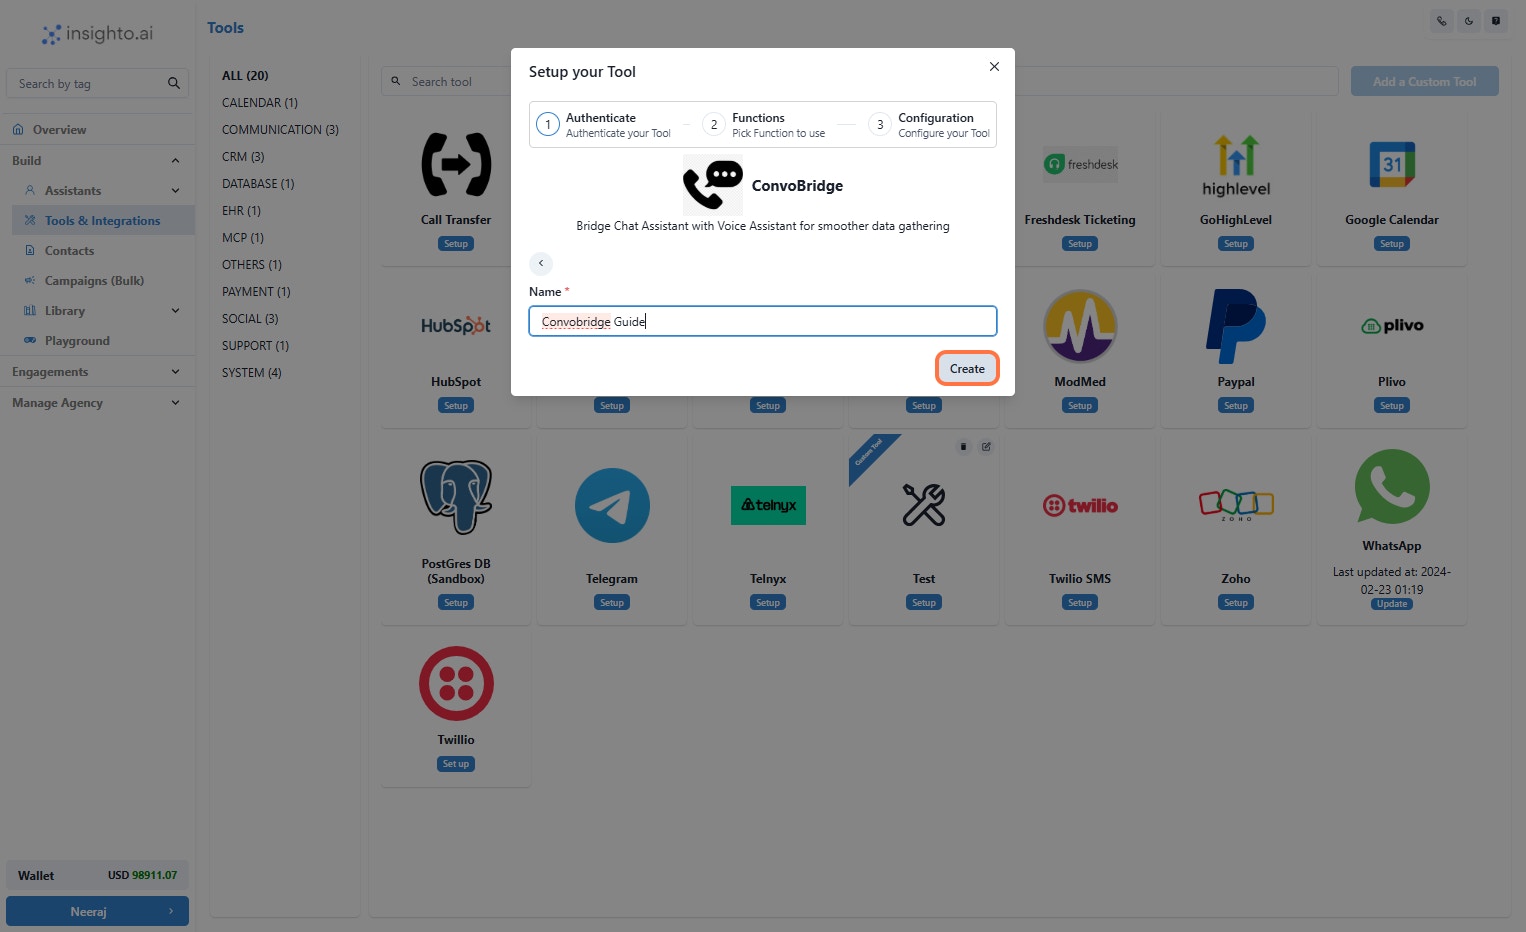
- Name Your Configuration and Click Create
Once you’ve entered the name, click Create to proceed.
- Enable the Handoff Functions & Click on Save
Click Save to finalize your Tool setup. This will apply all your changes and complete the setup process.
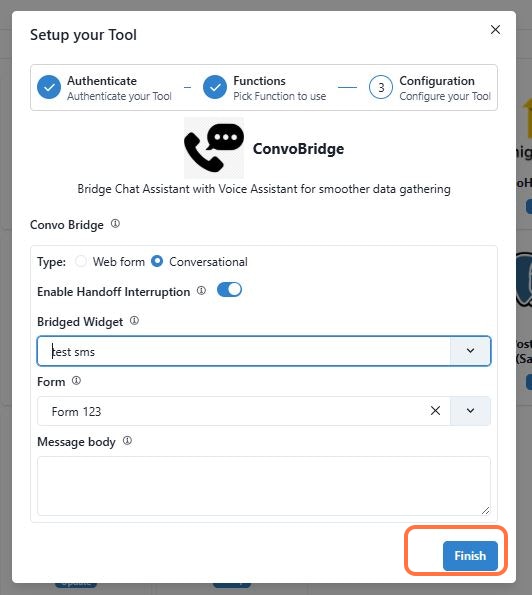
After enabling the ConvoBridge function in your dashboard, you’ll be guided to the configuration setup where you’ll customize how the handoff will work.

Phone Assistant to Chat Assistant (SMS)
- Setup with SMS Widget
Choose between Webform or Conversational.
- Webform: Users are sent a link to the form along with a custom message and are taken to a hosted webpage where they fill out the form themselves. This allows for a quick, self-serve experience.
- Conversational: The chat agent will ask questions from the form one by one, creating a more interactive, guided experience.
Toggle this on if you want the phone agent to be able to interrupt the conversation while the user is filling out the chat widget.
Tip: You can use real-time feedback to keep users engaged on your Phone Assistant—for example, by acknowledging or thanking them after they provide specific details like their email address.Select the Bridged Widget:
Choose SMS as the widget to use for the chat handoff. Select a Form:
From the dropdown, select the form you want to use to capture user details. Configure the Message Body:
This is the first message sent to the user when the chat handoff begins.
-
For Webform type:
Include the placeholder in your message. This will be automatically replaced with the actual form URL you configured. Example:
_“Hi! Please provide a few details so we can continue helping you. Click the link below to start: -
For Conversational type:
No placeholder is needed.
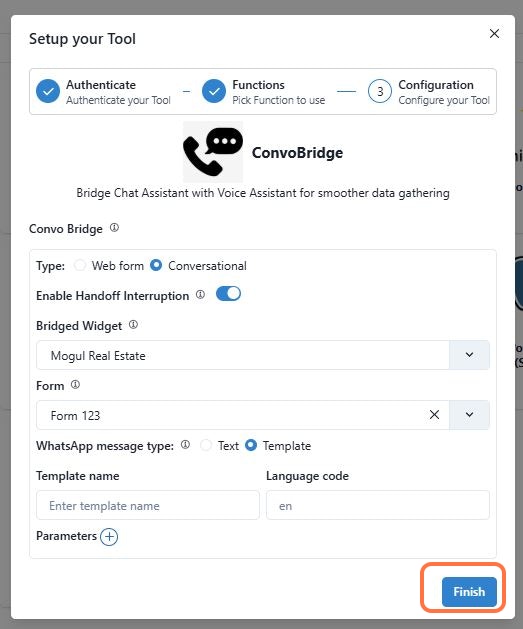
Phone Assistant to Chat Assistant (WhatsApp)
- Setup with WhatsApp Widget
Choose between Webform or Conversational.
- Webform: Users are sent a link to the form along with a custom message and are taken to a hosted webpage where they fill out the form themselves. This enables a quick, self-serve experience.
- Conversational: The chat agent will ask questions from the form one by one, creating a more interactive, guided experience.
Toggle this on if you want the phone agent to be able to interrupt the conversation while the user is filling out the chat widget.
Tip: You can use real-time feedback to keep users engaged on your Phone Assistant—for example, by acknowledging or thanking them after they provide specific details like their email address.Select the Bridged Widget:
Choose WhatsApp as the widget for the chat handoff. Select a Form:
From the dropdown, select the form you want to use to capture user details. Configure the Message Type (WhatsApp-specific):
WhatsApp has strict limitations for sending the first outbound message to users. You’ll see two options:
- Text: Only works if the user has been active within the last 24 hours. This is generally not recommended for new outreach.
- Template: The recommended option. A template is a pre-approved message created in your WhatsApp Business configuration and approved by Meta.
- The Template Name
- The Language Code
Note: You can create templates as per your needs directly in your Meta WhatsApp Business account and use them here. These templates are used to initiate the first conversation with the user.Configure the Message Body (Webform only):
This is the first message sent to the user when the chat handoff begins.
-
For Webform type:
Include the placeholder in your message. This will be automatically replaced with the actual form URL you configured. Example:
_“Hi! Please provide a few details so we can continue helping you. Click the link below to start: _ -
For Conversational type:
No placeholder is needed.
Connect with Phone Assistant & Trigger using prompt
- Connect With your Phone Type Assistant
if they ask to disconnect the call then do it.
then ask their phone number including country code.
to capture their information, handoff the conversation and ask the user to provide the information on WhatsApp. During the handoff, any submissions received must be acknowledged and spelled out back to the user. Such as email address or address once the user confirms, check if handoff is completed and verify each detail with them by spelling out. If validated by the user then thank them and disconnect the call